I’ve been working on separating the trailer body from the frame. The frame is connected to the trailer in two ways. There something like a half dozen carriage bolts from the 2×2’s at the bottom of the left and right walls down through angles that are part of the frame. Those are easy to remove once you remove the side panels. They’re mostly too rusty to unscrew, but easy to cut off with a Dremel.
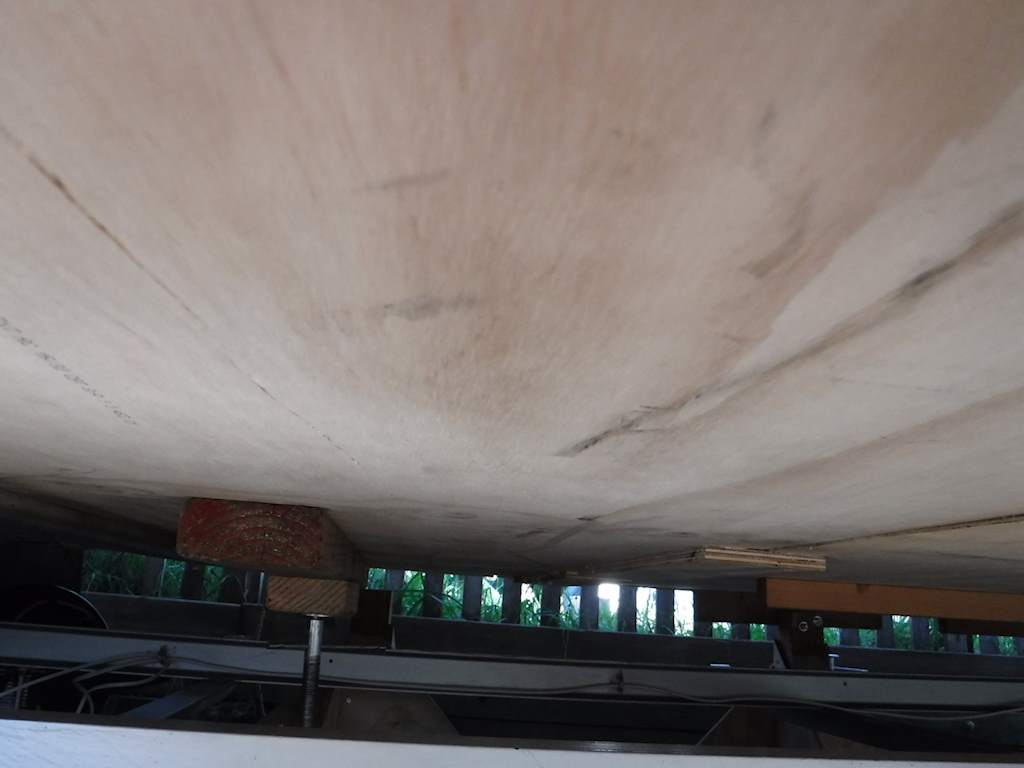
There are also three 2×3’s that run the length of the underbody. This is at the back looking forward.

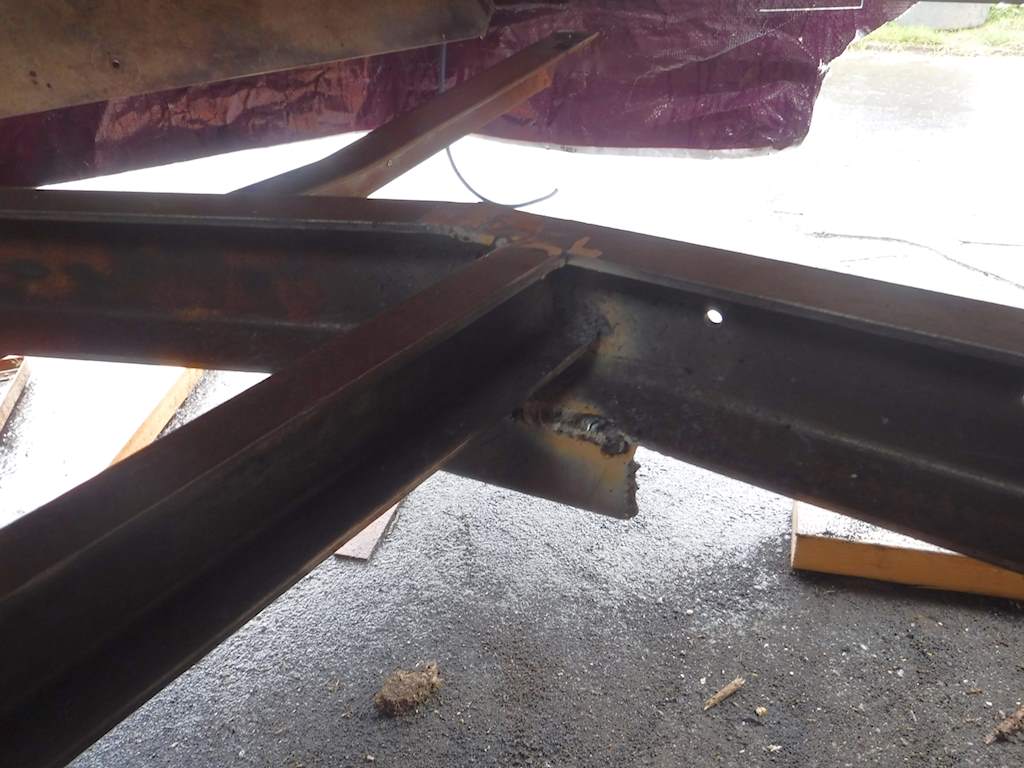
The one in the center just sits on the frame. The left and right are bolted to the frame with more carriage bolts. Like this:
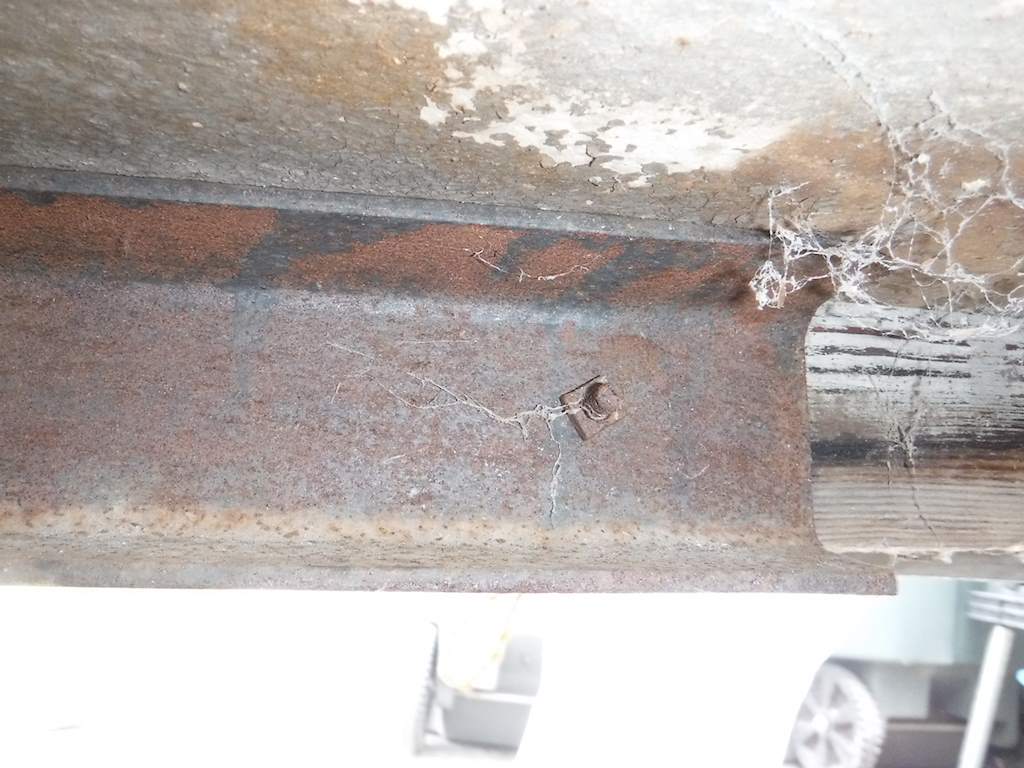 Another dozen or so of them. Also needs a Dremel, but this done prone under the trailer.
There was some plumbing that came from the toilet and went around the frame. That had to be removed. Mild steel plumbing fixtures that have been exposed to the elements for 65 years- that’s not coming apart easily. Here’s what the bathroom looked like (I’ve already removed the shower head, toilet, and shower curtain and rod.
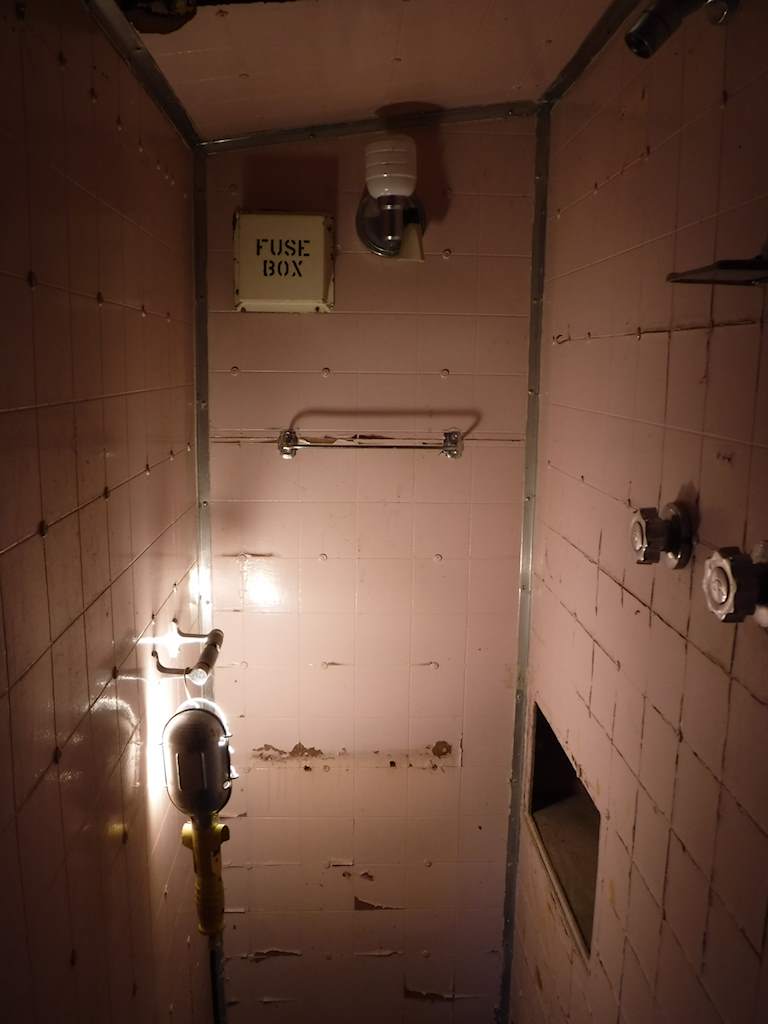 I wonder why they put a fuse box in a 24×45 bathroom, about 2 feet from a shower? Seems like a possible problem there. But the walls were NASTY. Some kind of paneling with a coating on hardboard/Masonite. Then they were painted pink many years ago, and that was peeling pretty badly. And put on with several hundred slotted screws. All painted over, so hard to remove. So I got that all off. I then cut out the drain.
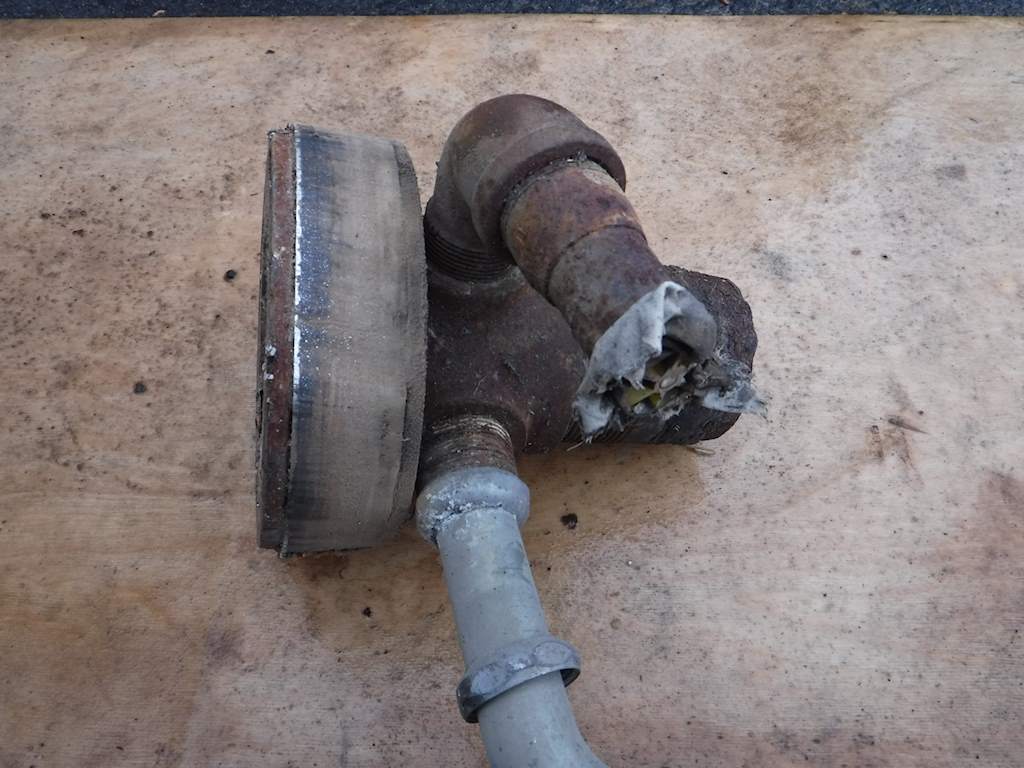 And it now looks like this:
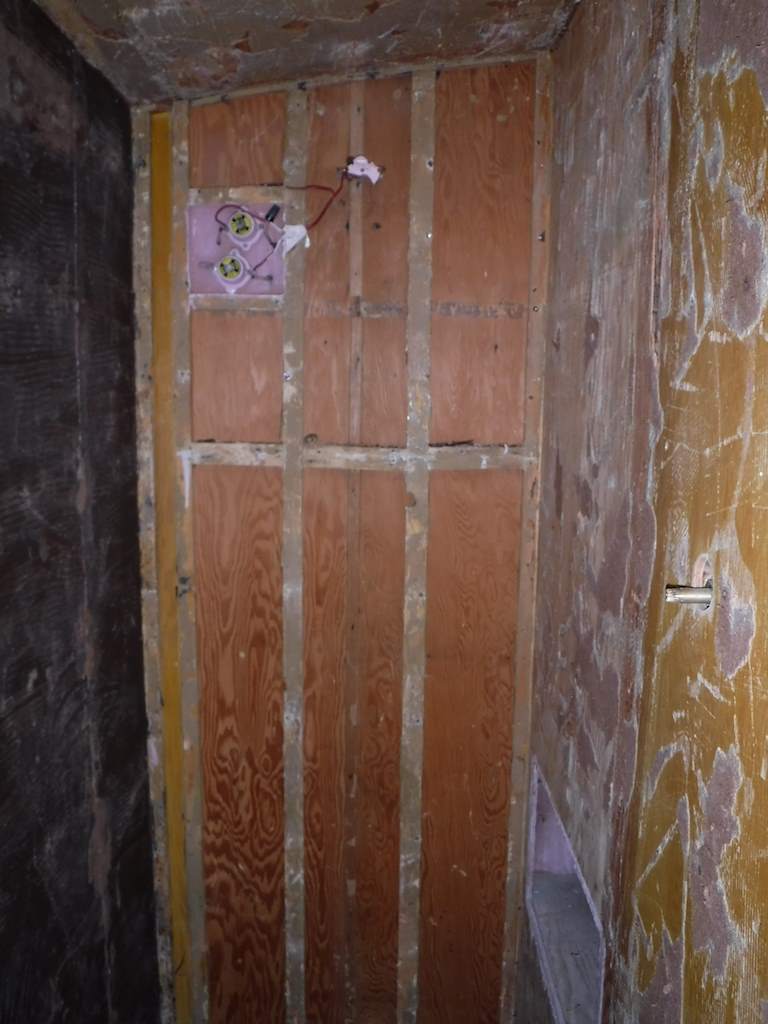 And that picture answers one question I’ve had. I have wondered whether the bathroom was a modification, or original. Since that part of the rear wall is un-varnished, it’s original. If it weren’t done at the factory that back wall would be more the same color as the other interior walls.
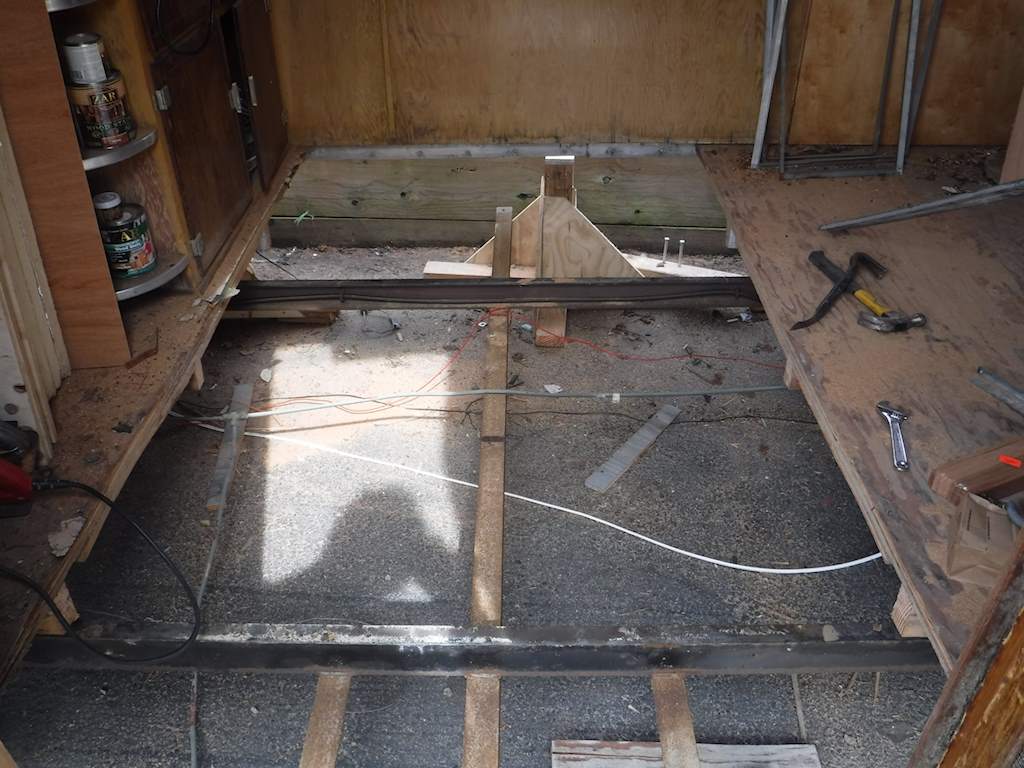
I want to use the center longitudinal beam as a template to make the replacement beams, so I had a bunch of large wood screws to remove. They were all slotted and very hard to get out. Fortunately I don’t care about the floor. So I chiseled a recess
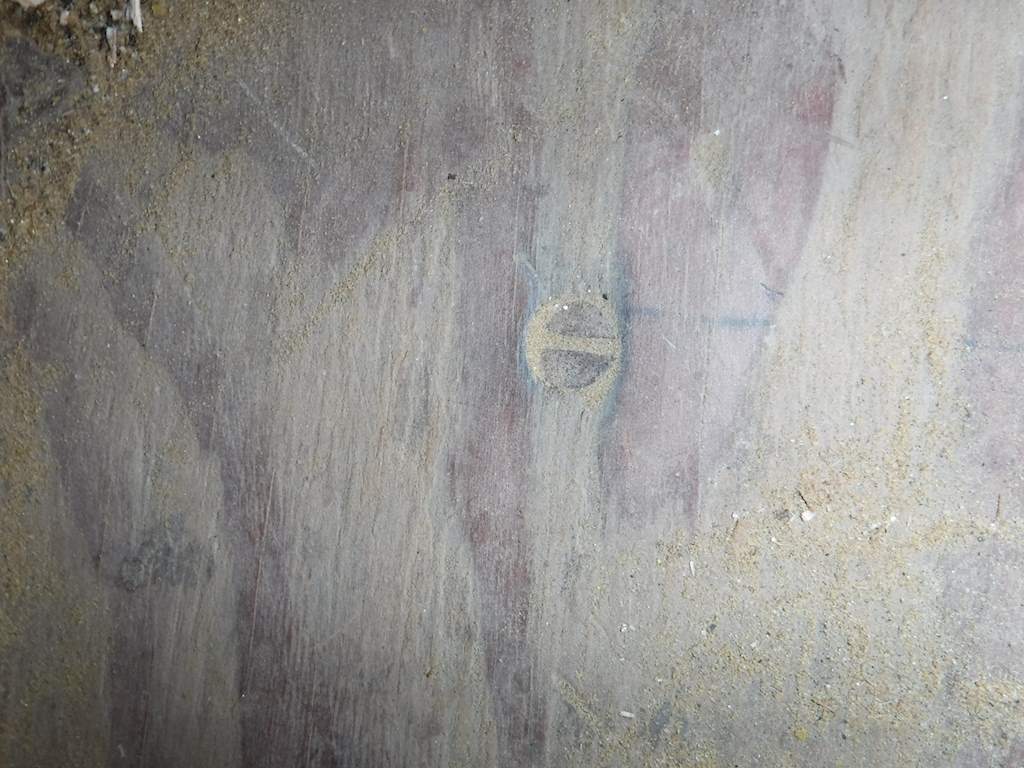
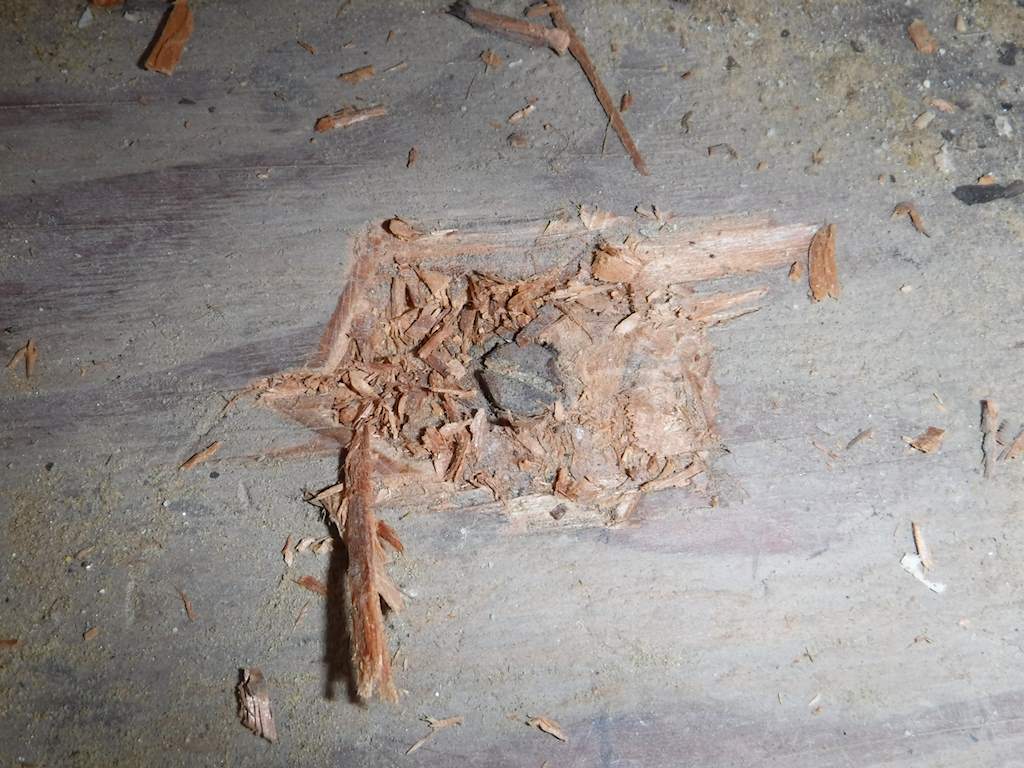
And then I can grab with locking pliers, and they come out easy.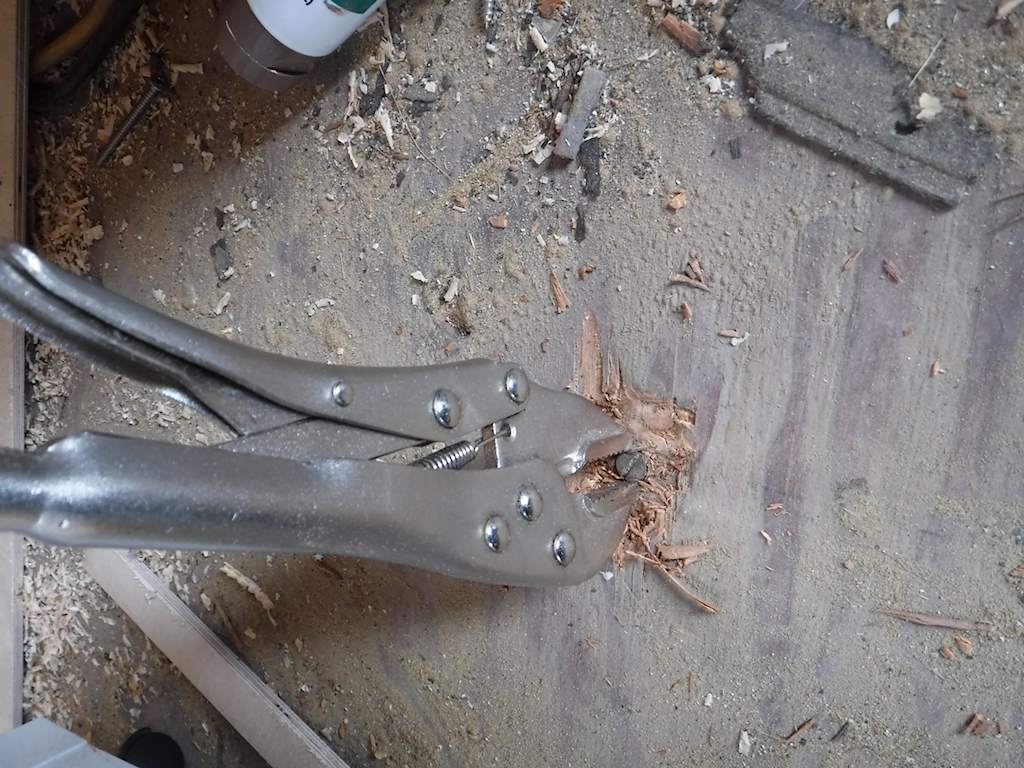
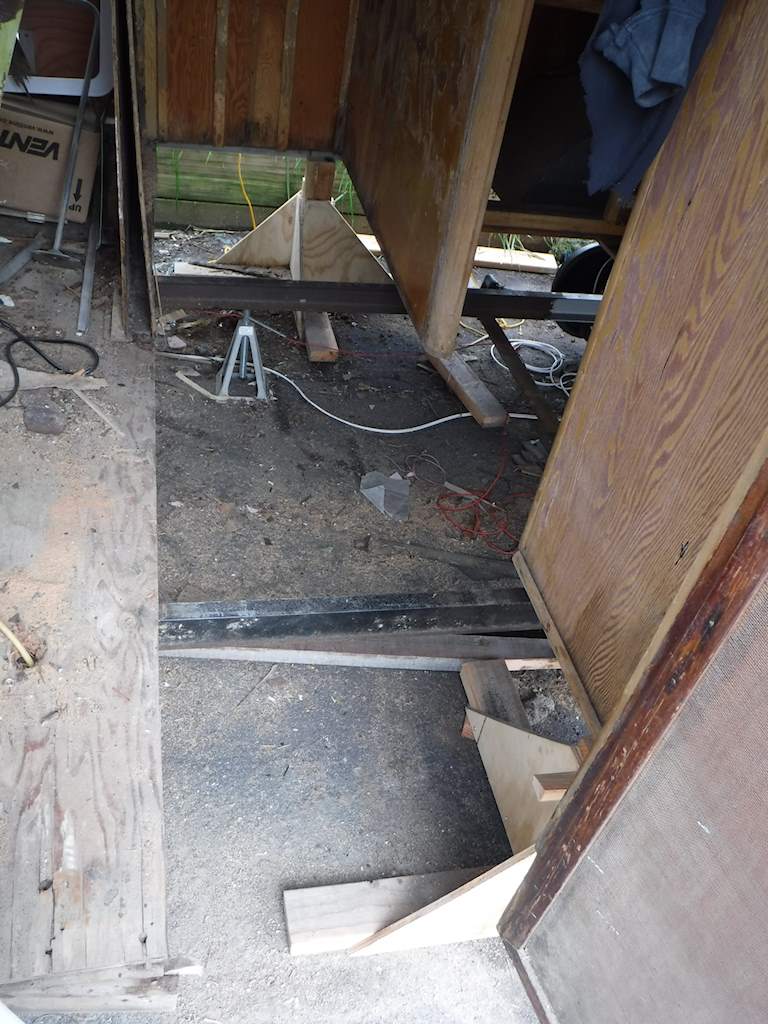
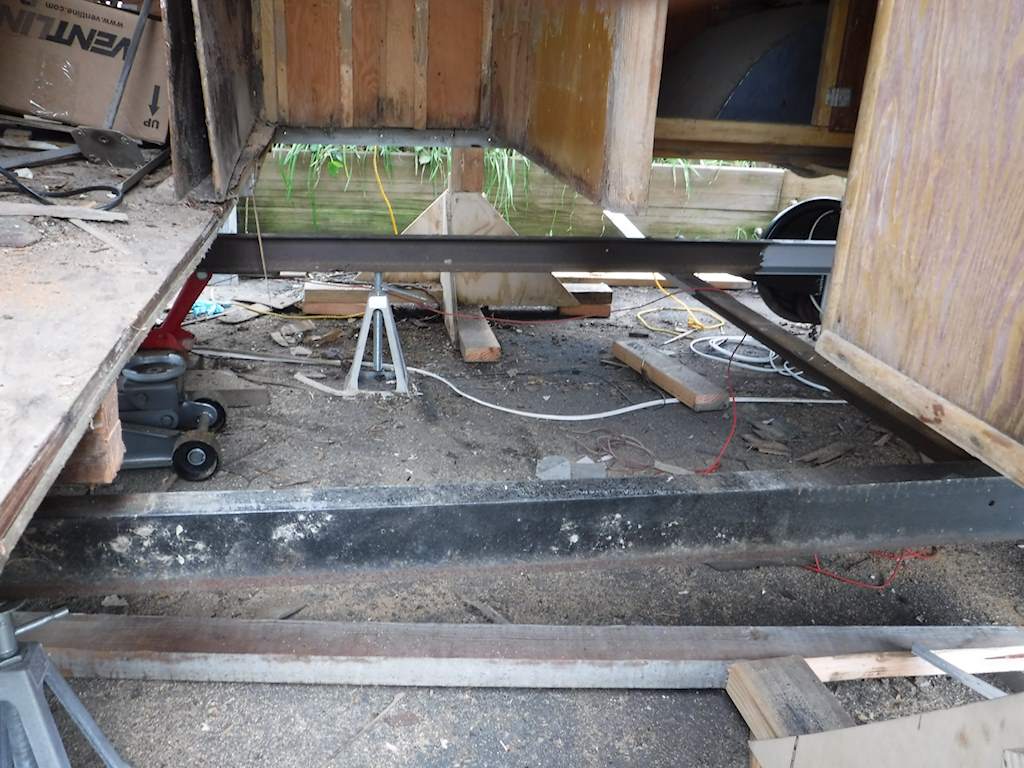
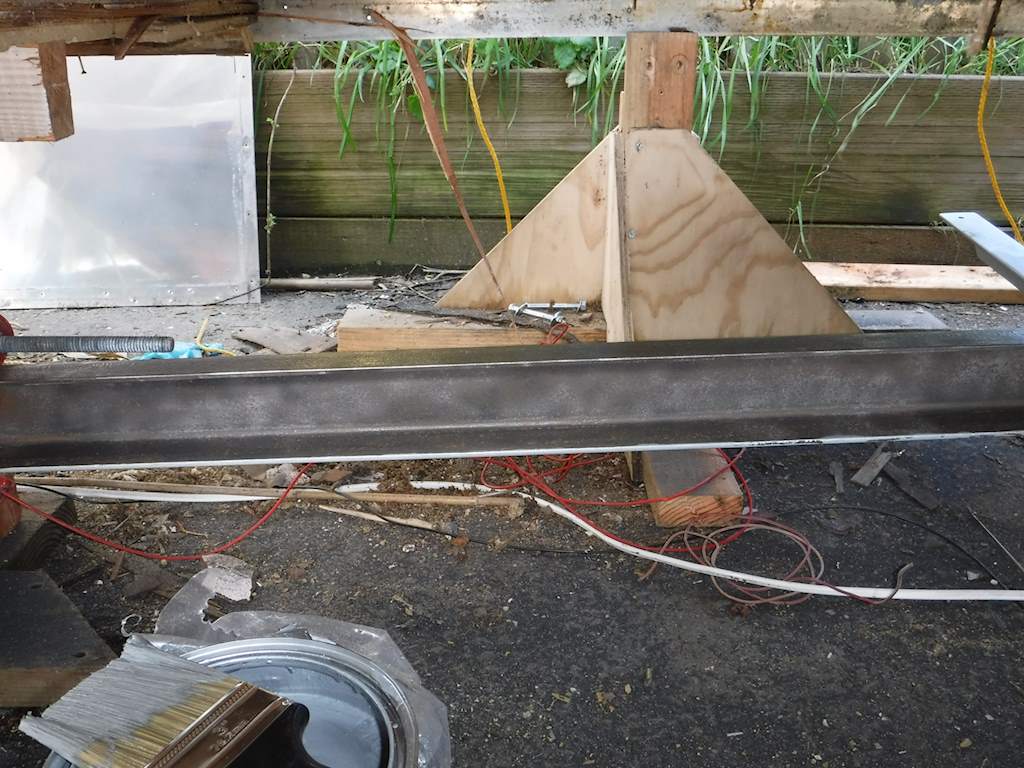
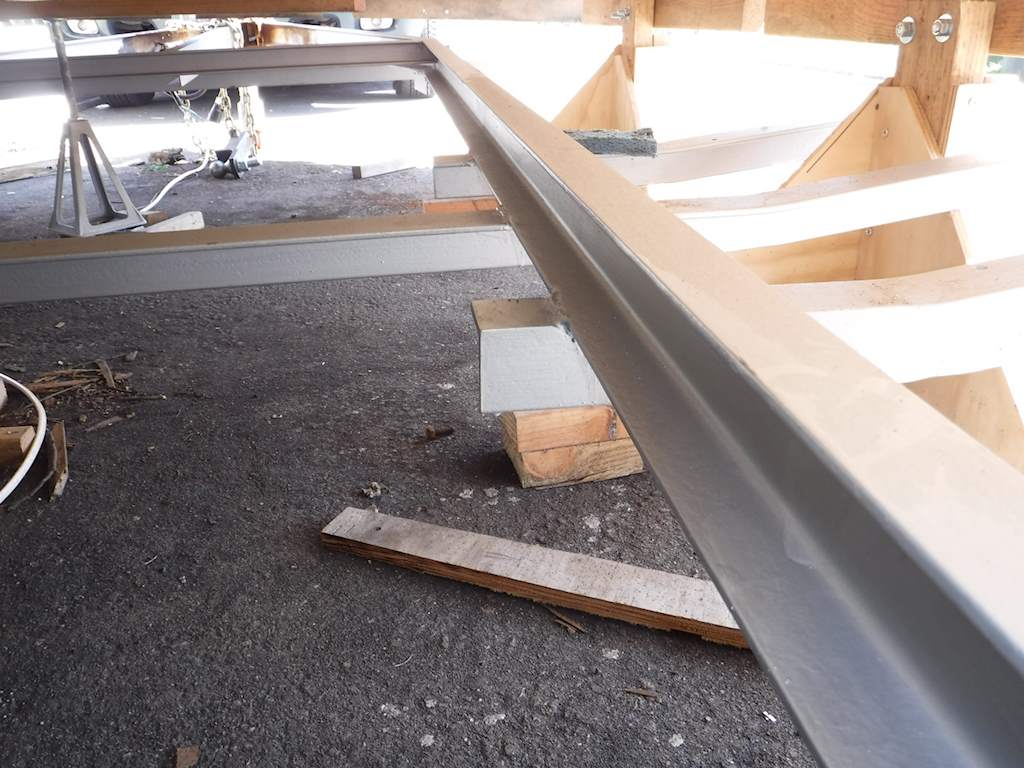
So once all the carriage bolts were removed, the frame and body are now separate:
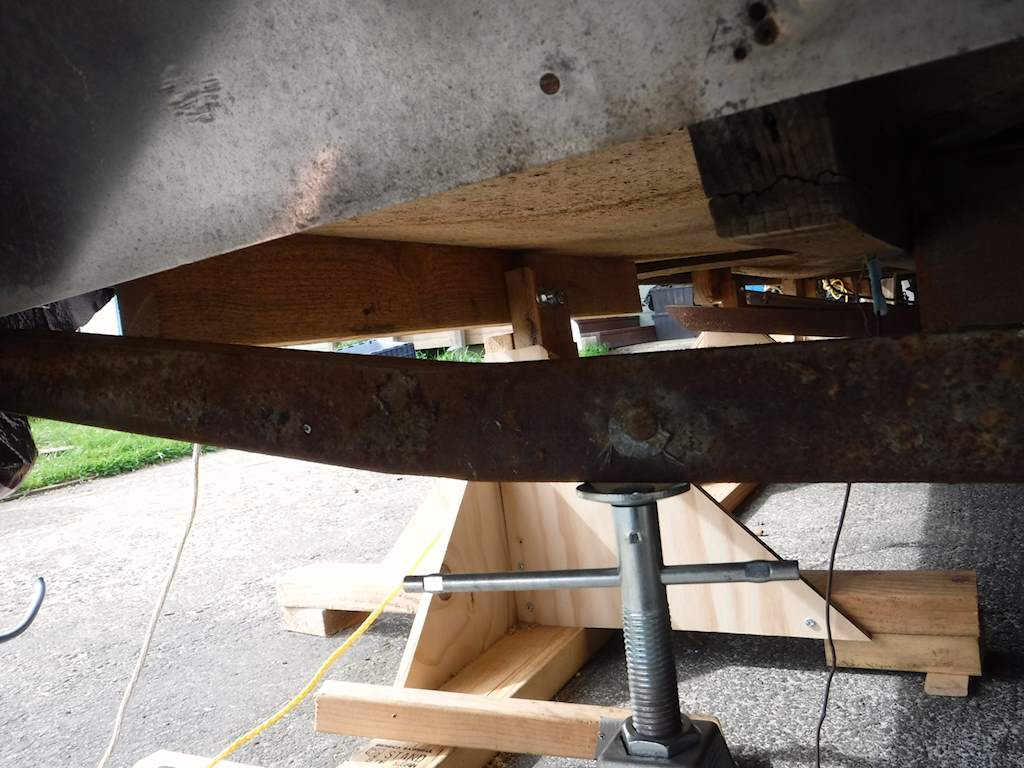
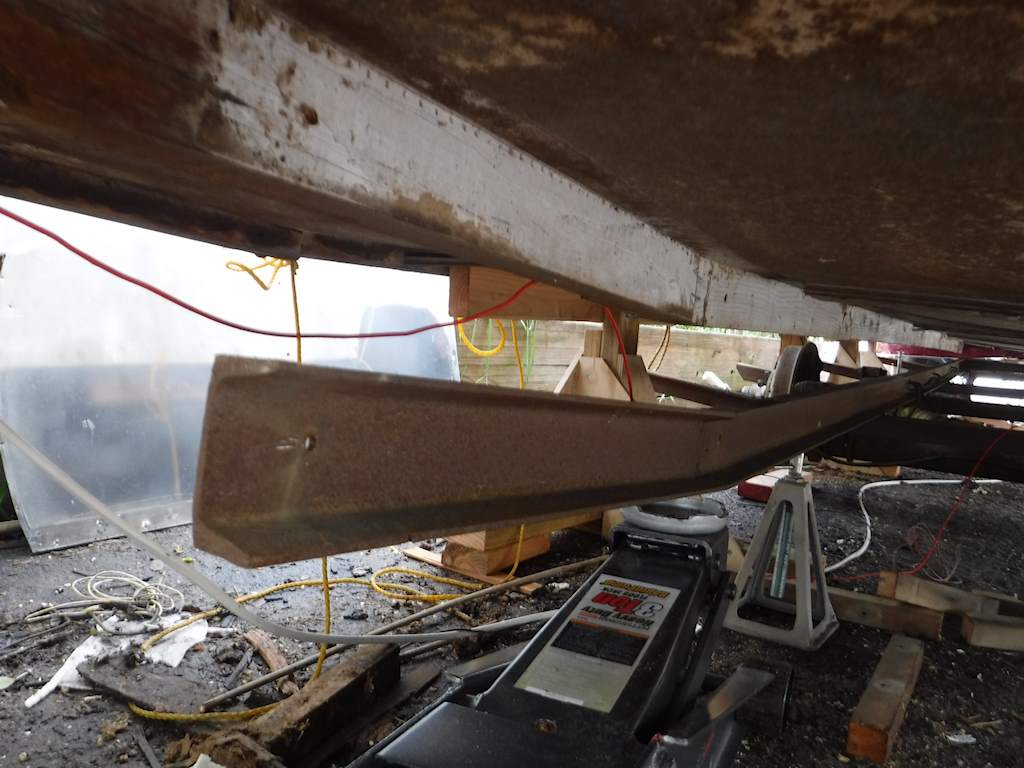
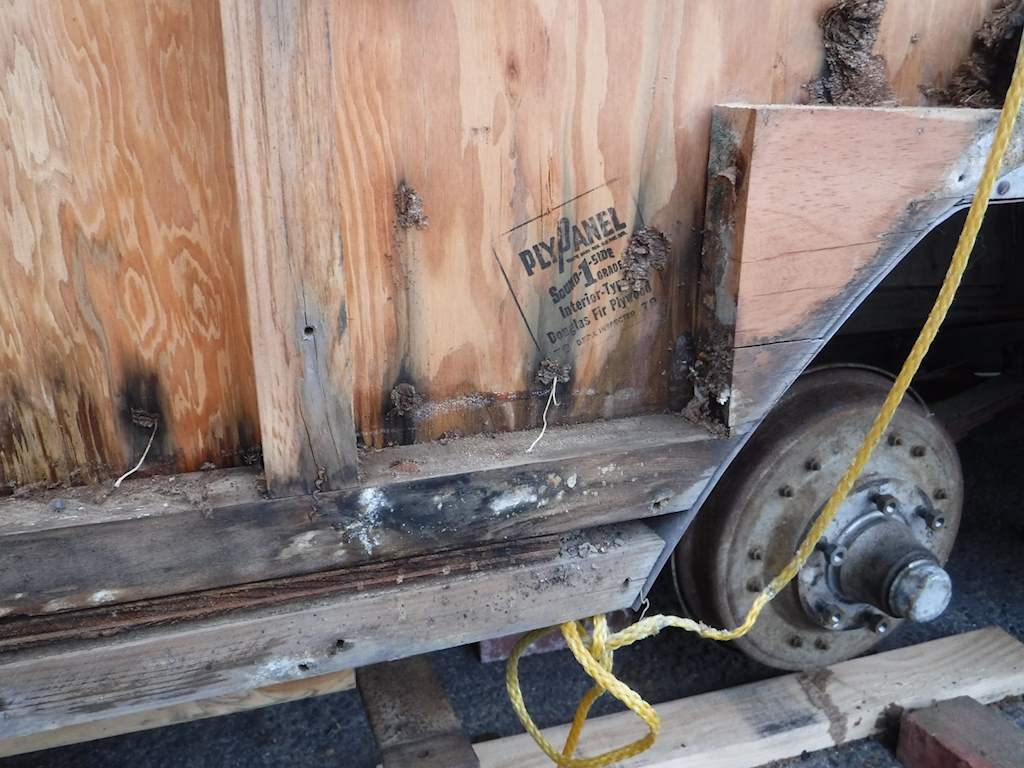
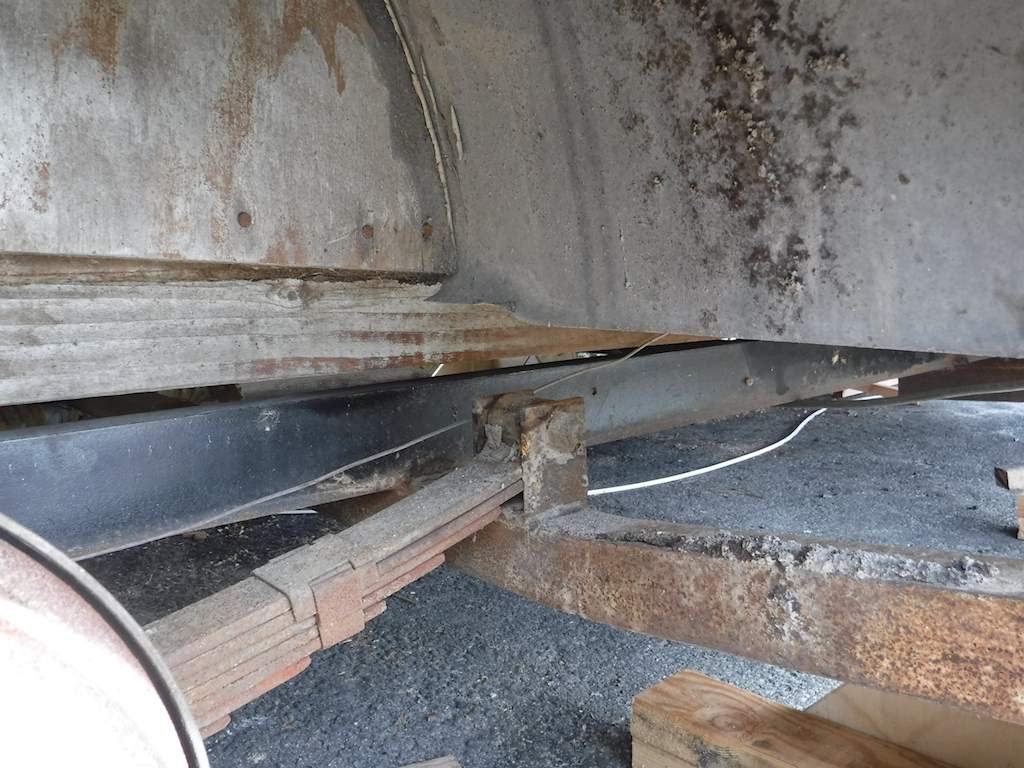 I’m working on the side 2×2’s. Those are connected via carriage bolts from above. Removing those requires pulling the lower side panels. Now here’s something interesting. Look at the small added piece of aluminum on the right side above the wheel well.
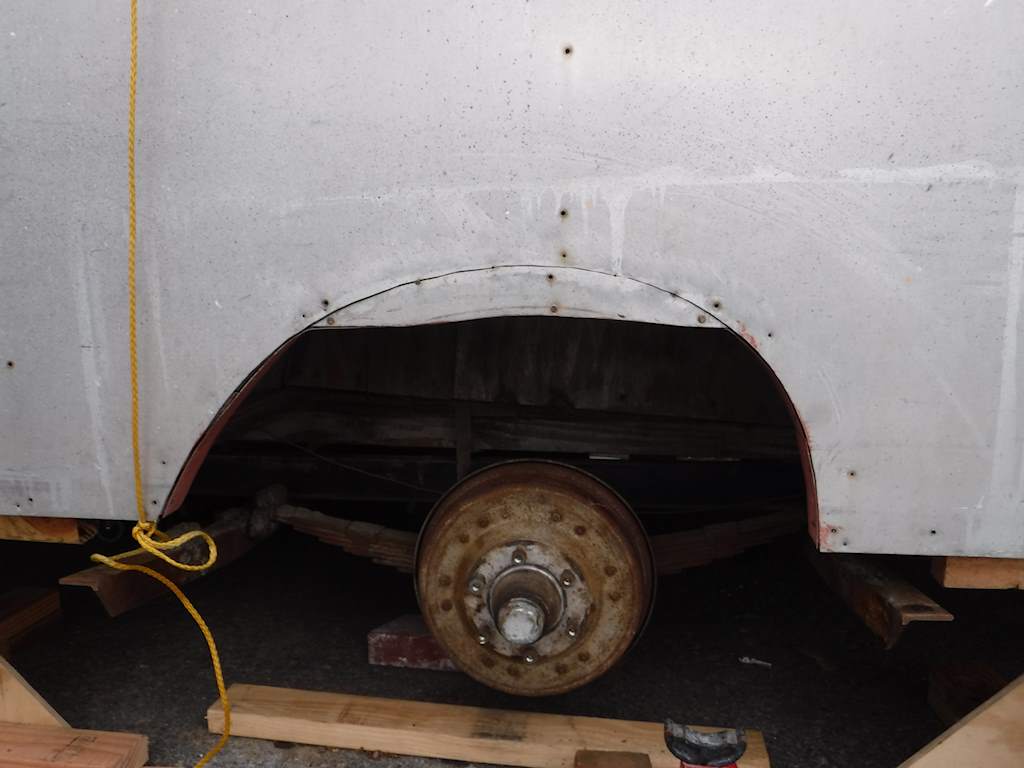
I’ve always wondered why. Look what’s behind it!
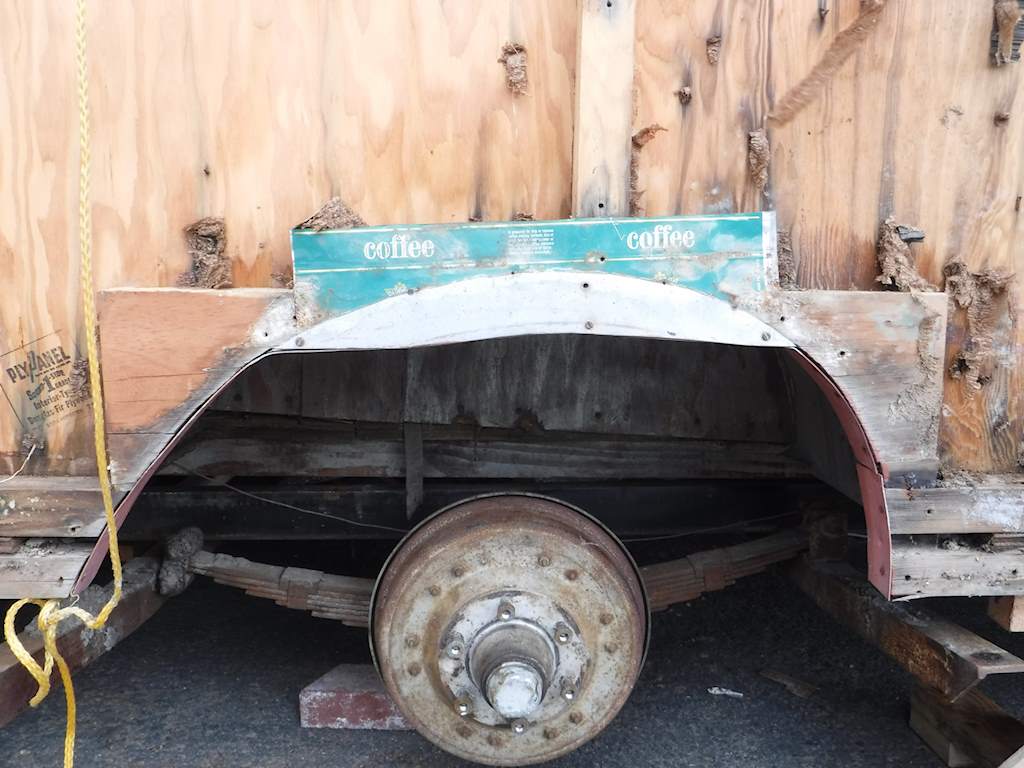
Looks like the panel was a bit too small, and they added a piece. Stuck that on so there was some metal behind the gap, which is marginally better than not, but stilll pretty shoddy. I’m still deciding what to do there. Obviously some pretty badly rotted wood here.
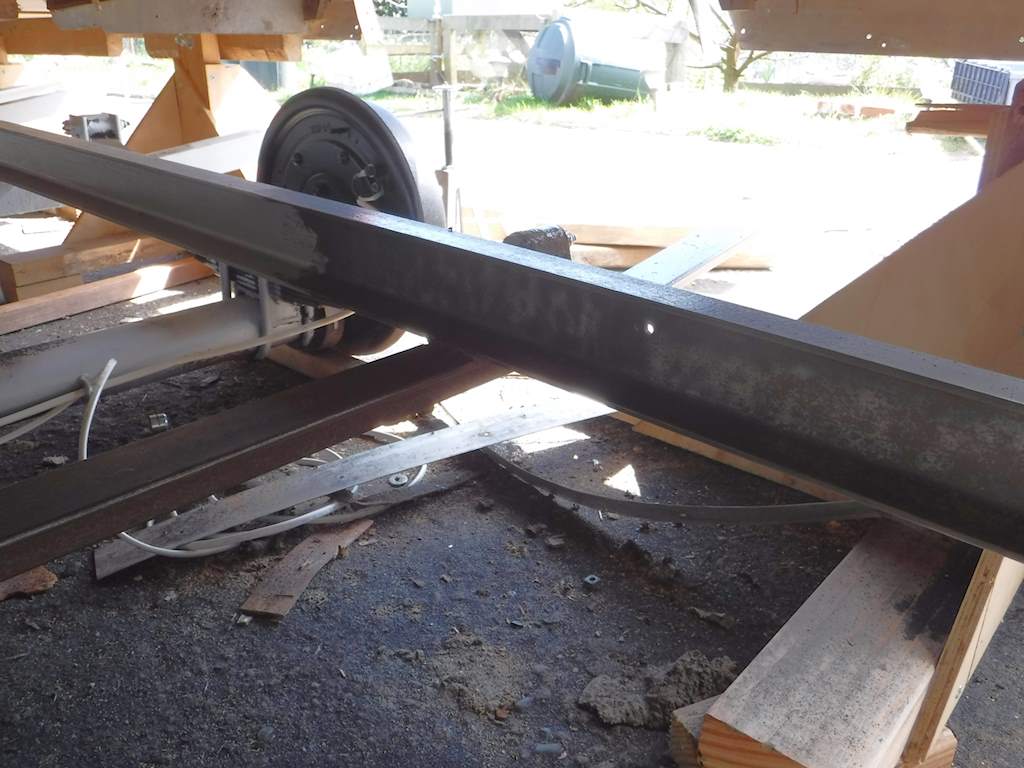
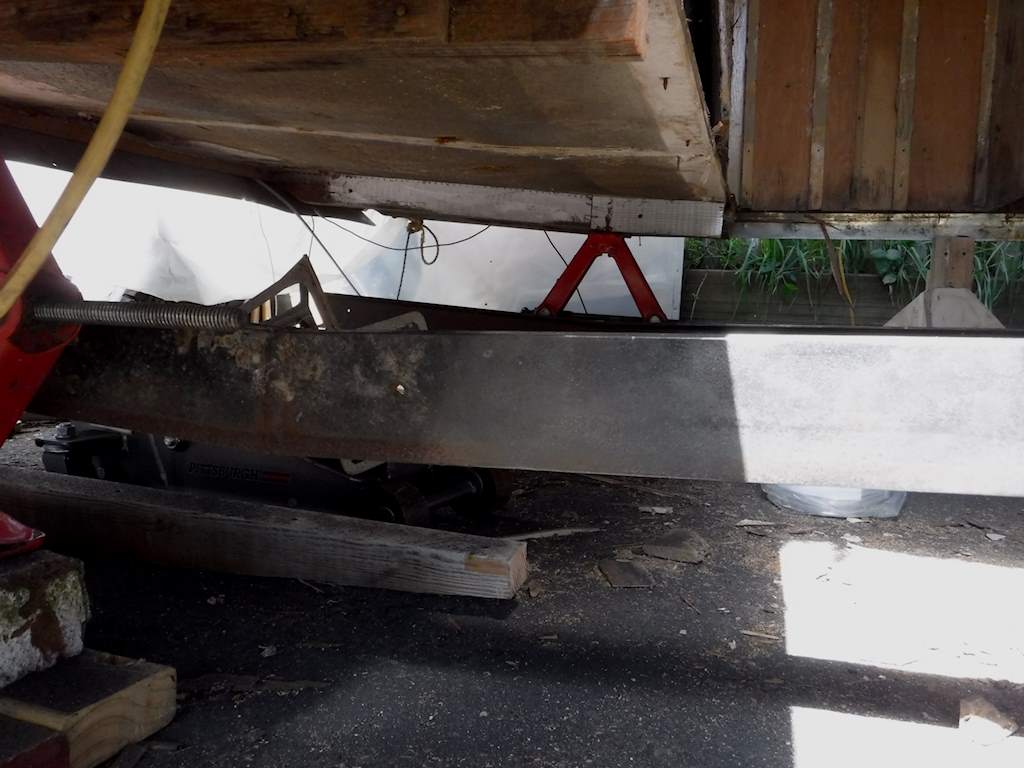
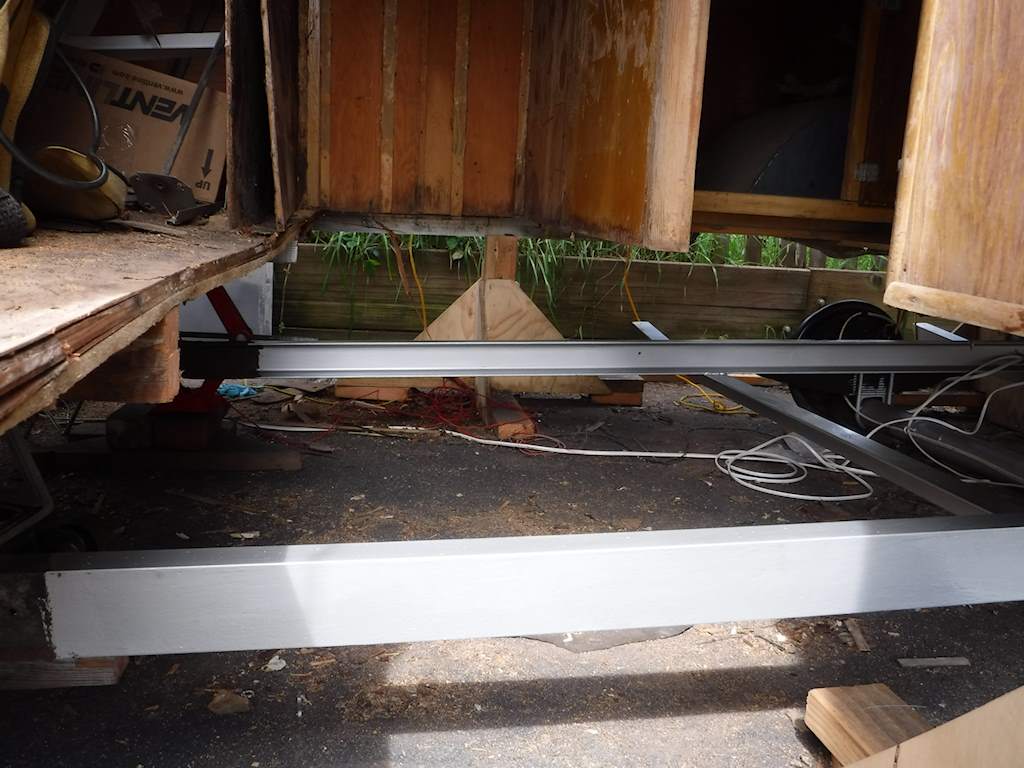
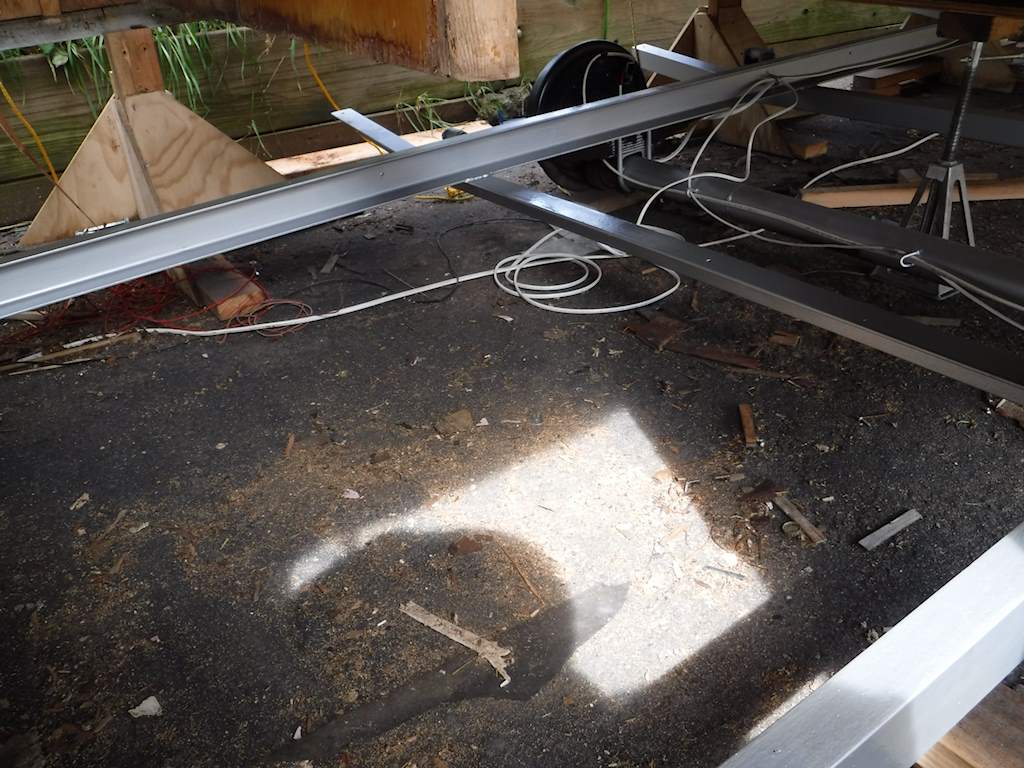
 Right side.
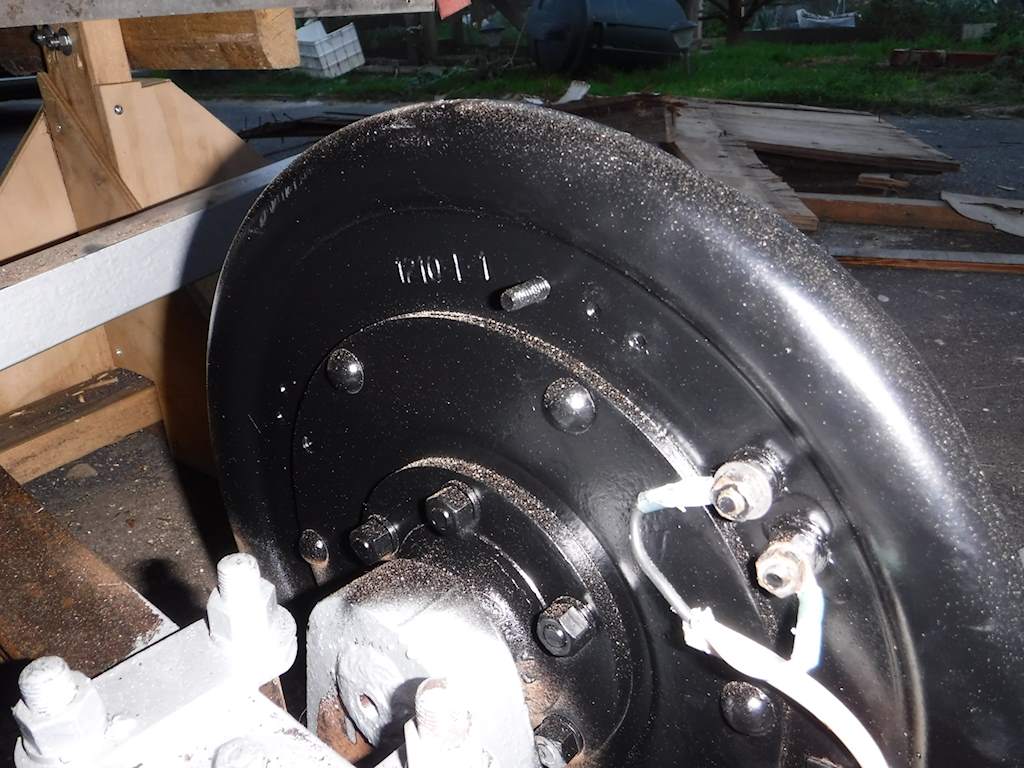
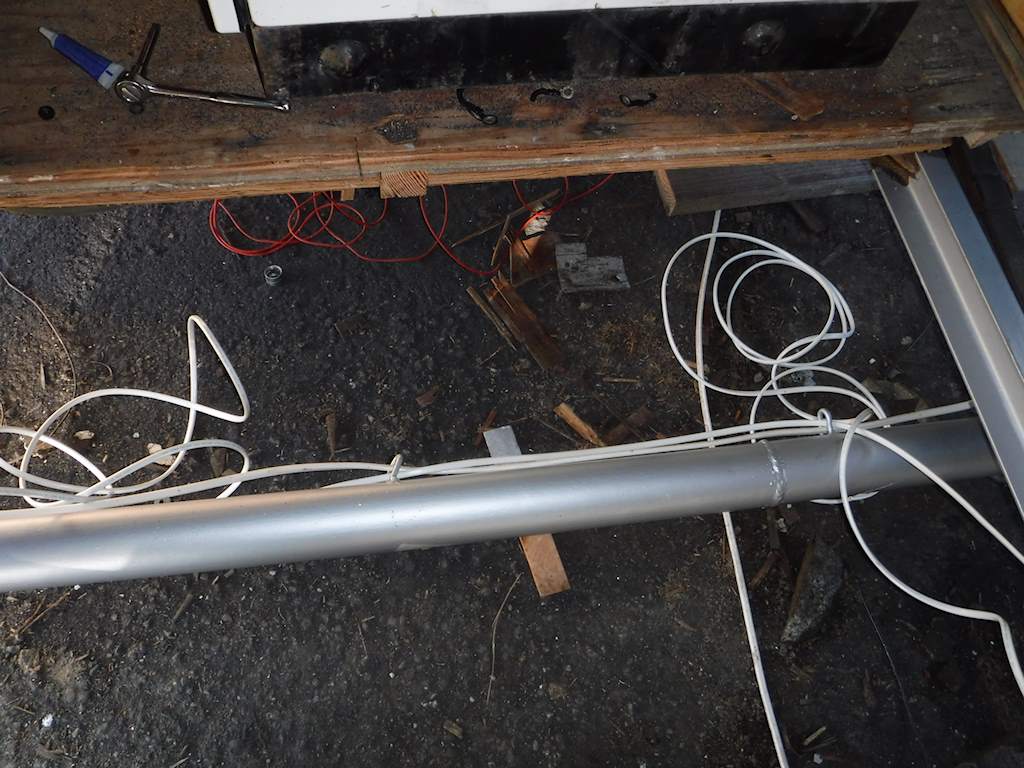
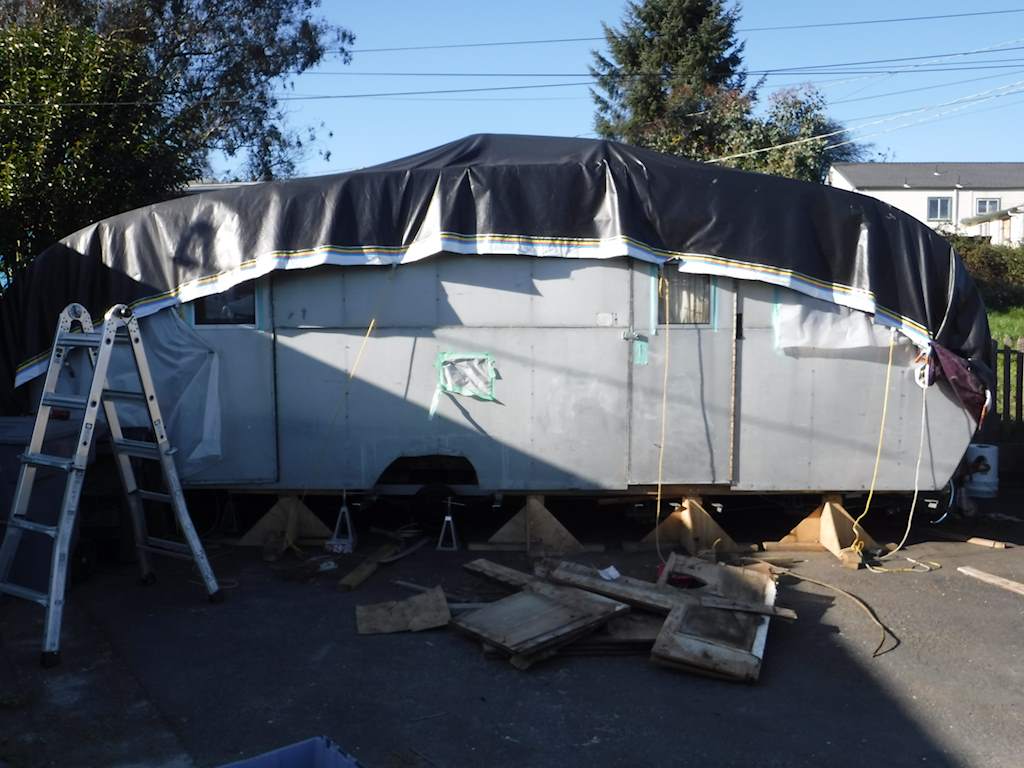
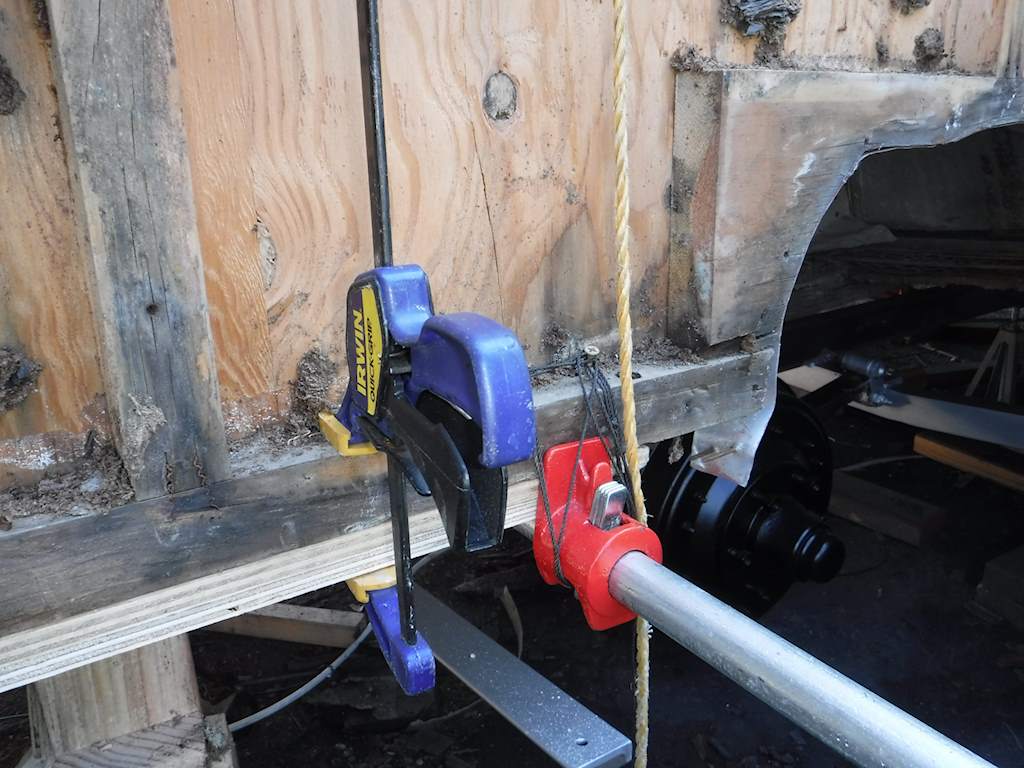
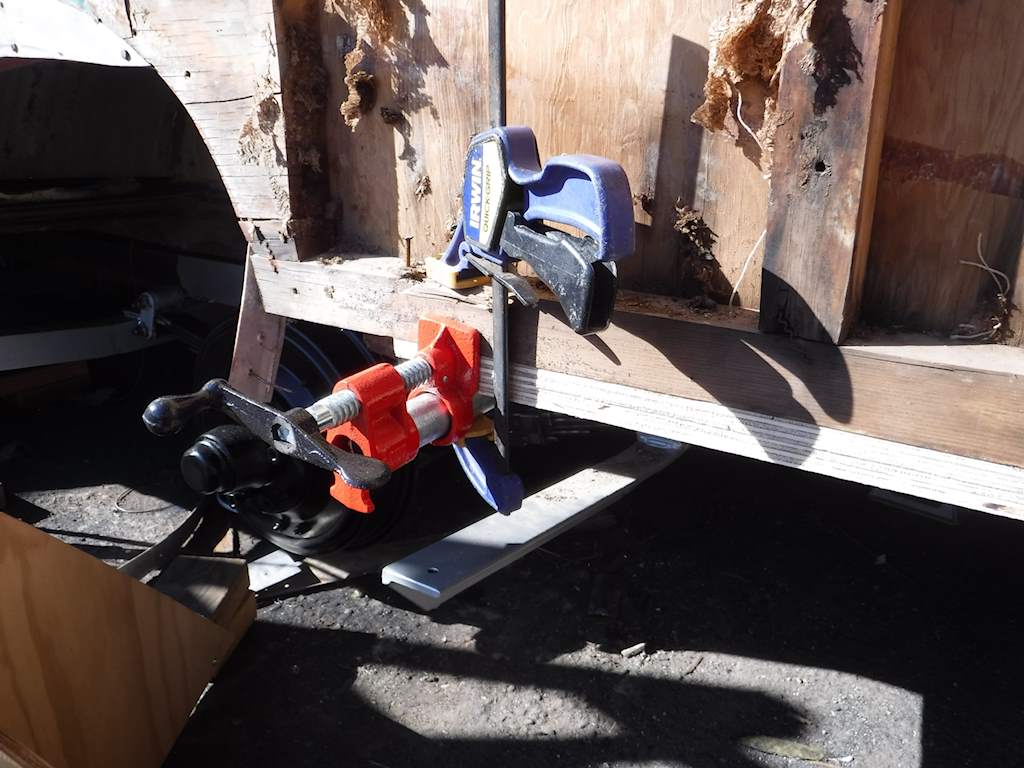
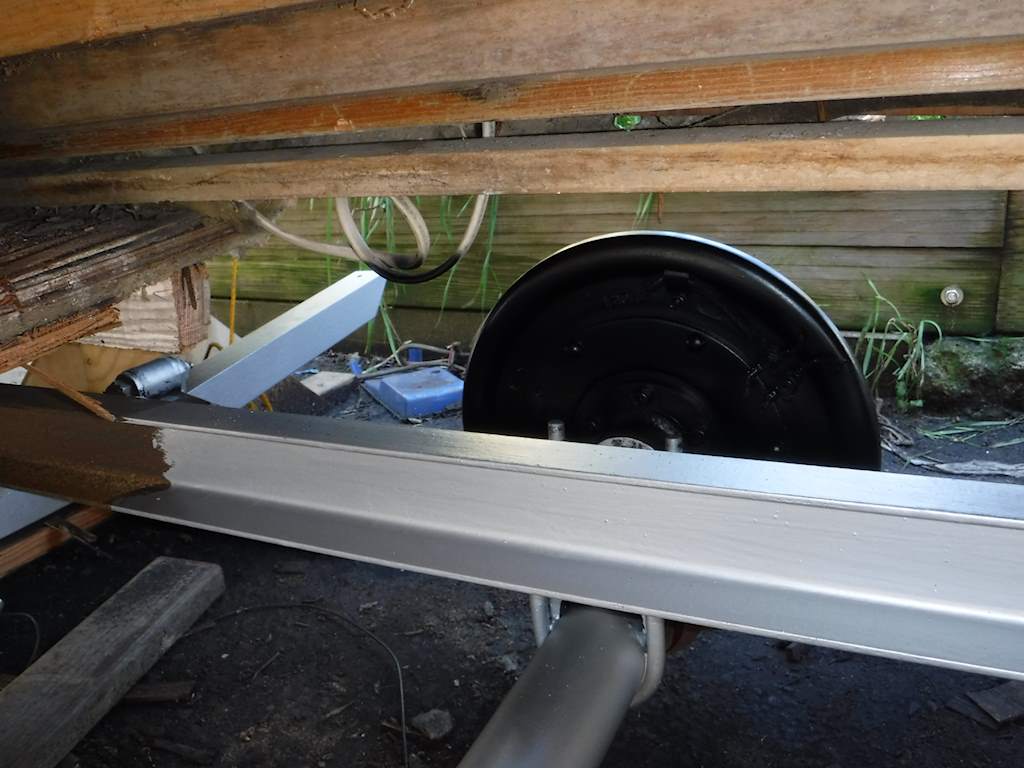
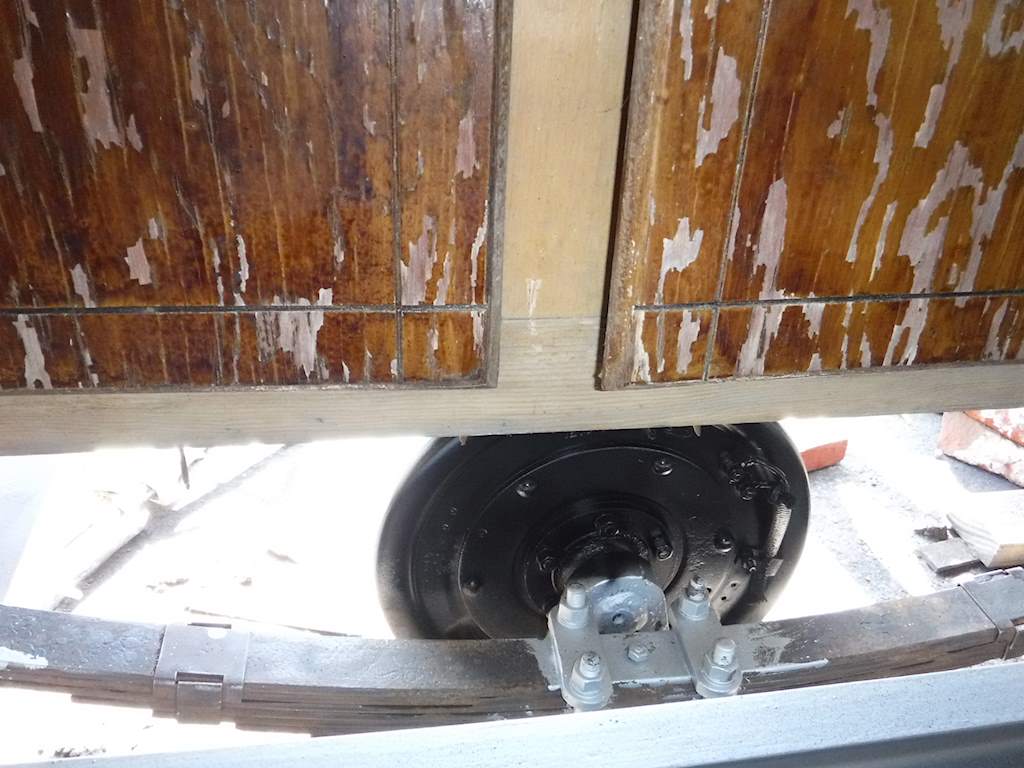
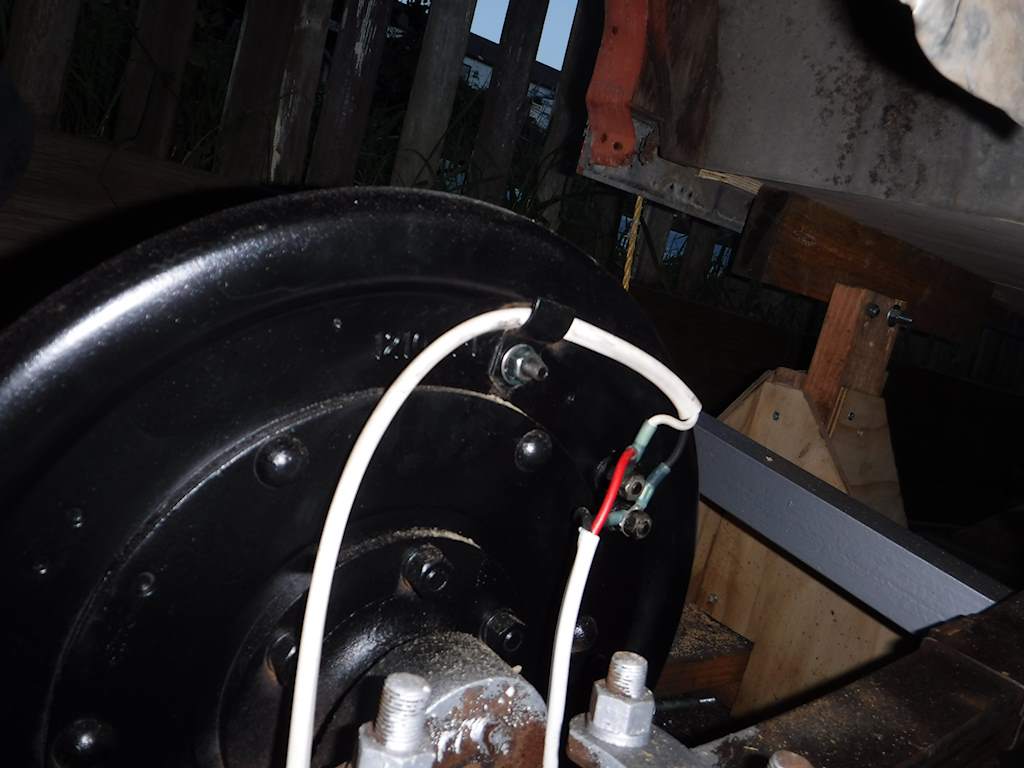
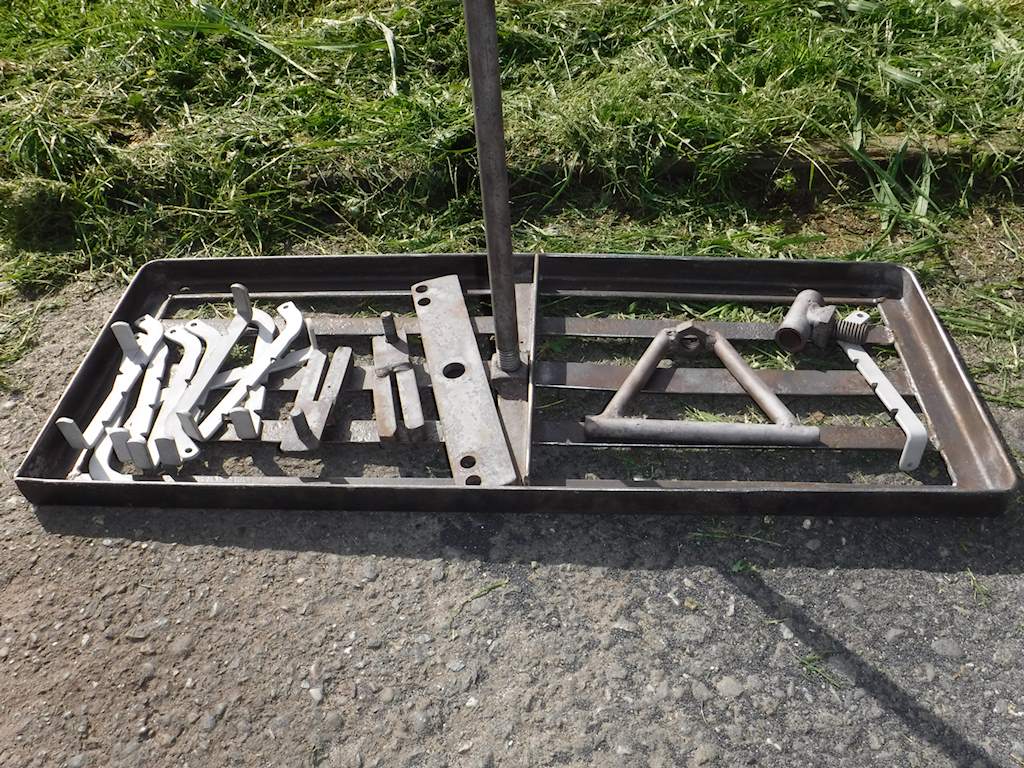
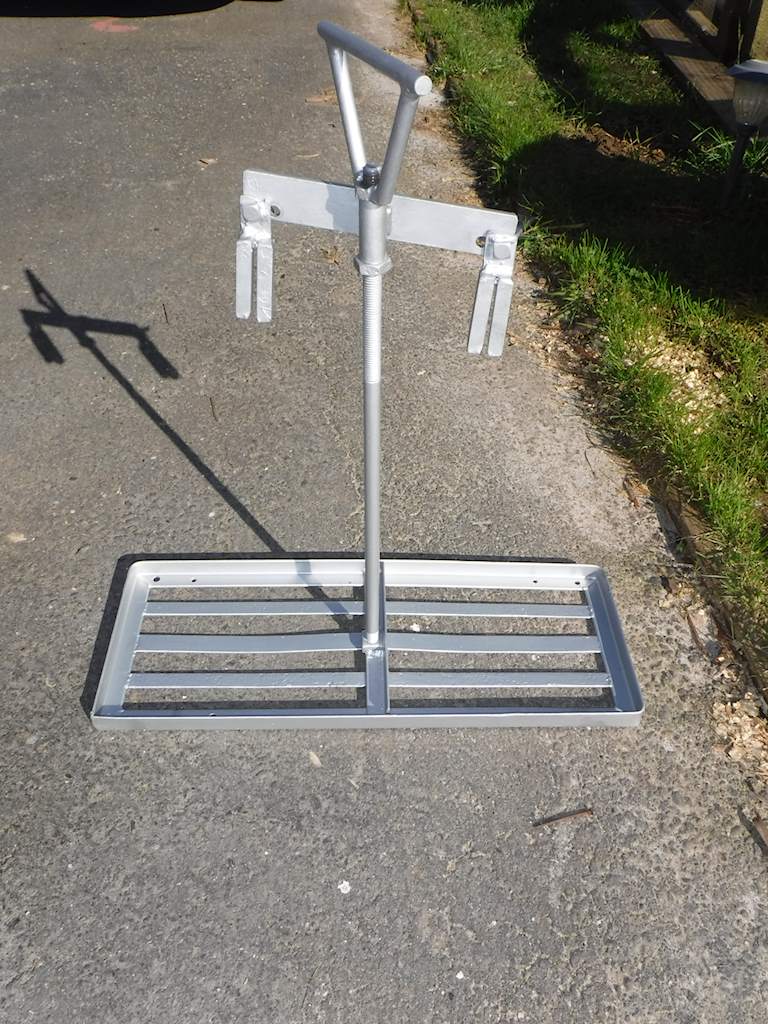 I think it looks a bit better now. This is an interesting assembly. It doesn’t look like it came from a factory. More like something a clever guy with a welding machine would make in his garage. Of course that opinion means nothing. For the one nut and two wing nuts I got new stainless, but the other threaded parts are welded assemblies and can’t be replaced. I also am working on the wiring for the brakes, but ran out of time.
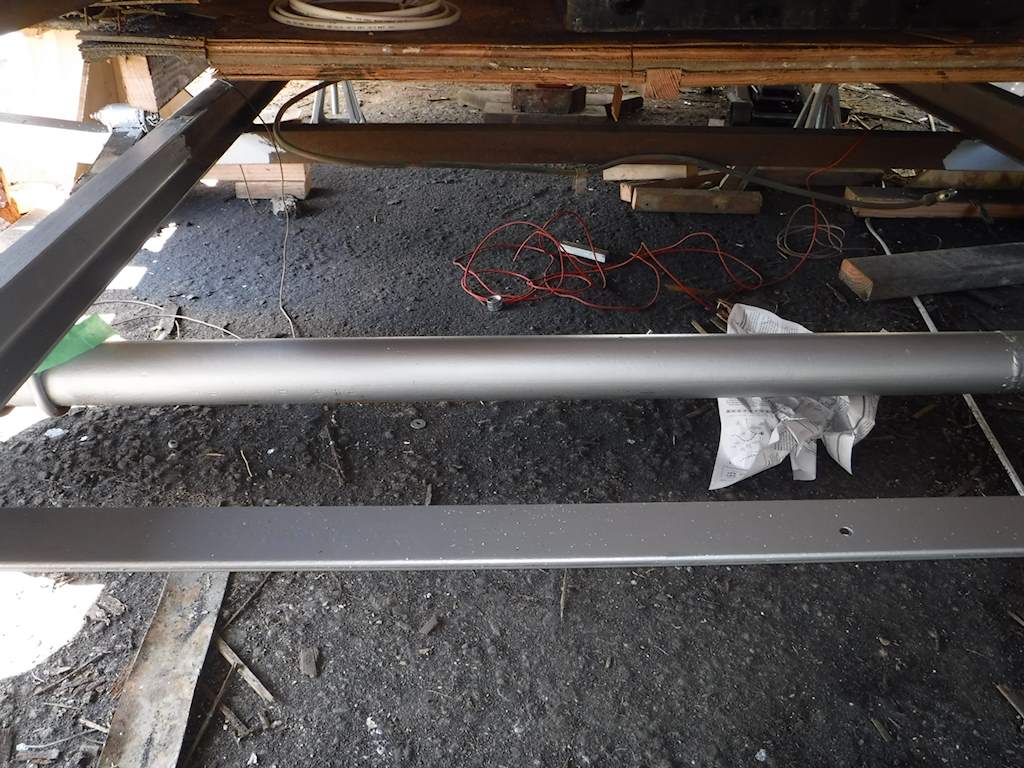
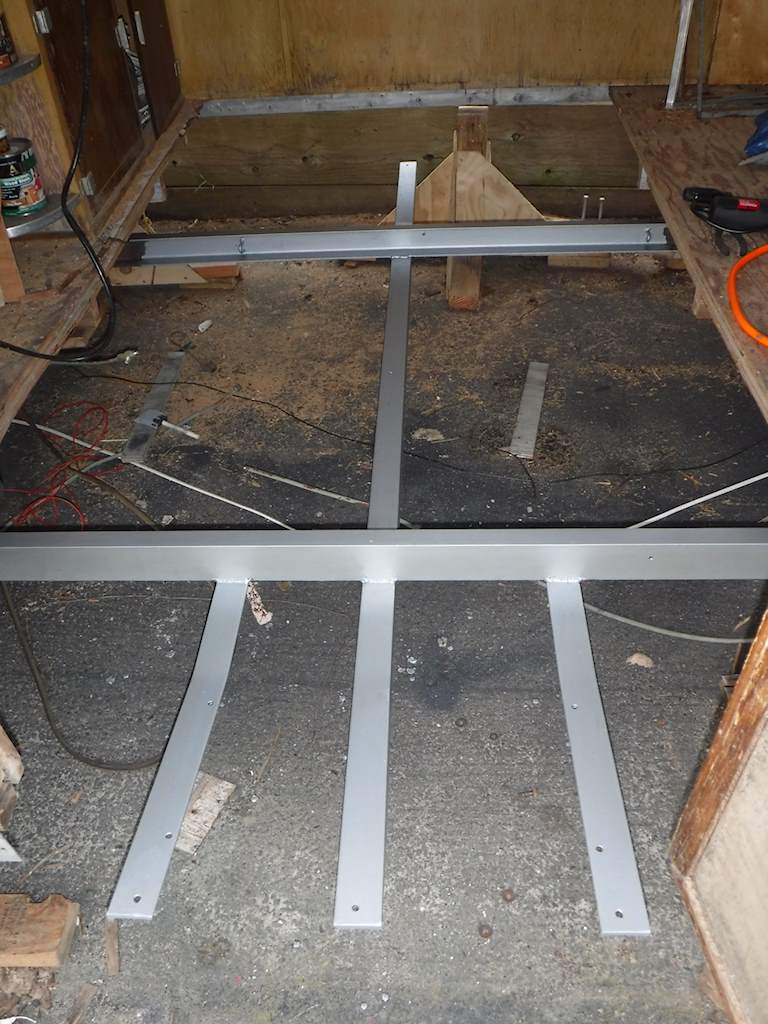
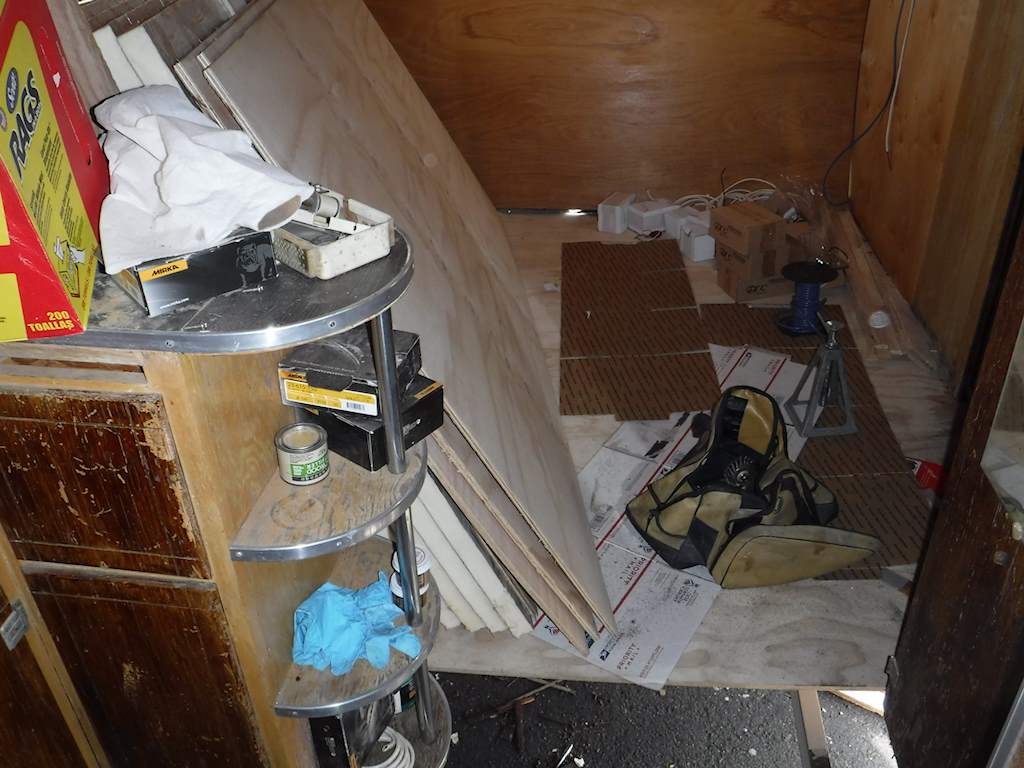 But now we’ve got some sunny days. I got the frame cleaned up.
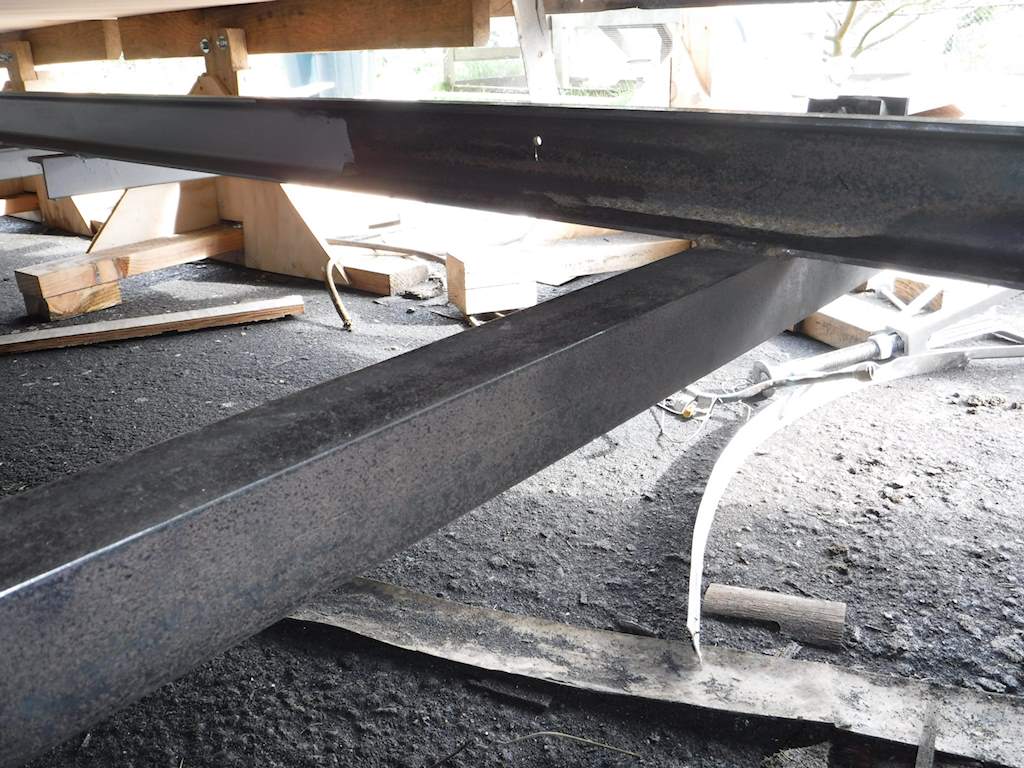
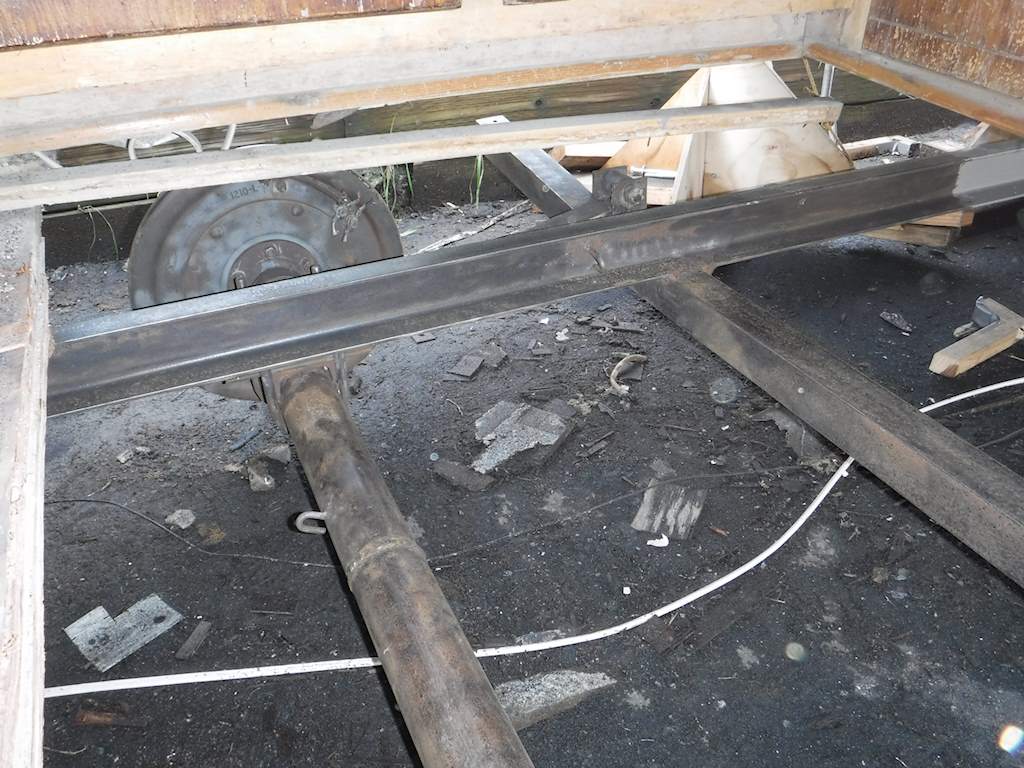 Note that this section has the axle, meaning a lot of extra nooks and crannies.
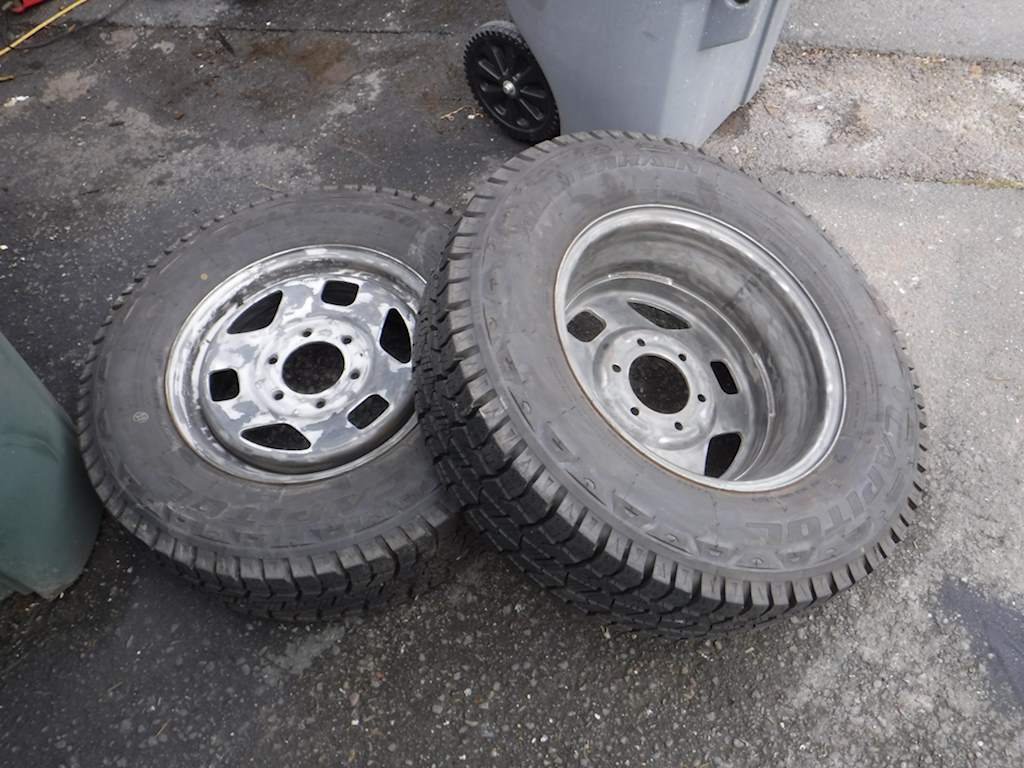
 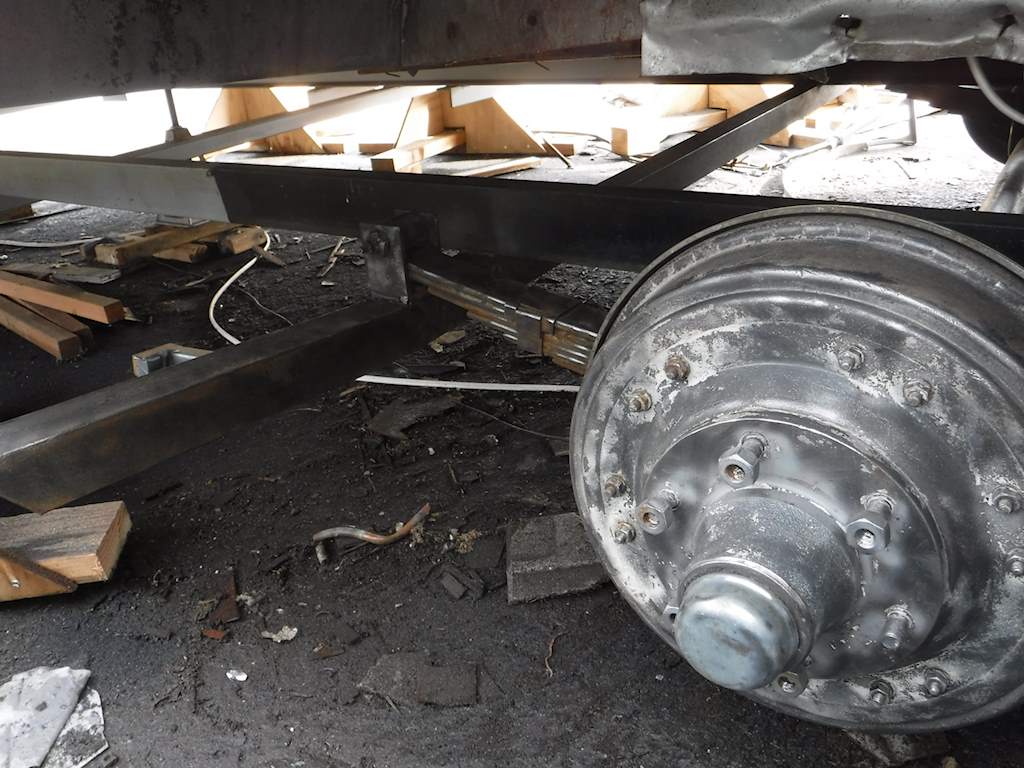 Those also had to be cleaned. Also this time around I painted some bits up front that I couldn’t get to from inside, and the wheels.
 There’s an interesting mount for propane tanks. This bolts onto the front of the frame. Kind of rusty, but it’s salvageable. I’m trying to keep as much of the original as feasible.
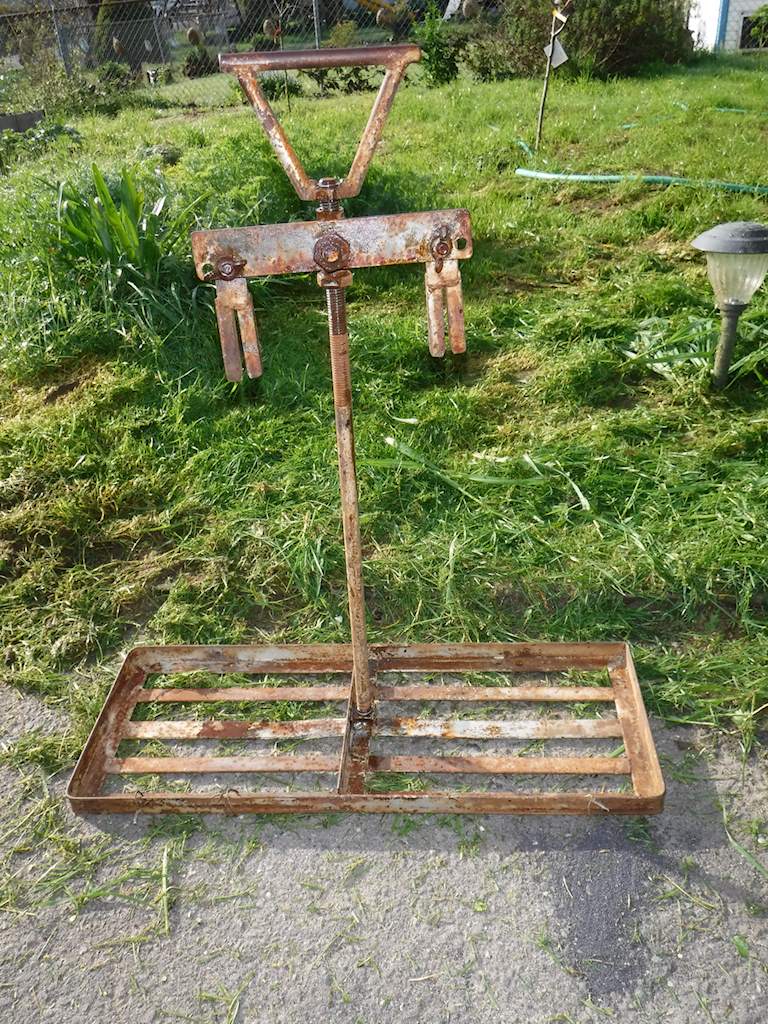
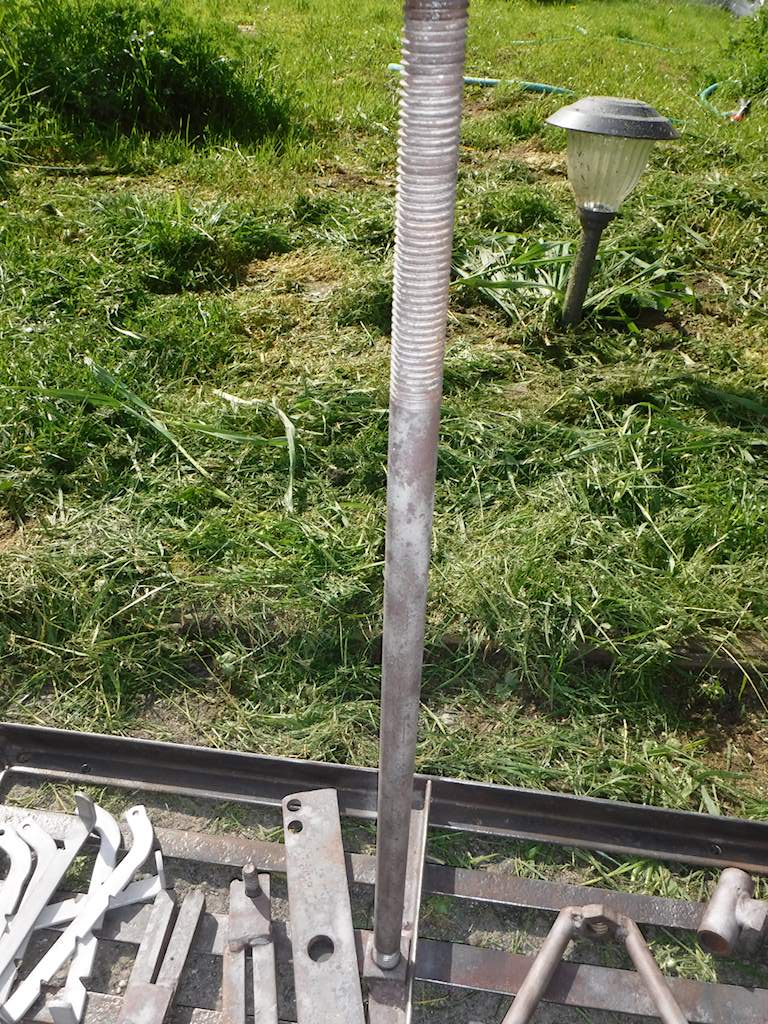 The frame currently has two coats of paint, the wheels have two, and the propane tank holder has one. I’ll get frame and tank pictures tomorrow. I like the way the wheels look.
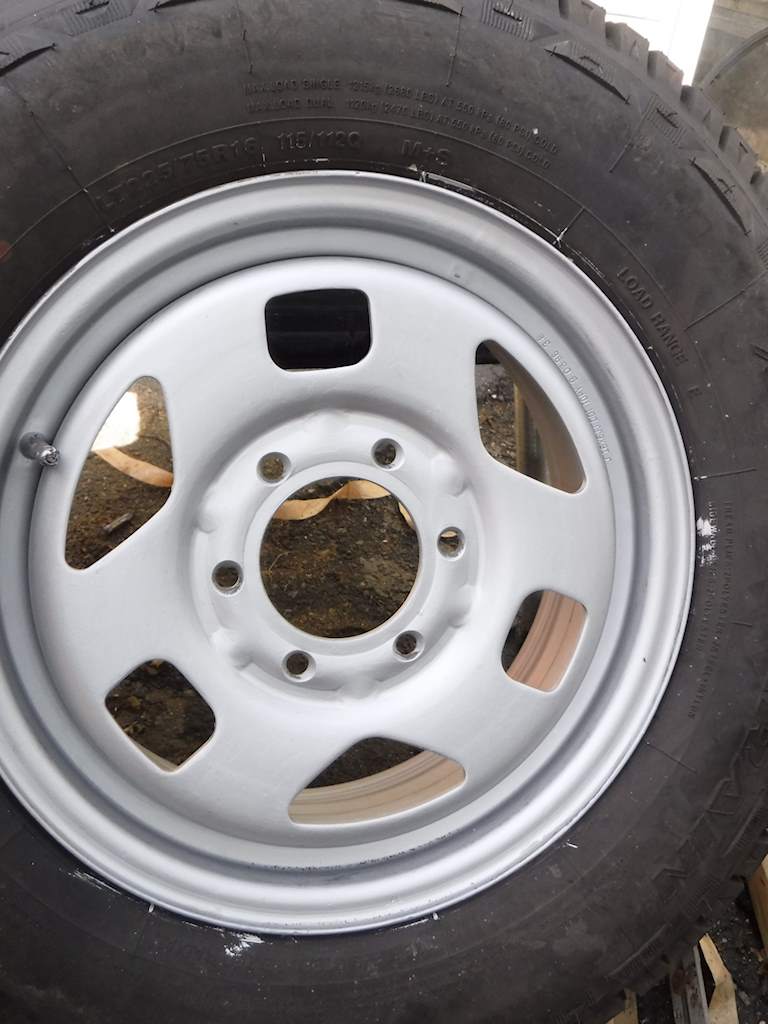
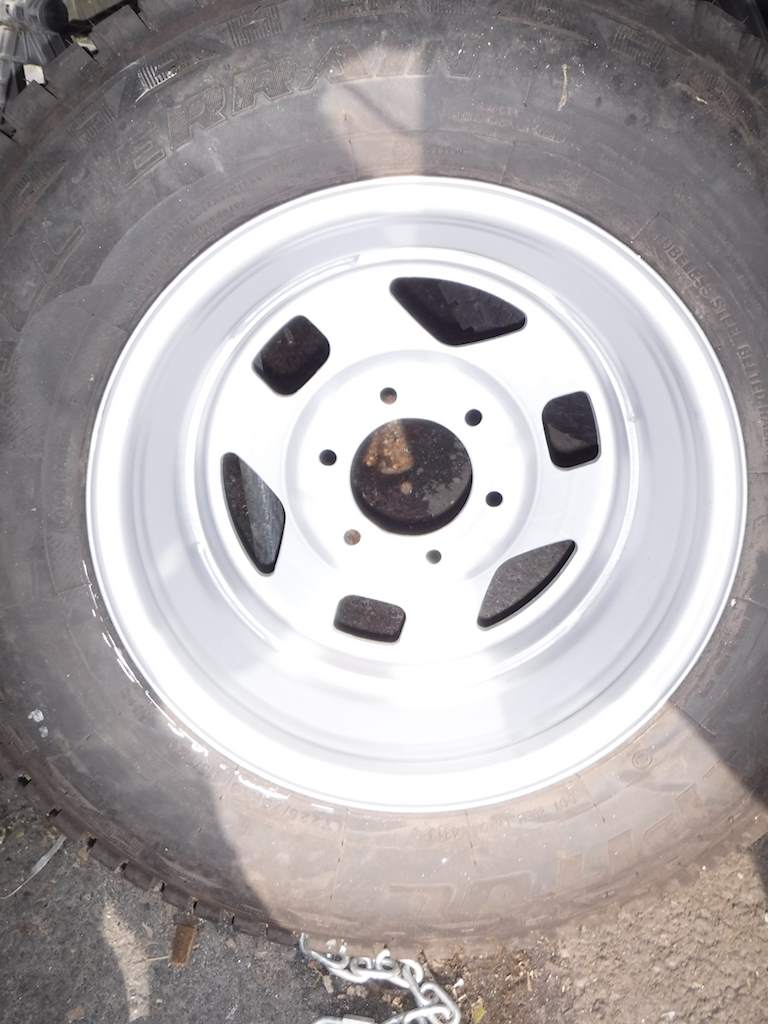 I mostly really like this Alumathane. But it’s “only” good for 250 degrees Farenheit. That’s way higher than most of the trailer bits will ever get, but brake drums could get hotter. So for that I got this stuff:
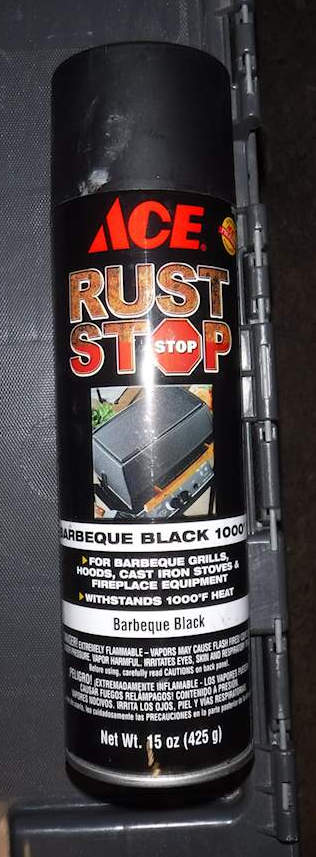
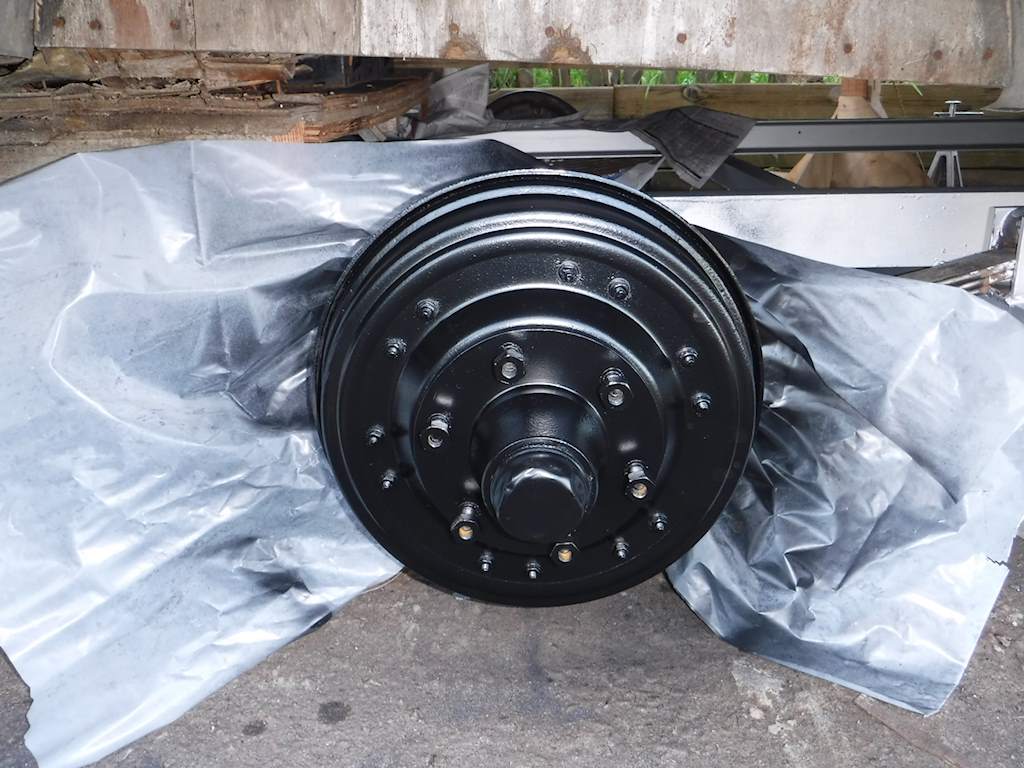
 And I was able to get two coats of the Alumathane on. It’s curing now.
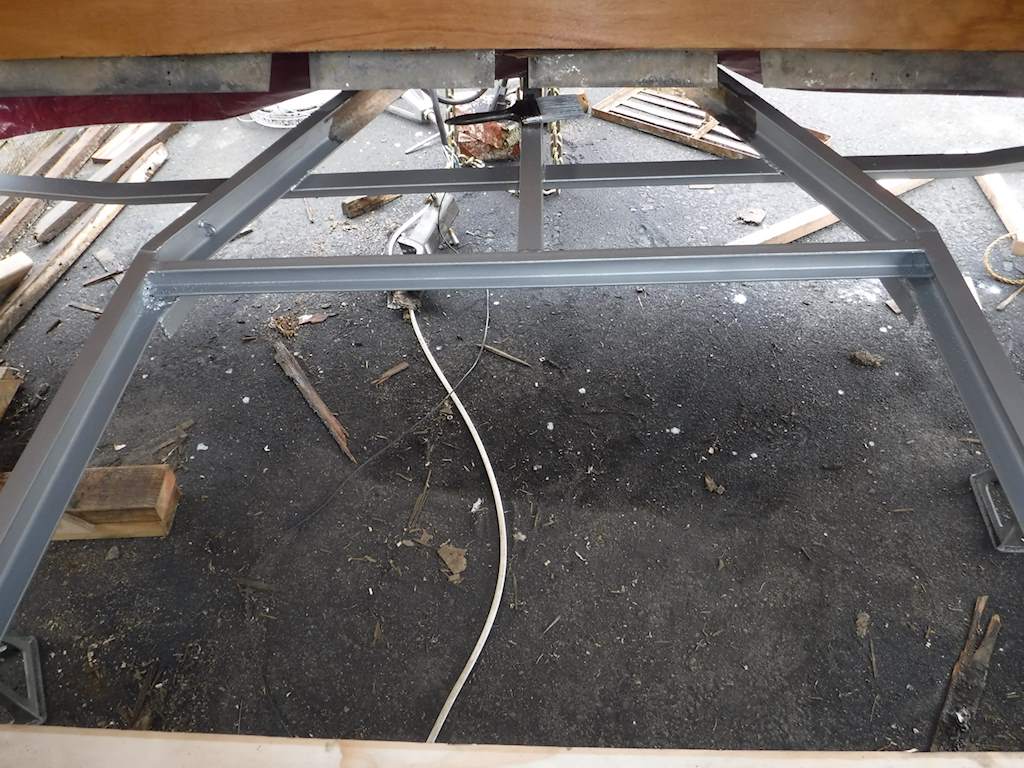
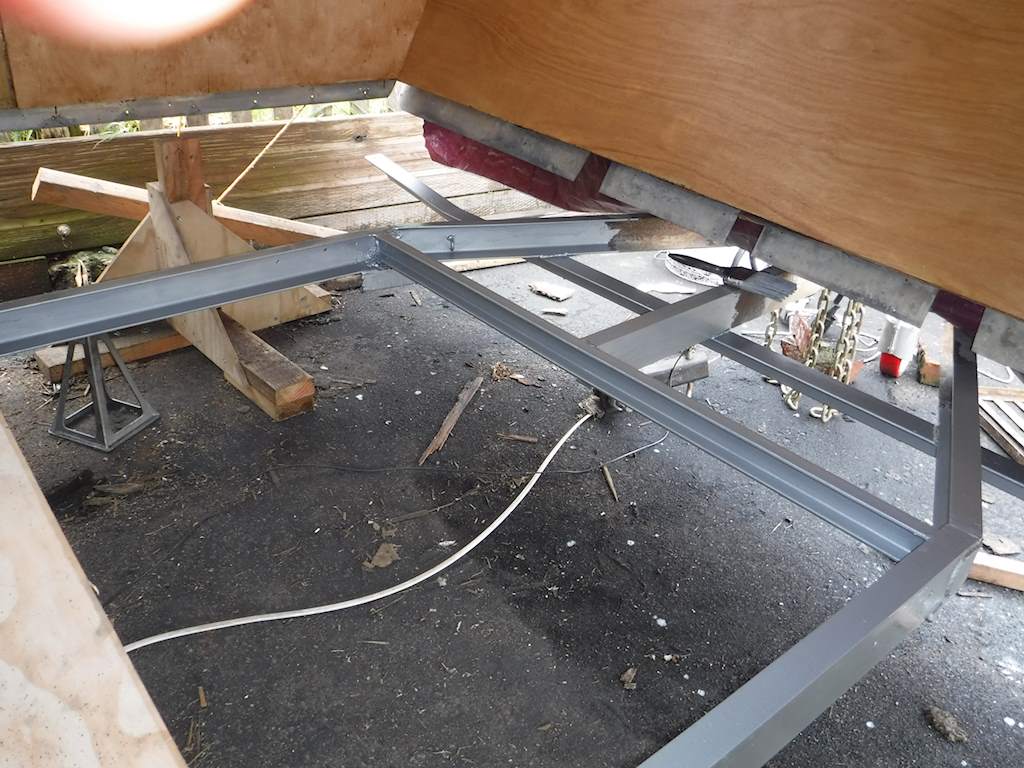 Then I need a couple dry hours to get this floor section in and the next one out.
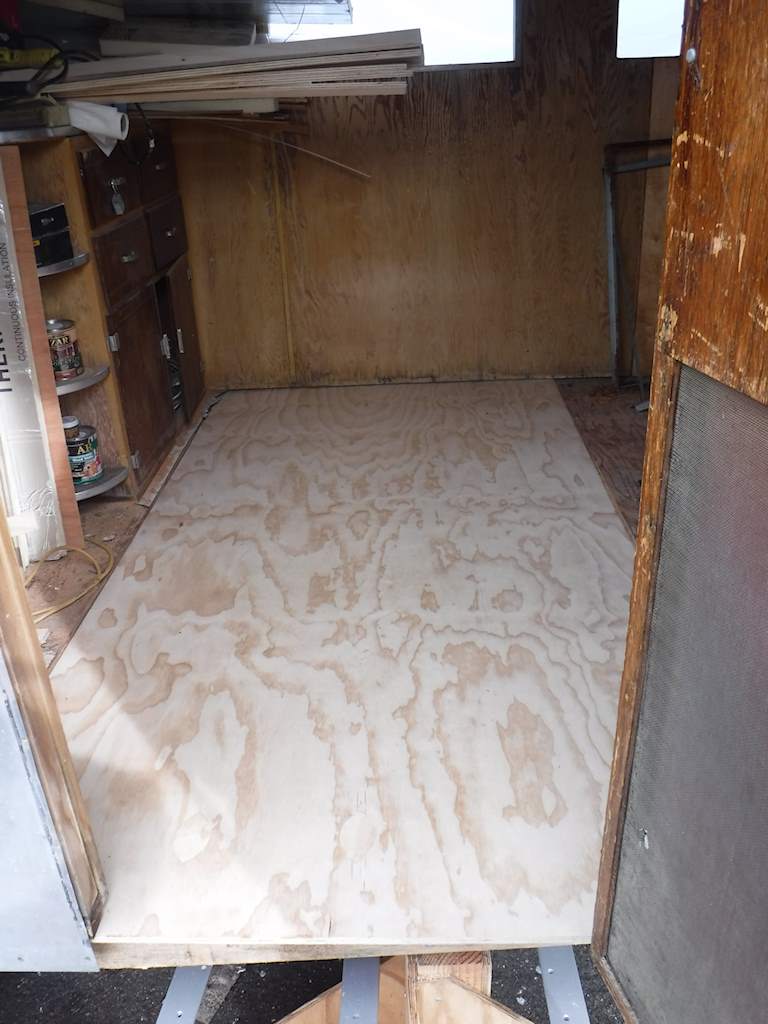
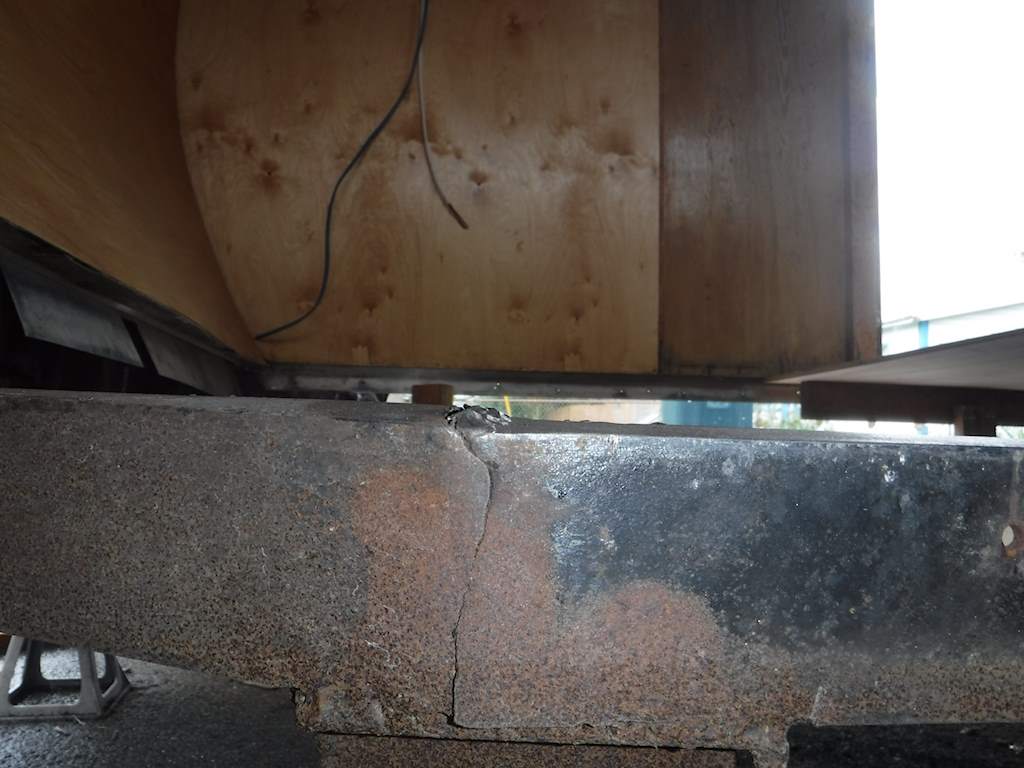
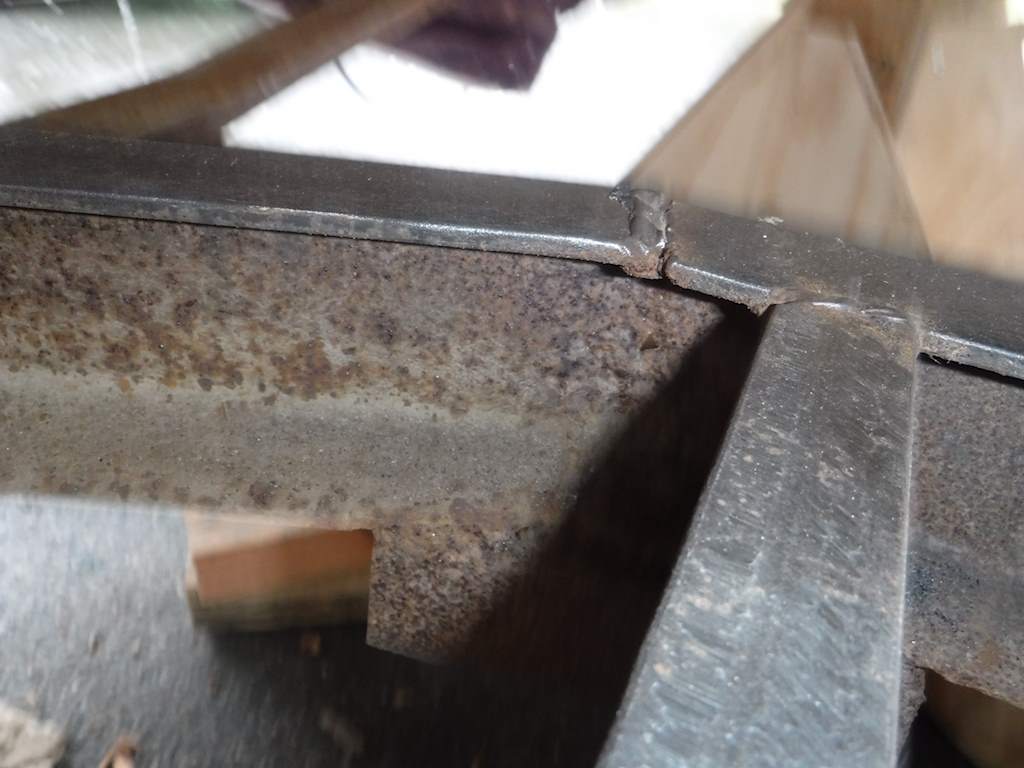
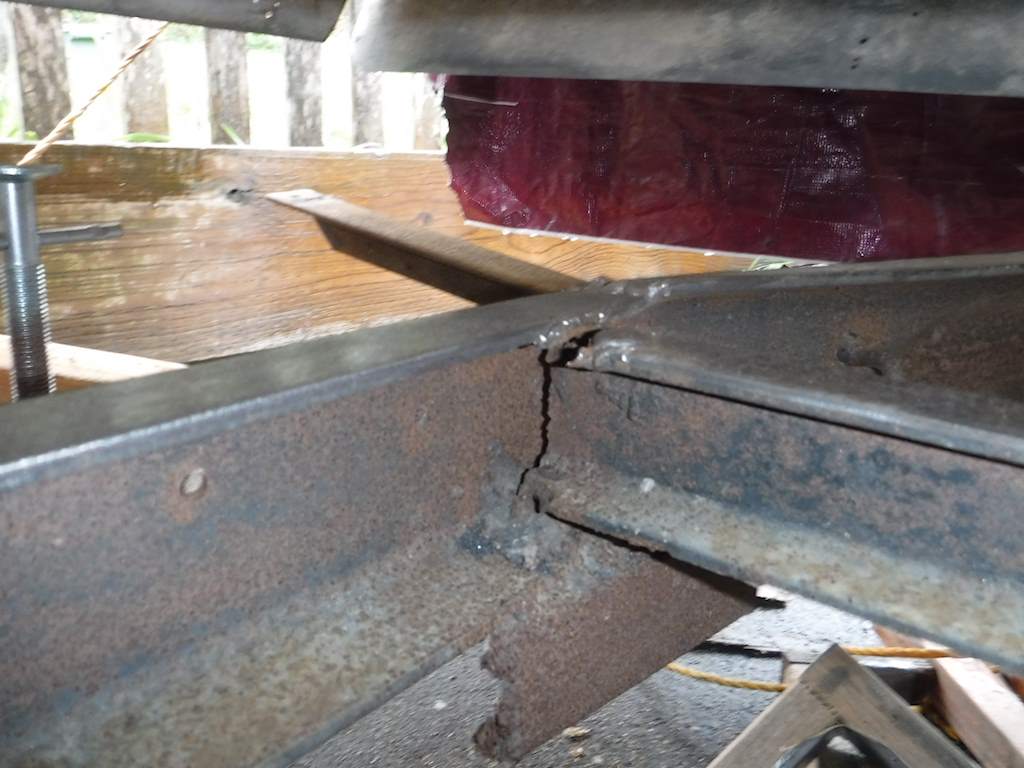
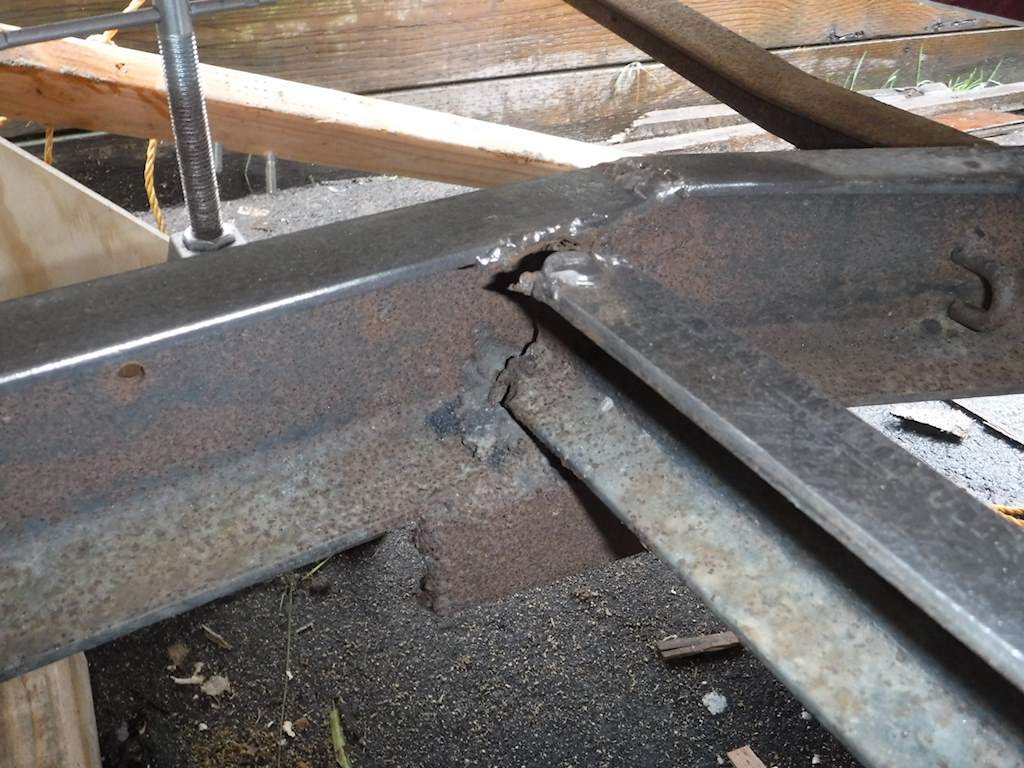
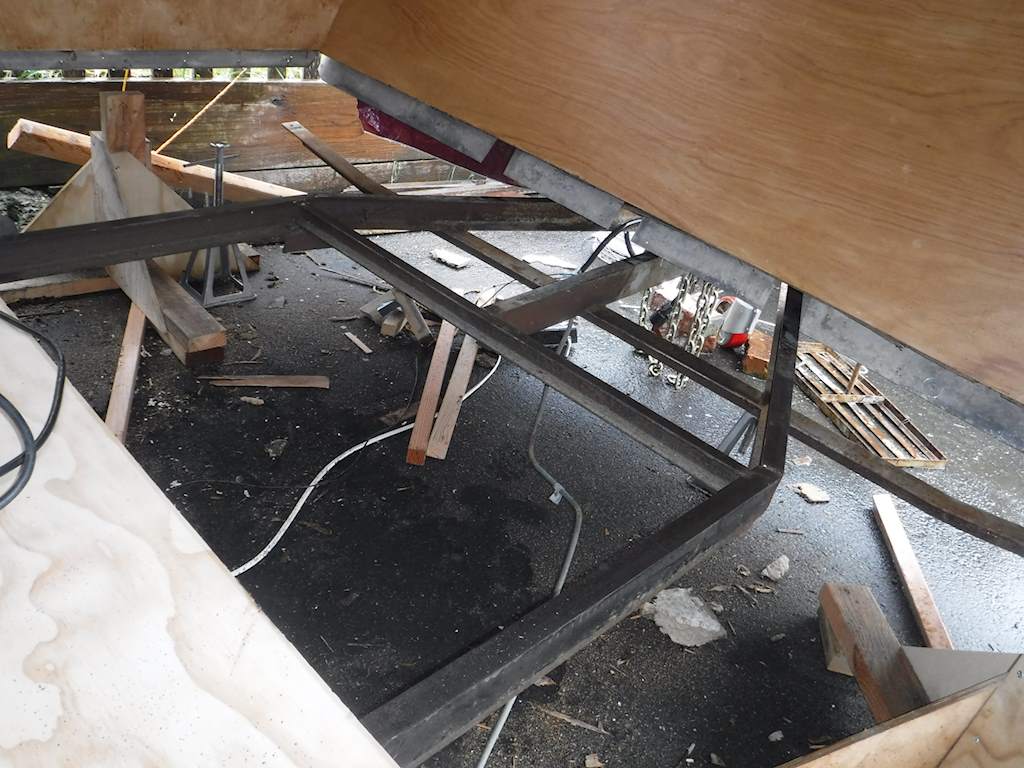
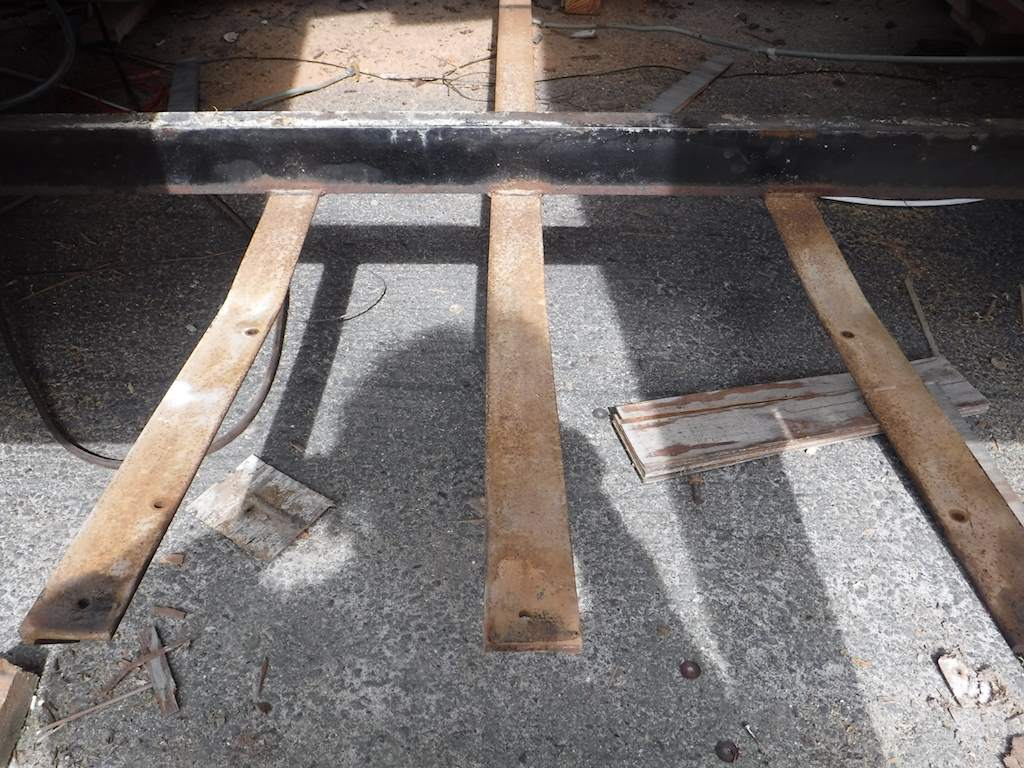
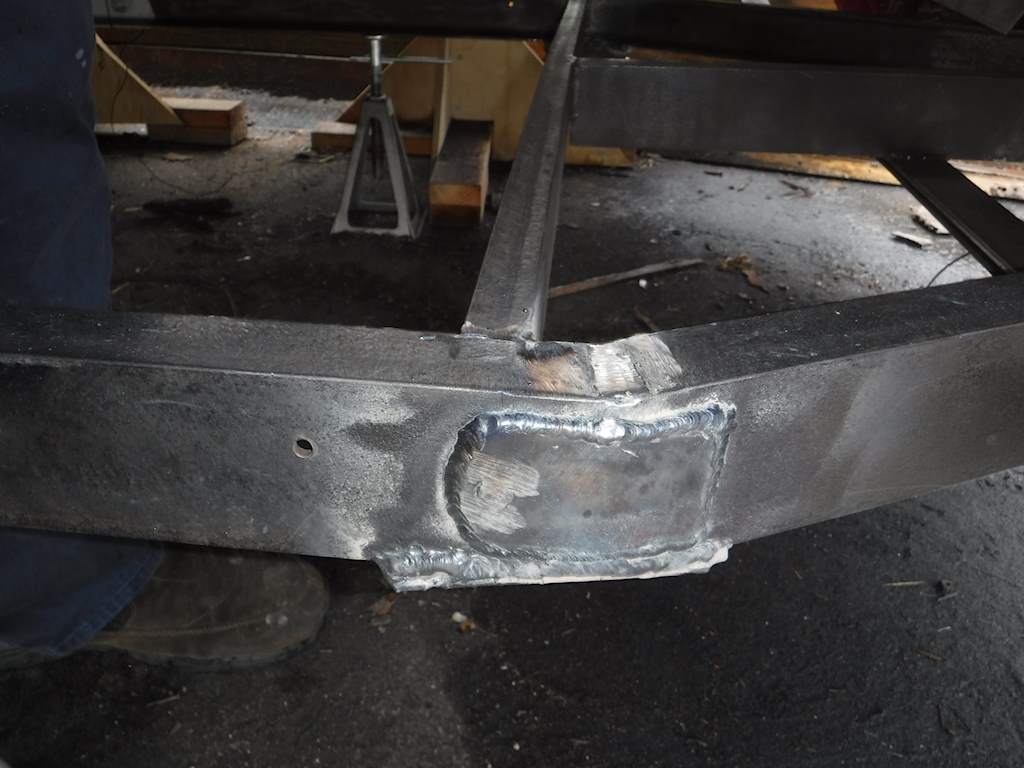
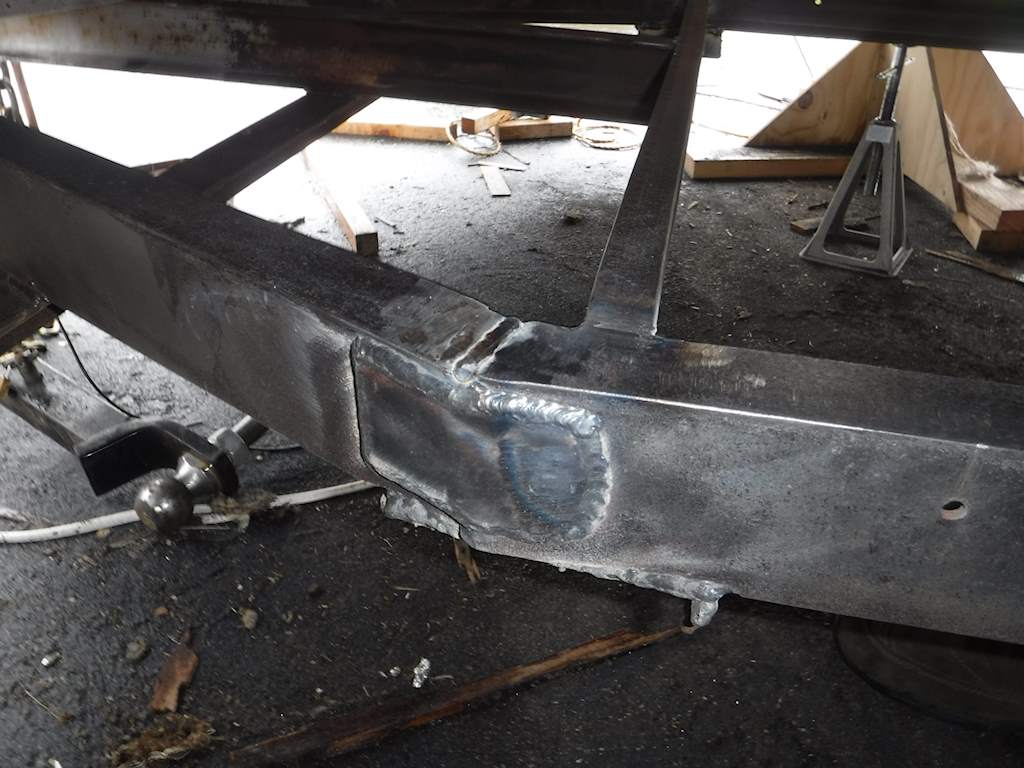
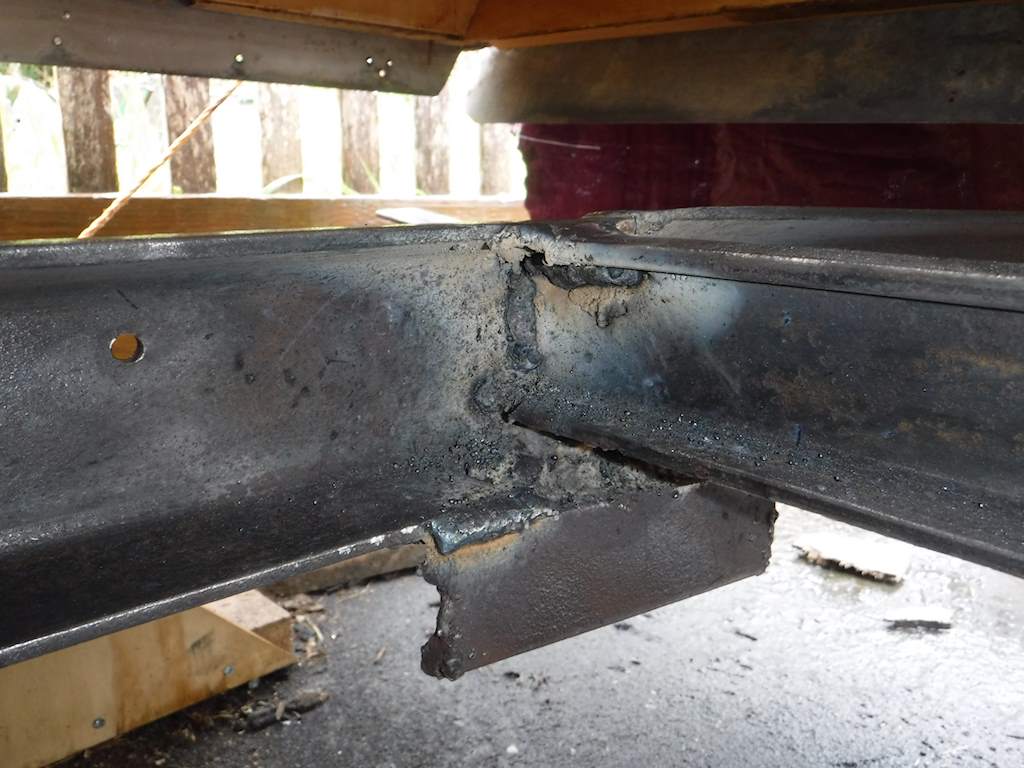
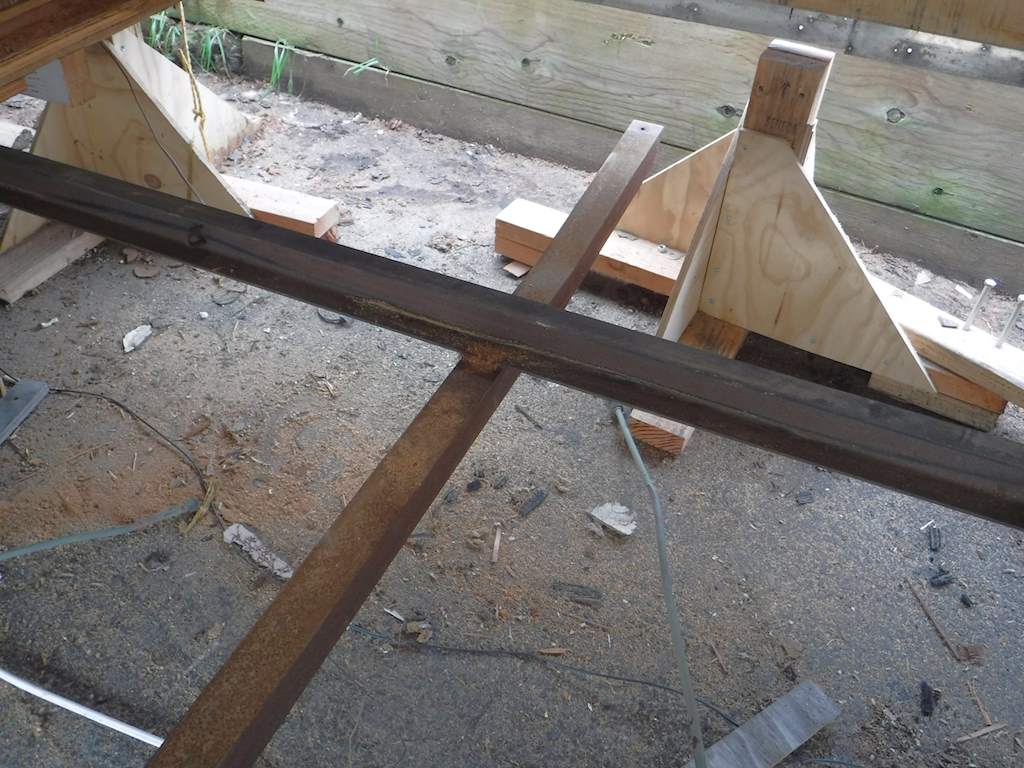 Definitely rusty, but only fairly light surface rust. That must be because (according to the previous owner, who I believe was the second) it was parked and not moved. So I cleaned the rust off. Mostly I used a 4.5 inch grinder with a wire brush, but I have a small sandblaster and used that where the power brush didn’t reach well. At this point I looked at the welds, and all look good. Decent quality and no visible cracks. And the first coat of Alumathane is on.
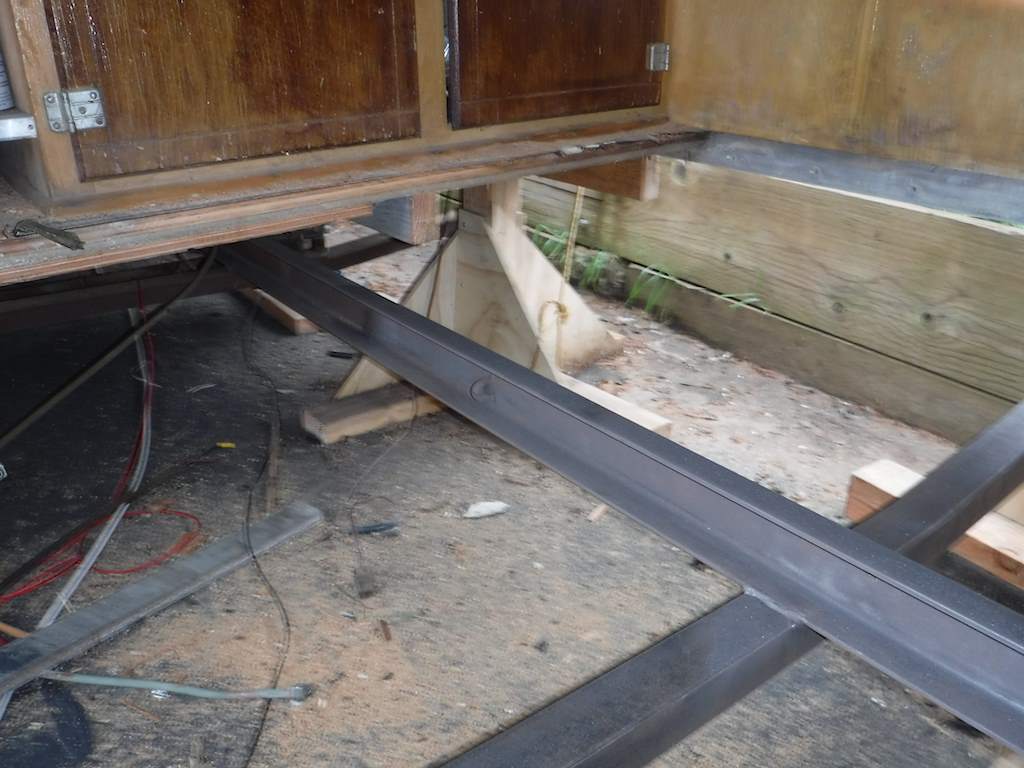

 Another dozen or so of them. Also needs a Dremel, but this done prone under the trailer.
 I wonder why they put a fuse box in a 24×45 bathroom, about 2 feet from a shower? Seems like a possible problem there. But the walls were NASTY. Some kind of paneling with a coating on hardboard/Masonite. Then they were painted pink many years ago, and that was peeling pretty badly. And put on with several hundred slotted screws. All painted over, so hard to remove. So I got that all off. I then cut out the drain.
 And it now looks like this:
 And that picture answers one question I’ve had. I have wondered whether the bathroom was a modification, or original. Since that part of the rear wall is un-varnished, it’s original. If it weren’t done at the factory that back wall would be more the same color as the other interior walls.


 I’m working on the side 2×2’s. Those are connected via carriage bolts from above. Removing those requires pulling the lower side panels. Now here’s something interesting. Look at the small added piece of aluminum on the right side above the wheel well.


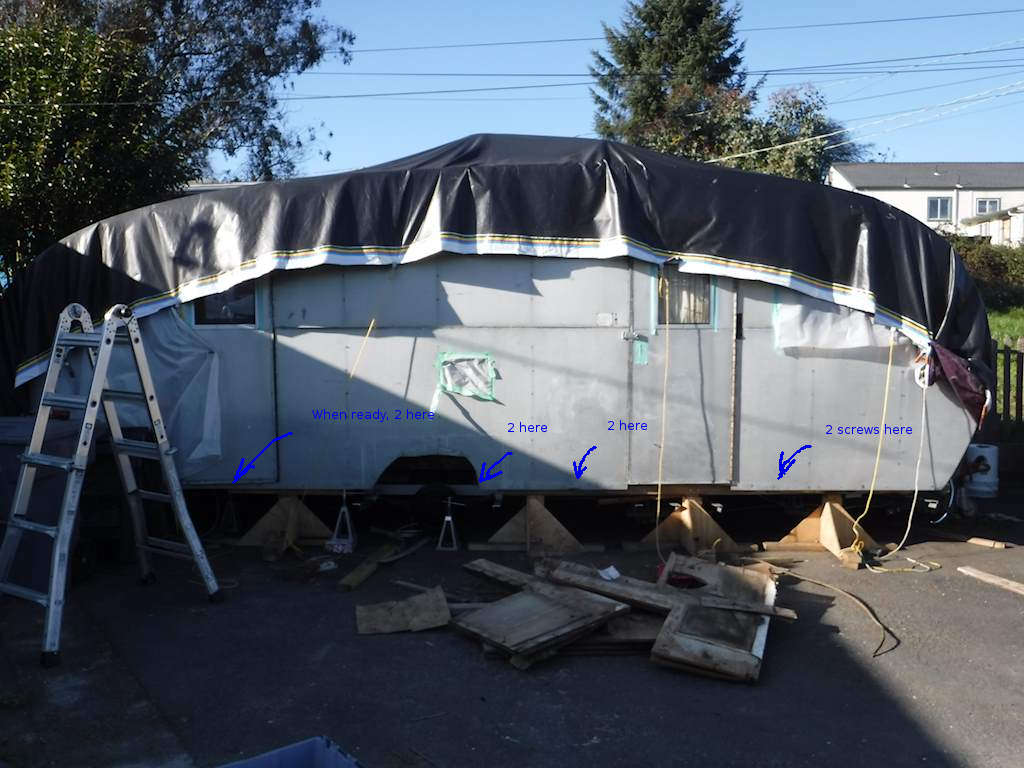
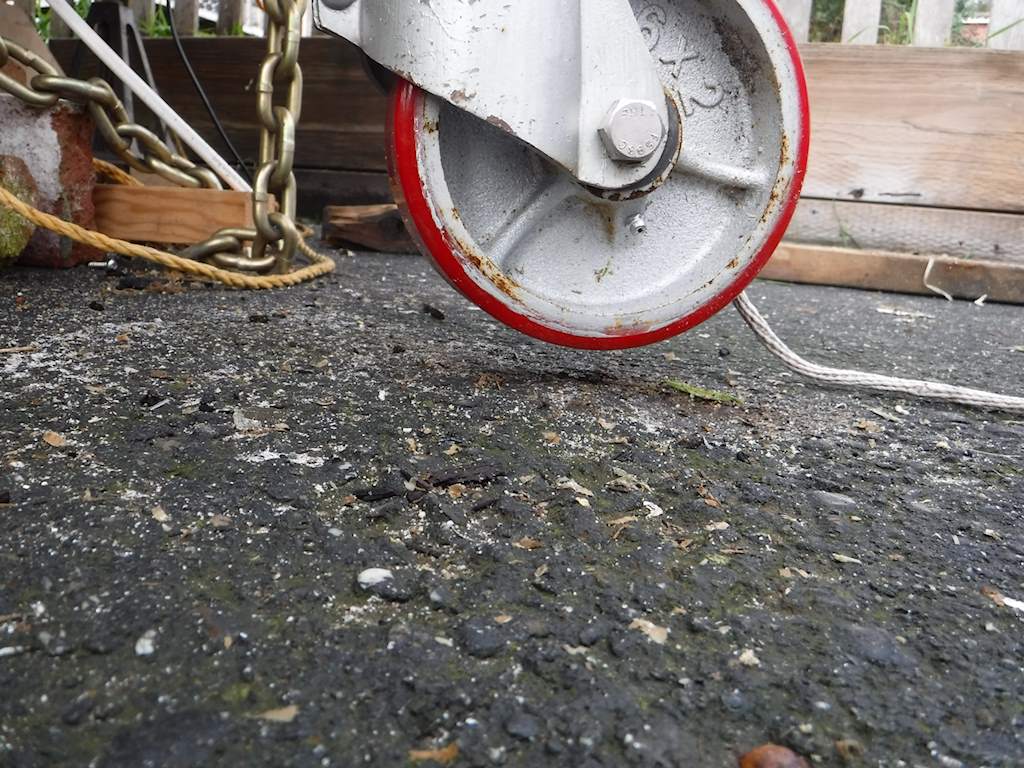 and the other jacks that were supporting it are also free. Like this:
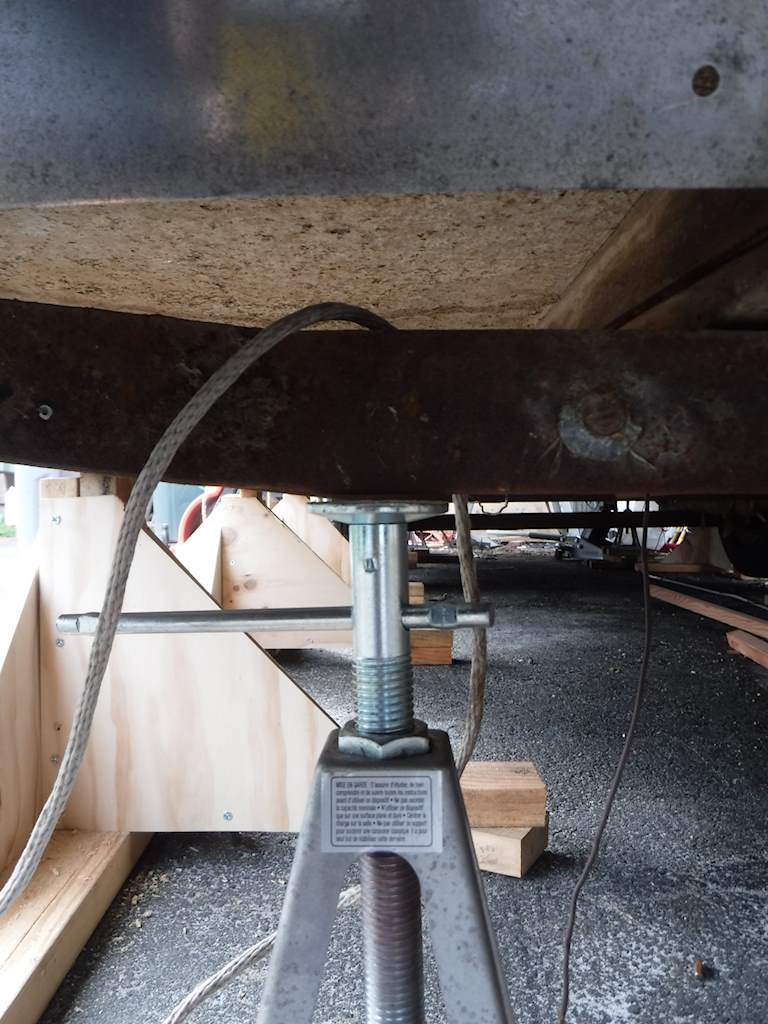
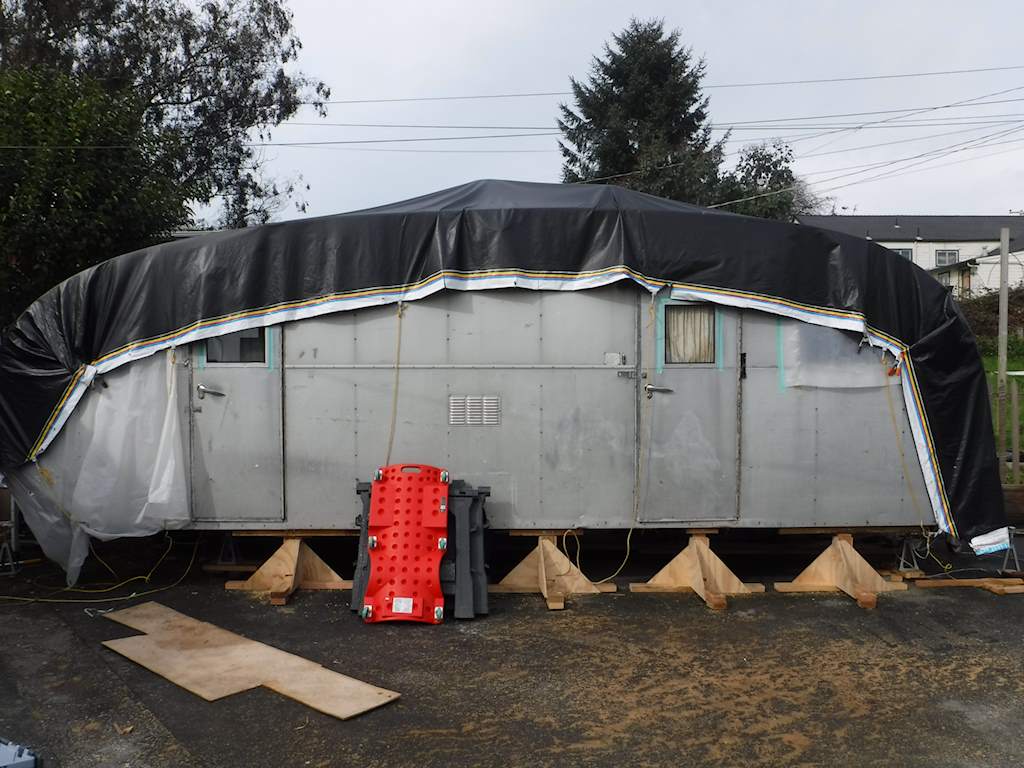
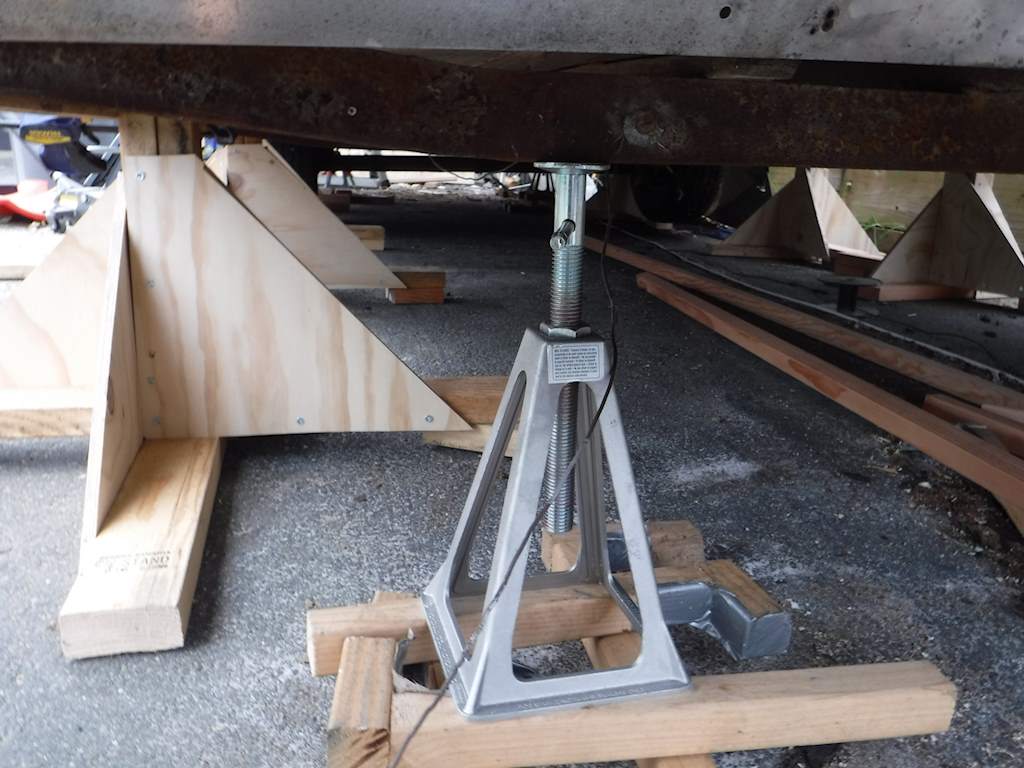 Note that this is NOT SAFE. I would be taking my life in my hands if I went under it while it was supported like this. The frame and body are still connected, and the tires are still on. The left wheel is just up in the air, and it’s easy to lift the right one up. If something happens and these jacks collapsed or fell over sideways, ABSOLUTELY NOTHING BAD WOULD HAPPEN.
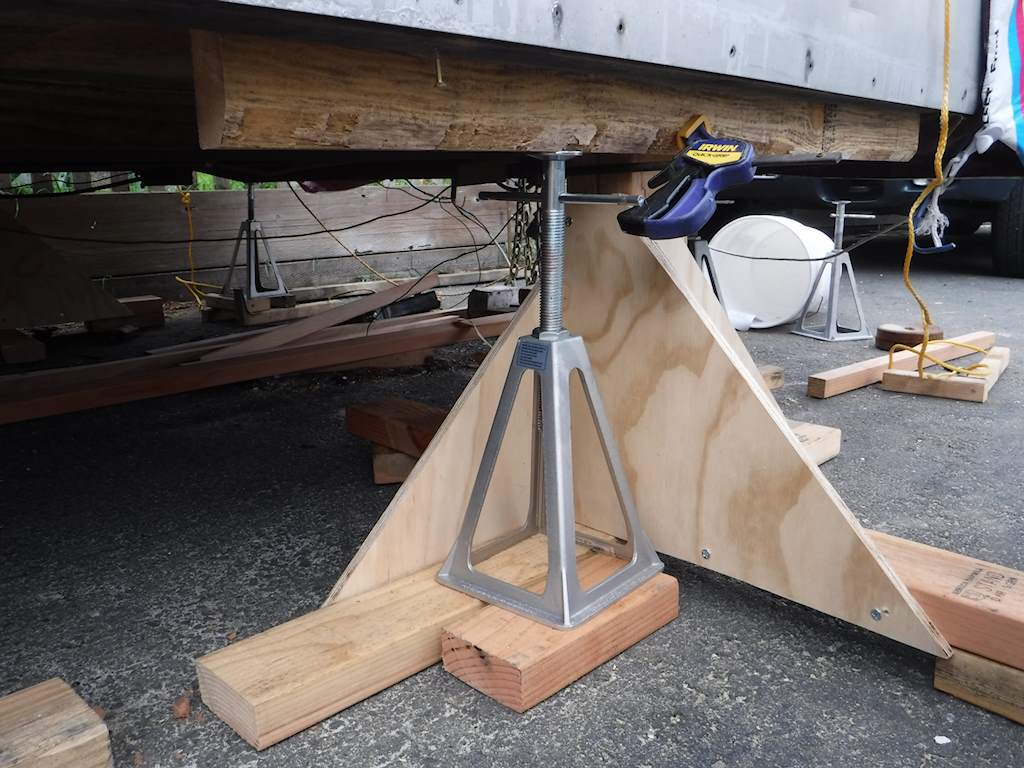 Now I can drill a couple holes and bolt those together. If I do that for all eight supports, the trailer will be well and SAFELY supported. I’m guessing the full-up trailer will be around 4,000 pounds. Maybe a bit higher. Dry and empty and with no batteries it should be slightly less. Without the frame it should be under 3,000. Any one of those supports with two 3/8’s bolts should be able to carry that much weight with a little spare strength. I’ll never go underneath the trailer unless it’s supported on at least six.