February 24, 2016

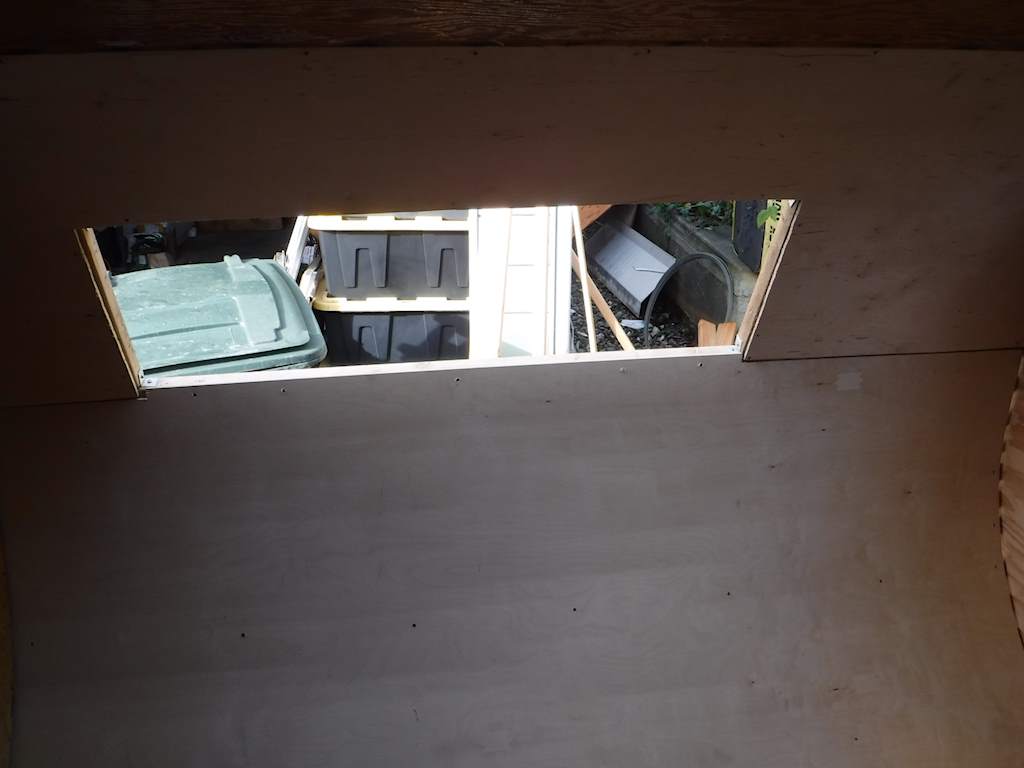
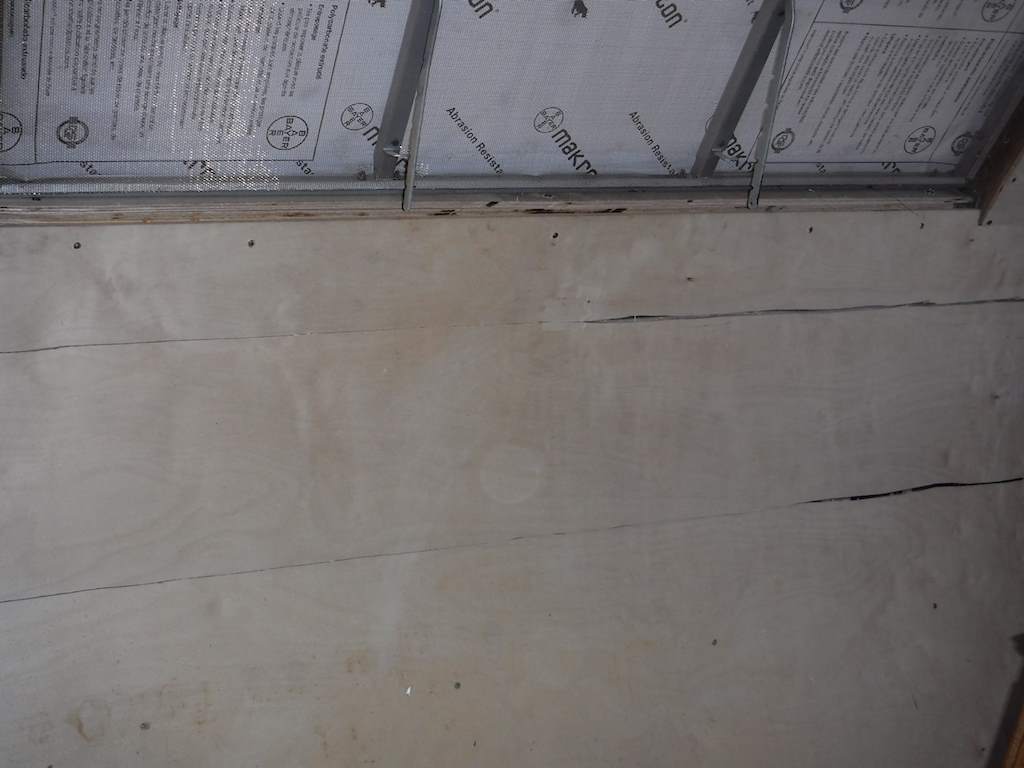
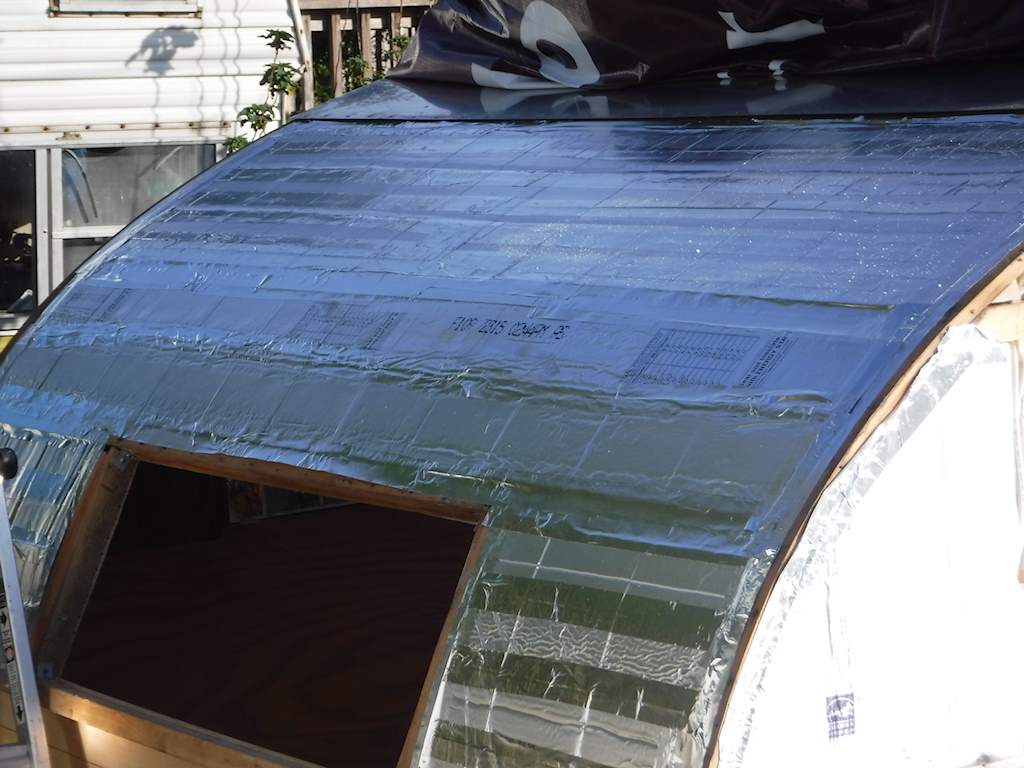
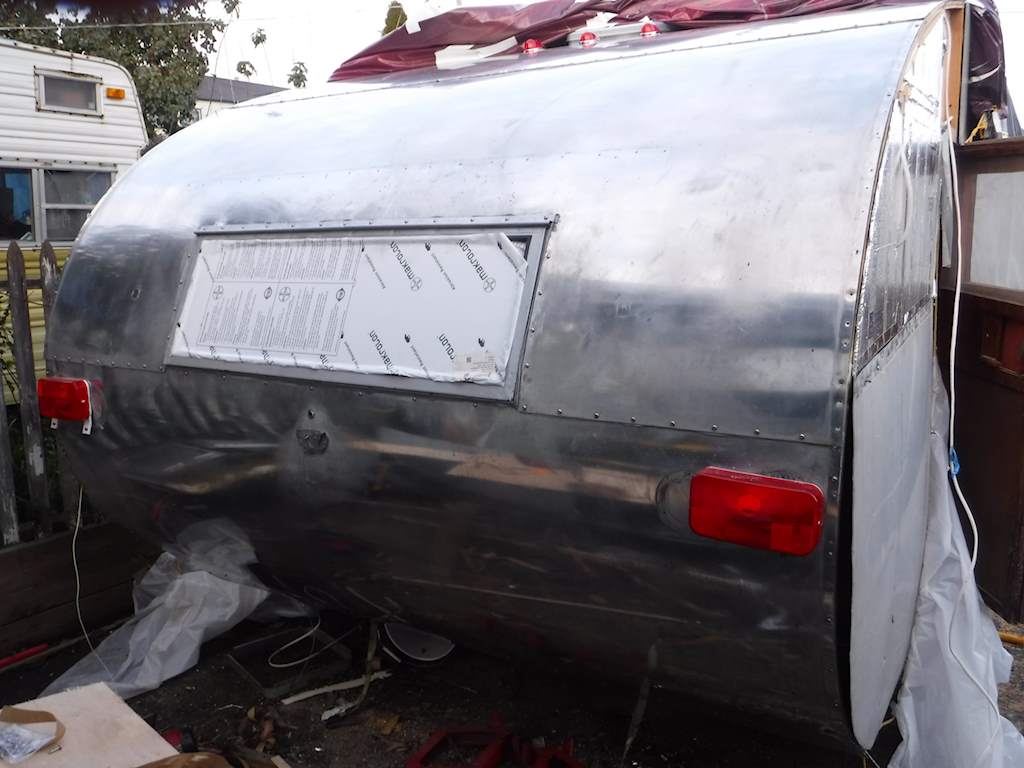
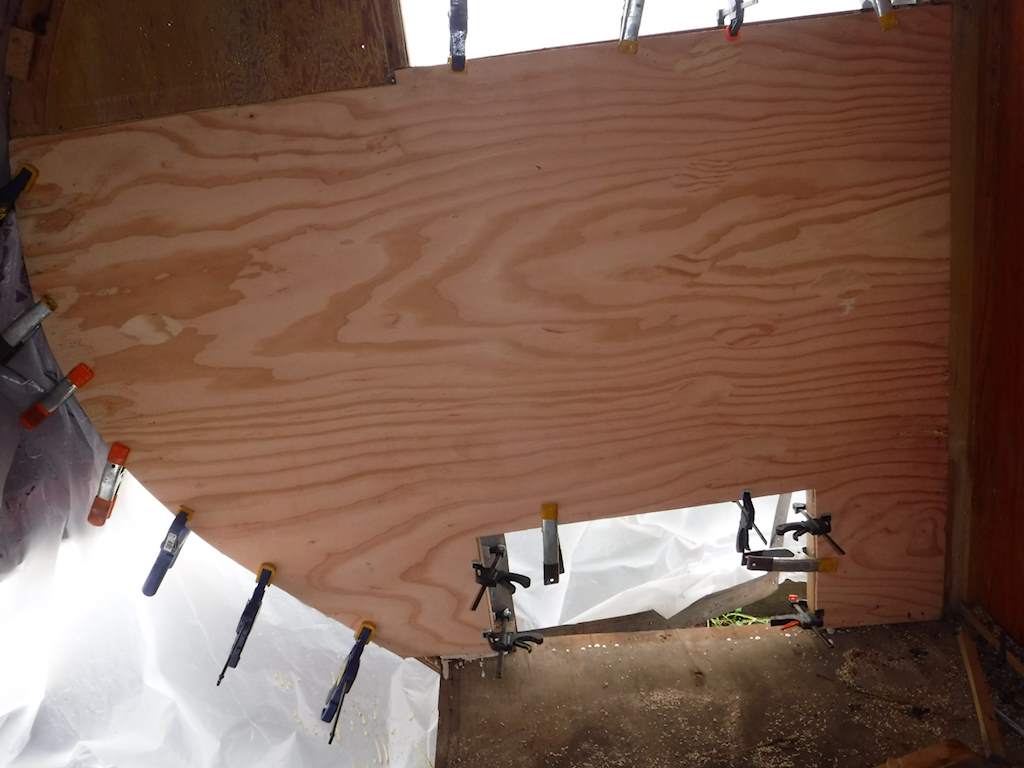
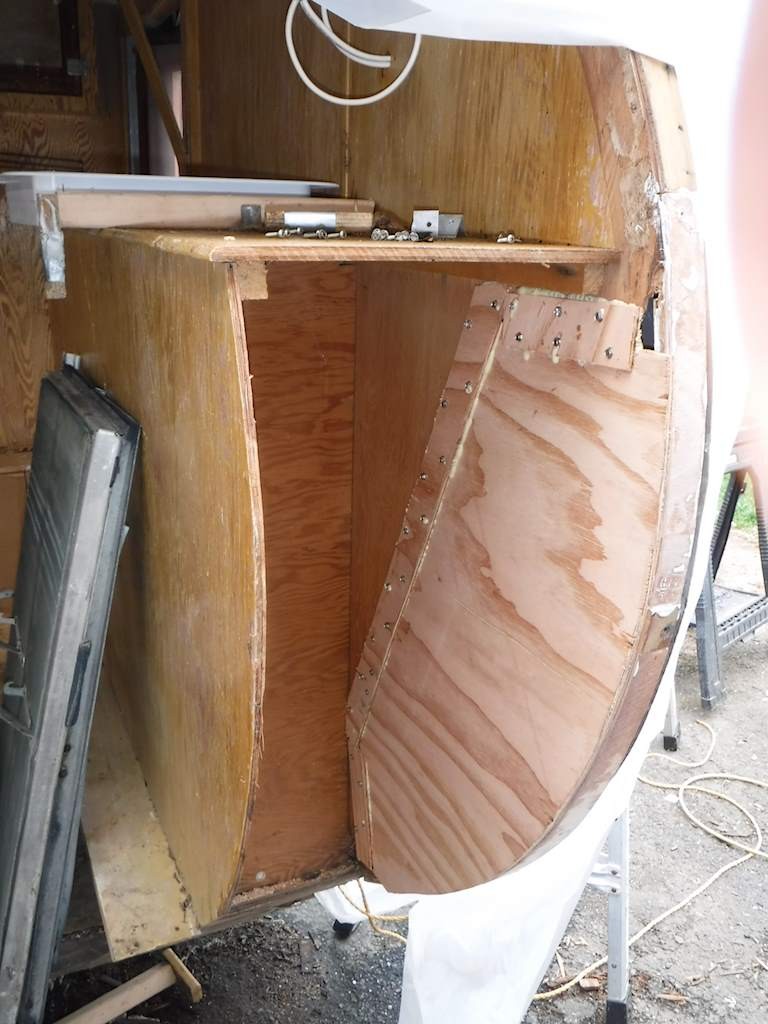
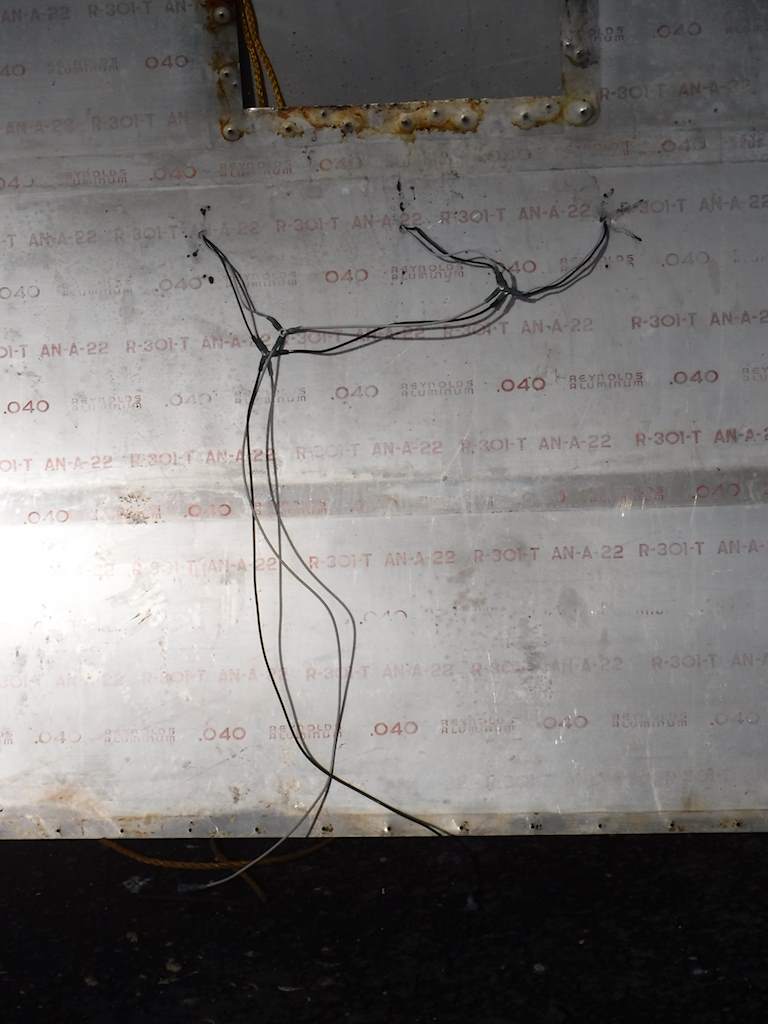
Just a couple photos today.  I finished polishing the two front panels.  I ran wires for the two front reading lights. Those are the first two where the wires are going to the interior, to the final location.  I had to make cutouts in the insulation for the wires.  Here we are with the wires in andthe insulation on (minus a few feet of aluminum tape.  I had run out.  After this photo I got more).DSCF0569
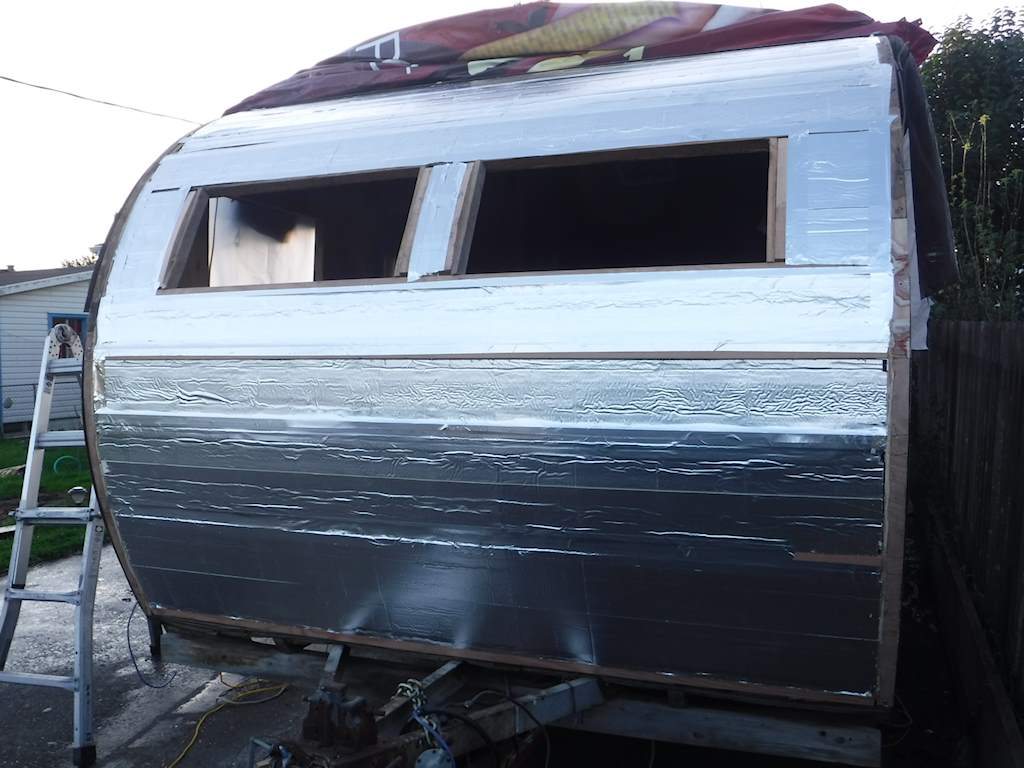
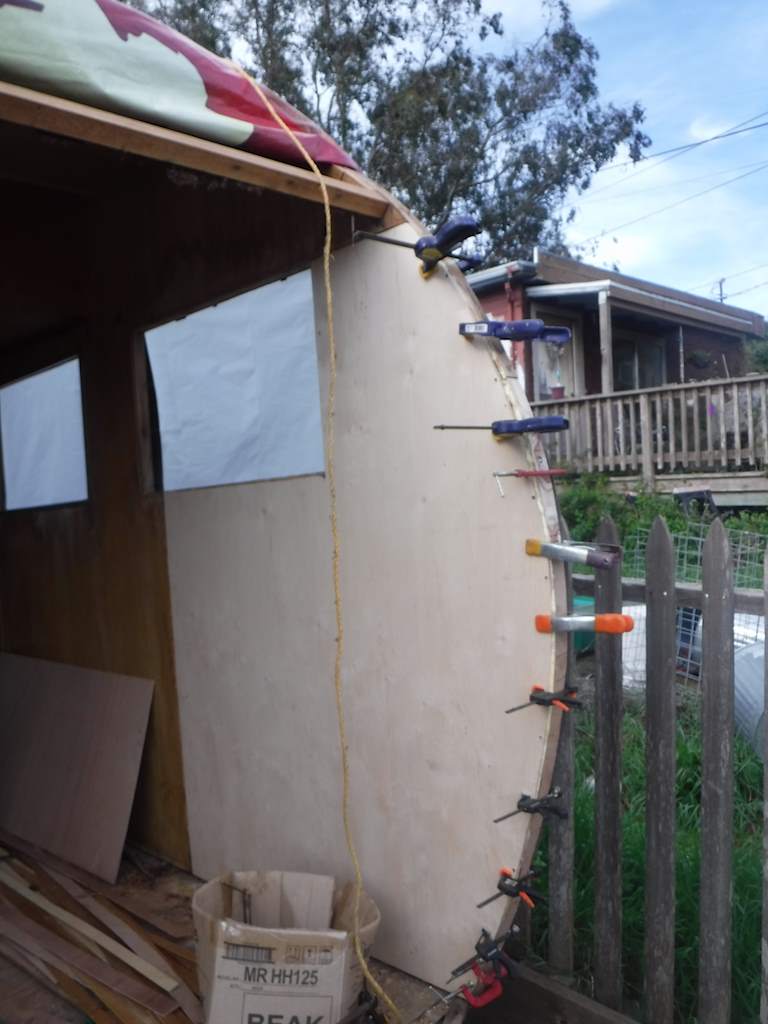
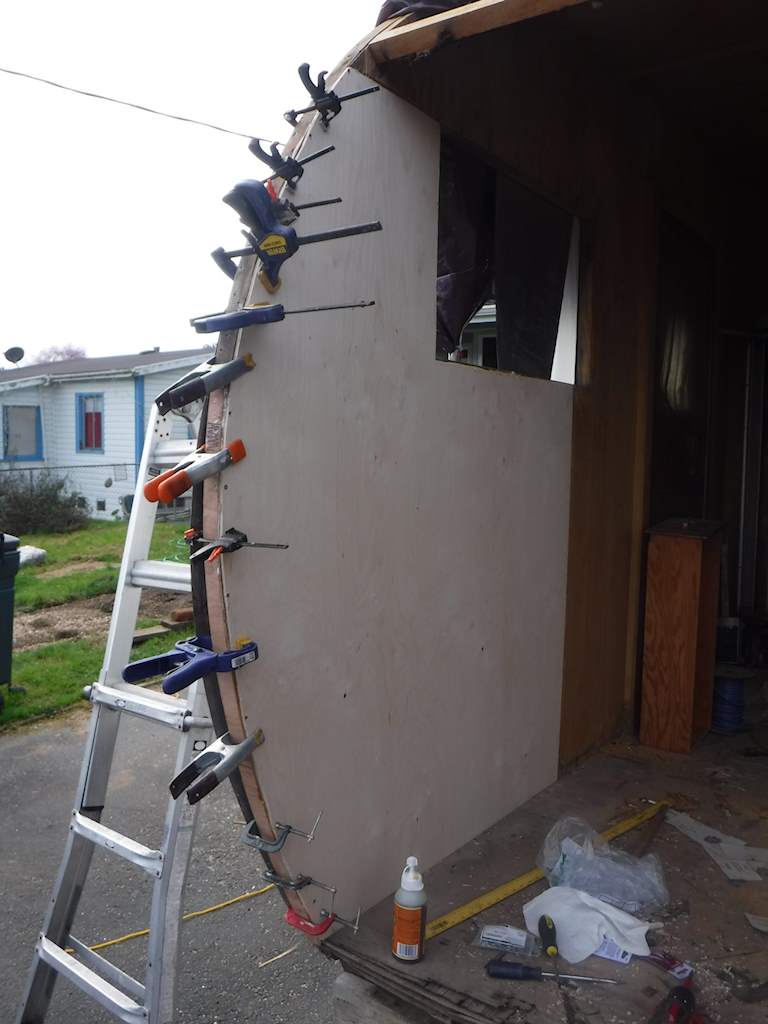
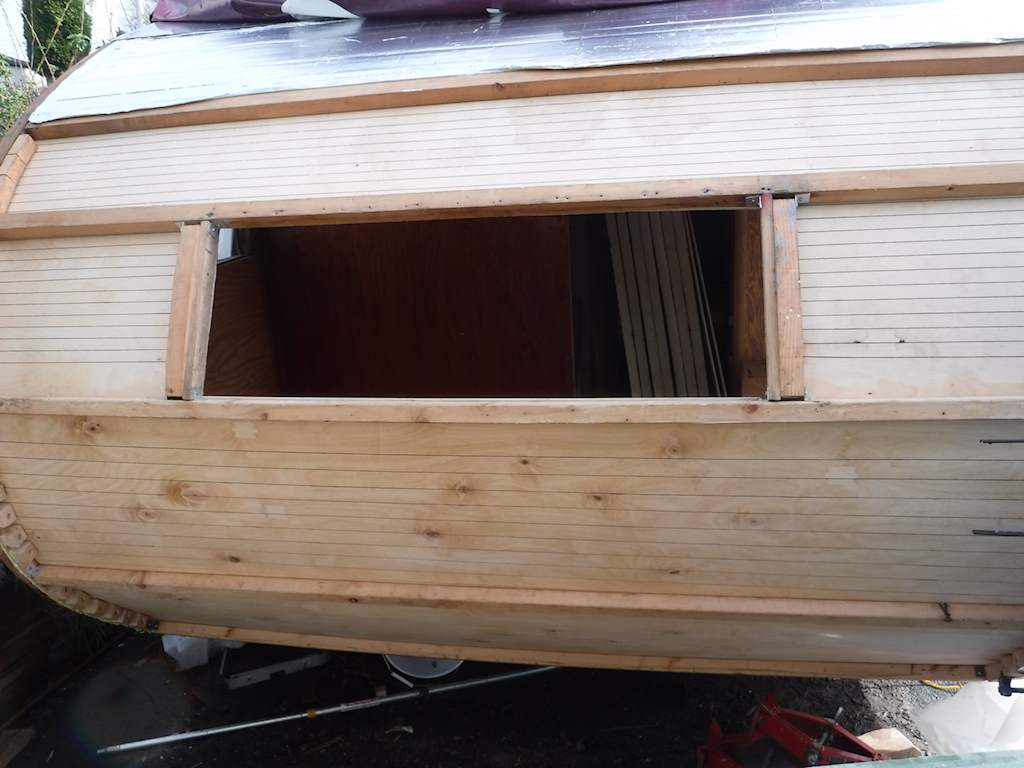
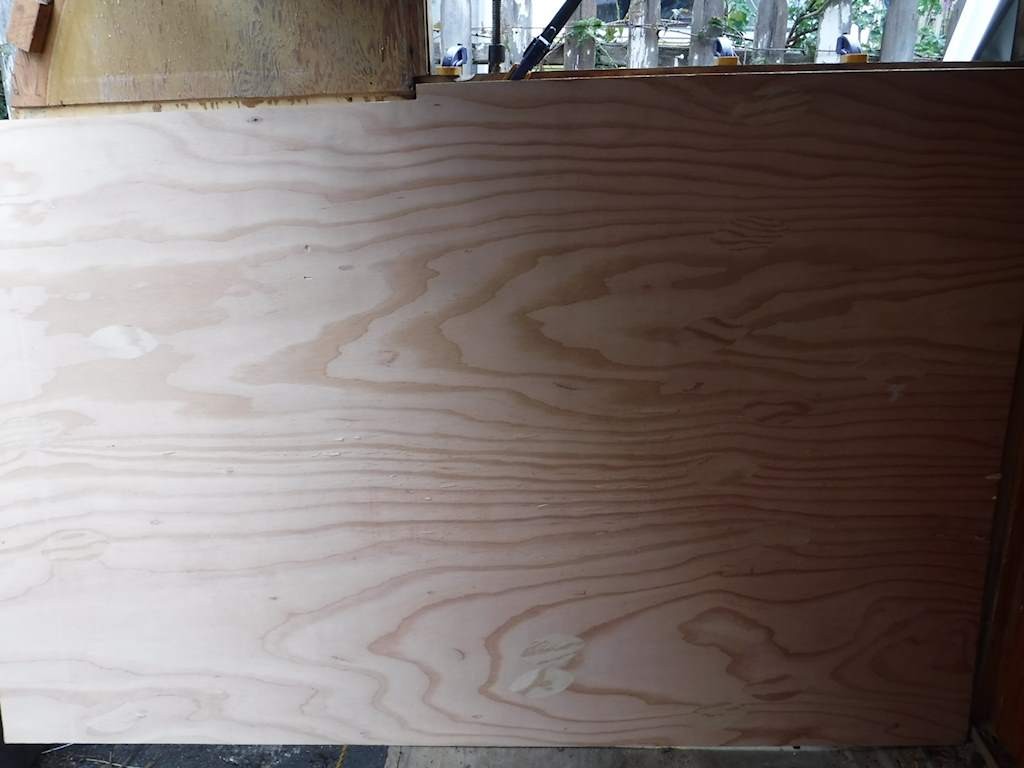
Again I had some final tweaks to do.  Planed a bit off the wood pieces around the windows.  Had to drill four new holes on between the two panels on the right.  A little push here and a little push there, and the front panels and window are on.
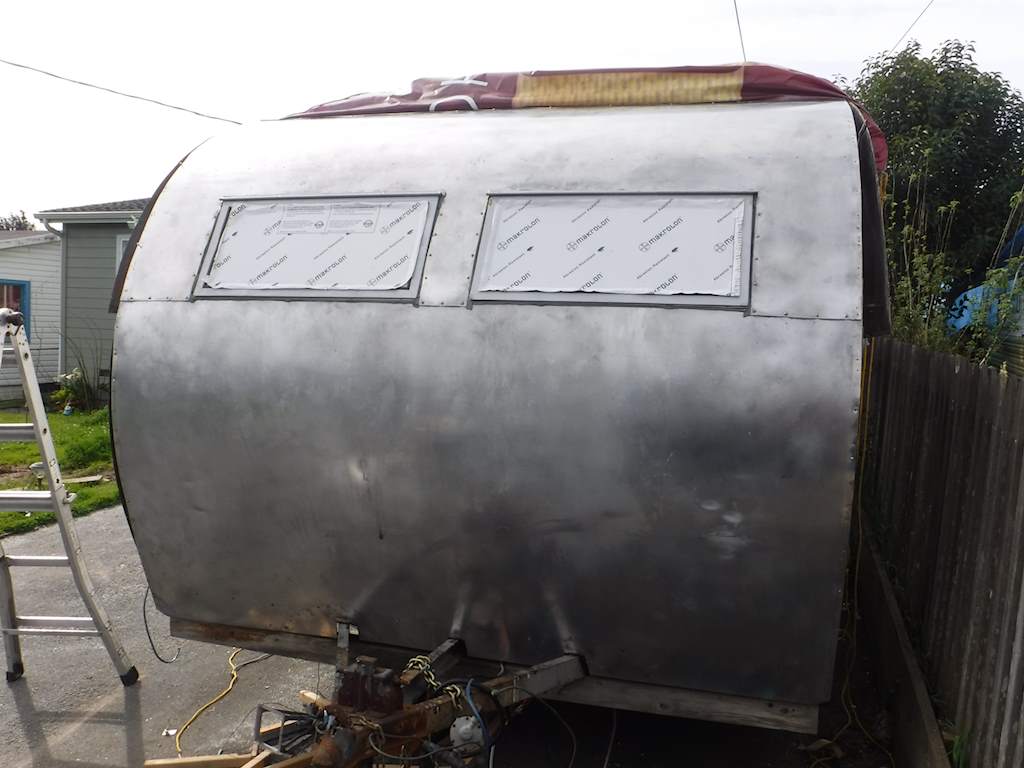
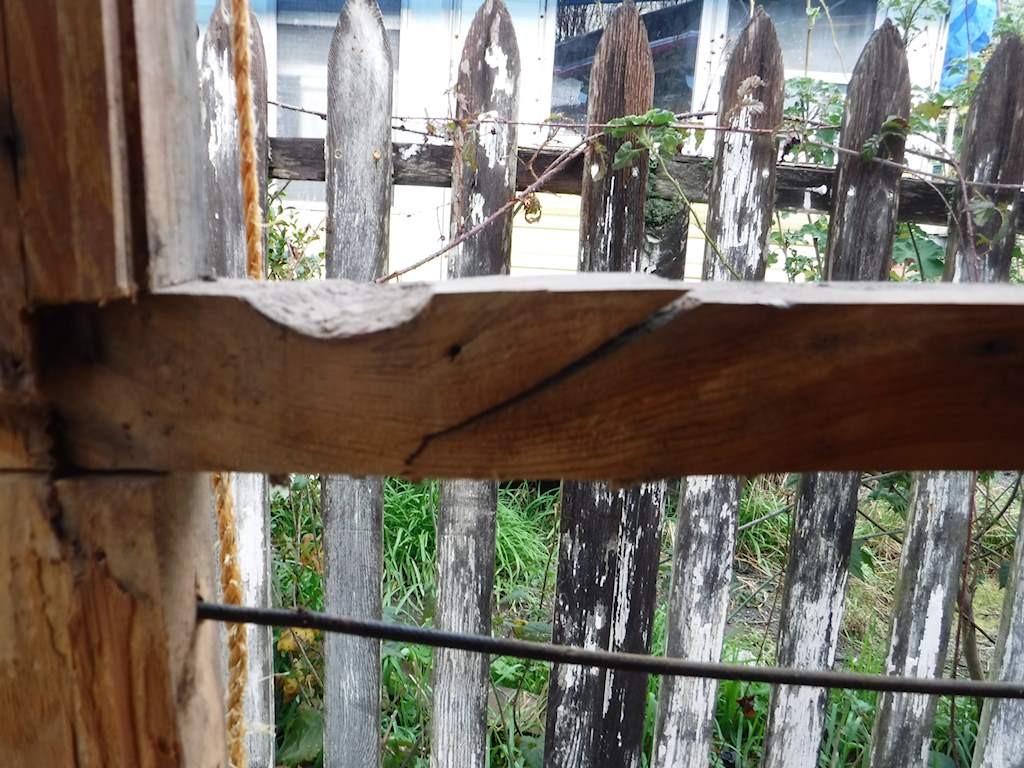
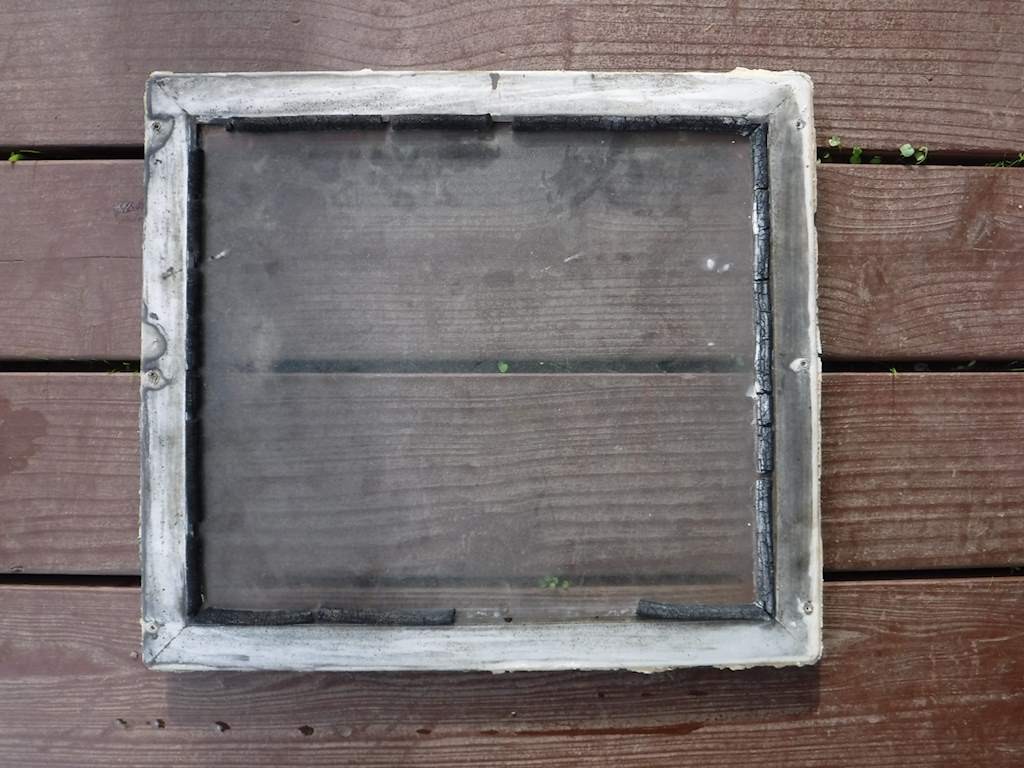
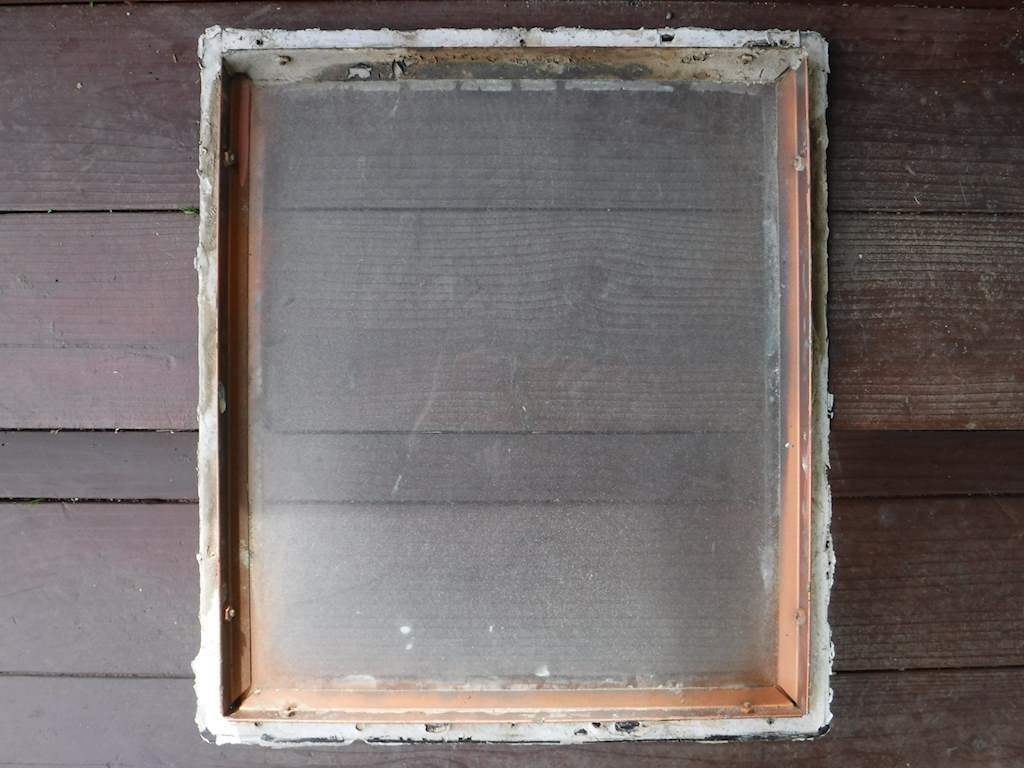
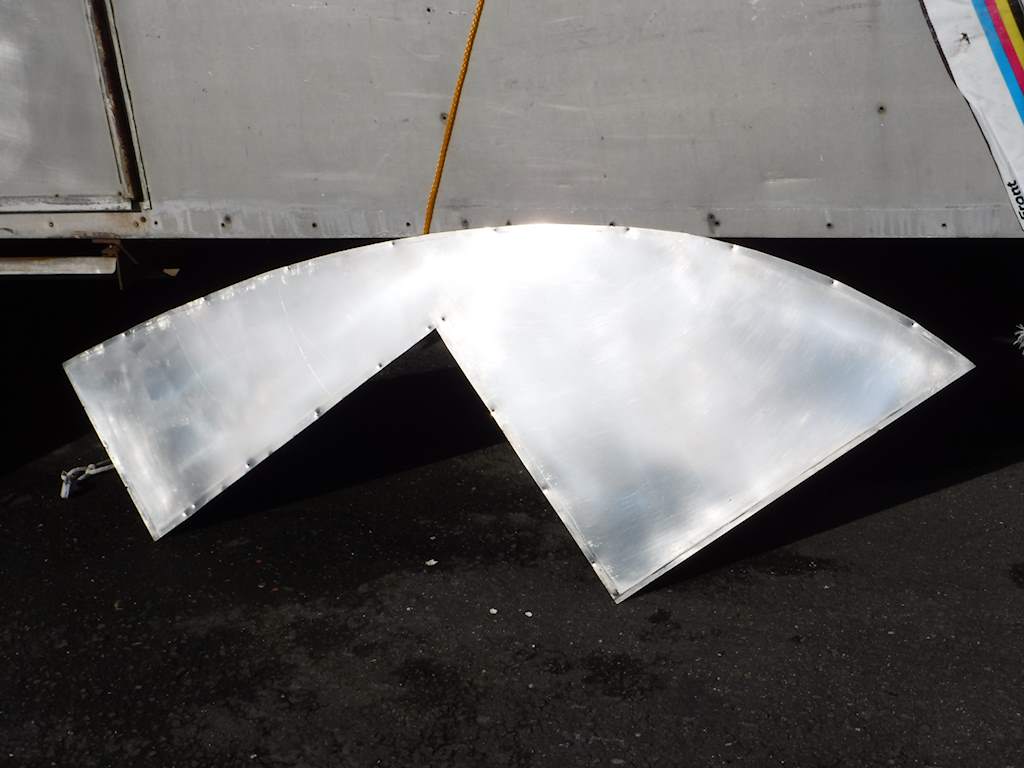
DSCF0574Those aren’t glass. They use polycarbonate with anti-scratch coating.  The white is the covering on the polycarbonate.  I’ll take that off when all the work is done.  There are aluminum awnings over the front windows, but I’ve only polished one of those. Also I’m almost out of screws. After I polish the other awning and the screws come in I’ll reinstall both. I’ve used something like 500 screws so far.  I have a couple hundred around and four hundred more on order.  There is some damage on the front, and one place where the skin is torn through.  I plan to put another layer on the very front, to cover these and to add some protection. It’s easier, cheaper, and faster to replace a strip across the front rather than the entire panel.

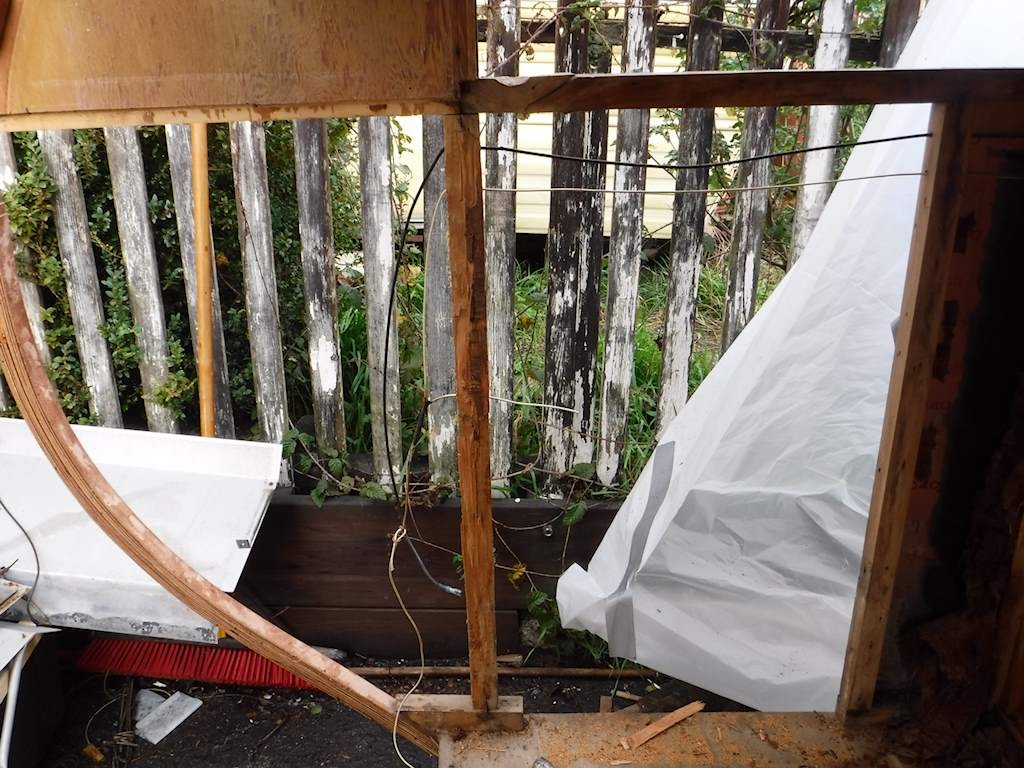
Now I’m working getting the trailer on supports stable enough that I can safely work under it (that part’s fairly easy), and where I can separate the frame from the body (not so easy).
February 20, 2016

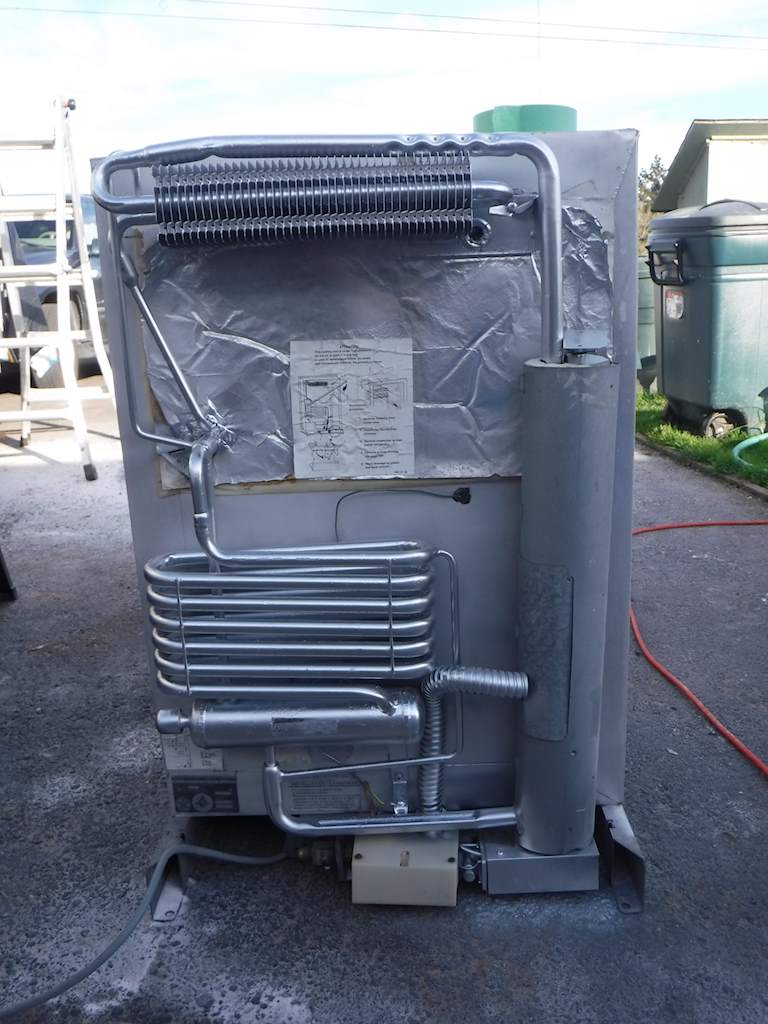
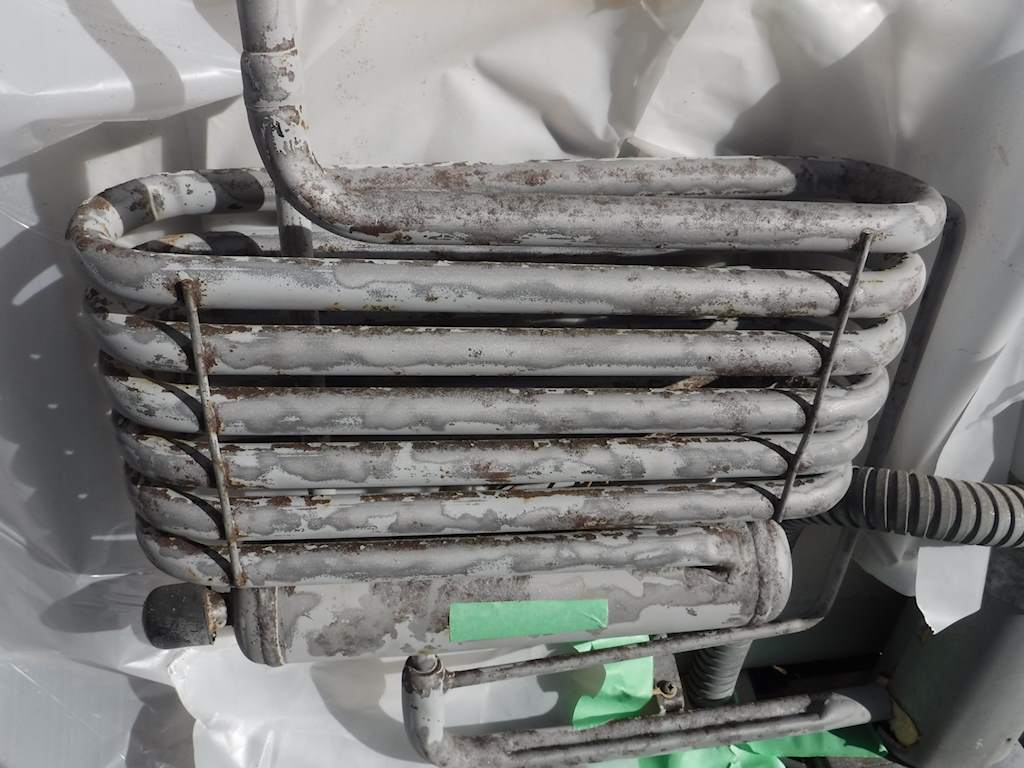
My 15 year old nephew has been visiting, so I’ve been spending time with him in preference to trailer work, but I’ve still gotten some stuff done. I got an inexpensive Harbor Freight air compressor and sand blaster.  The first job was the back of the refrigerator (from 1985 but appears to work O.K.). It started out pretty rusty. The sand blaster got it to this condition:

DSCF0502


and some high-temperature paint has it looking like this:DSCF0505

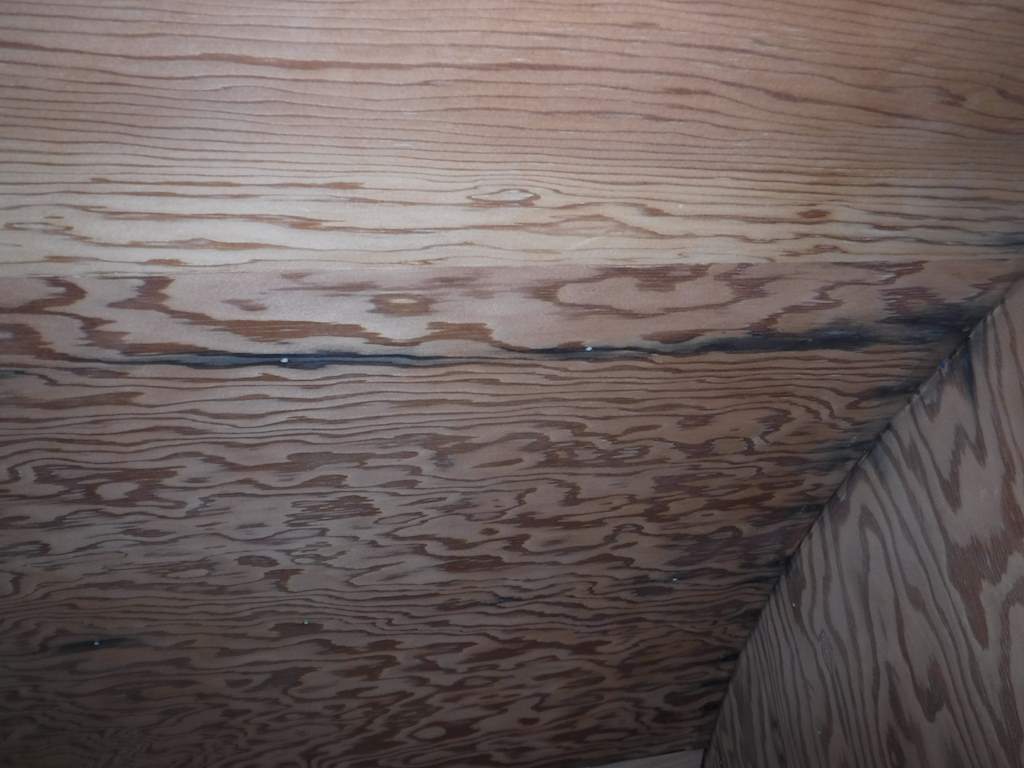
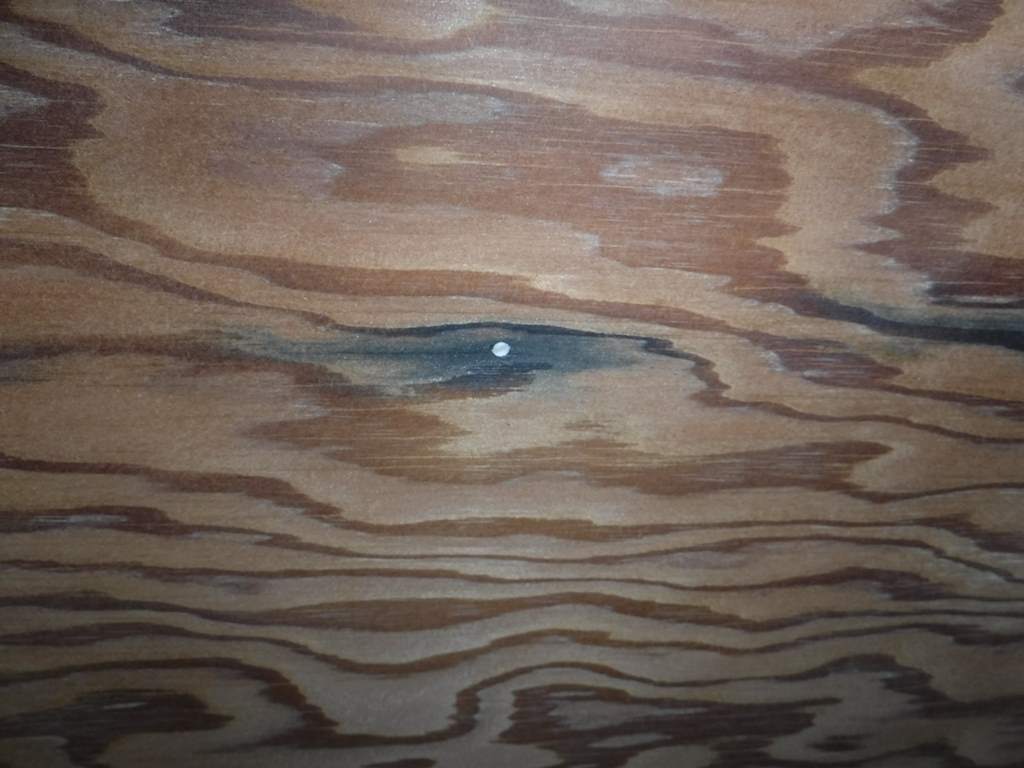
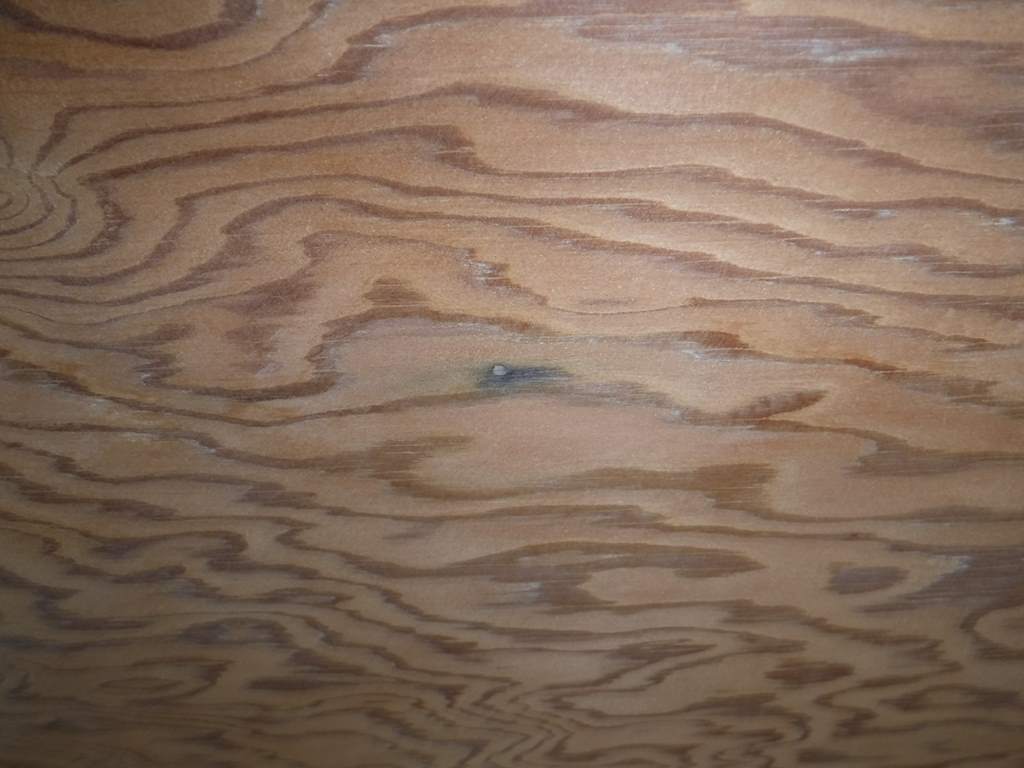
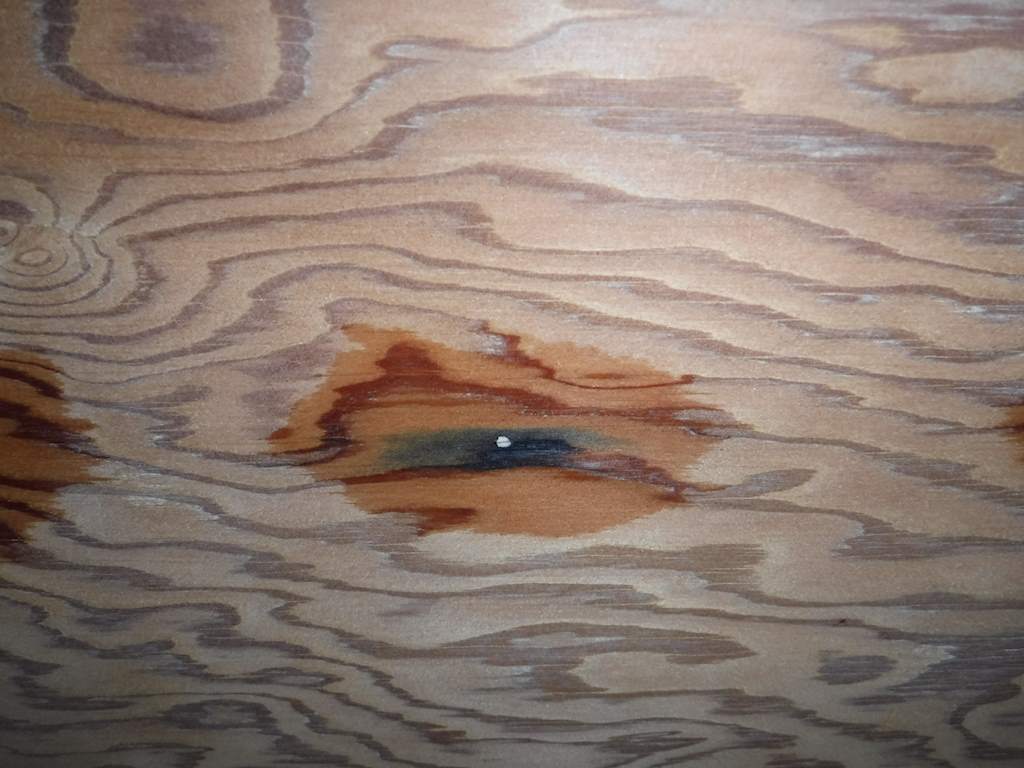
Then I got the final panel in on the front interior.  There is a bunch of bad black stains, but I found out about oxalic acid.  Apparently this is a known (to other people, not me) problem.  It’s not rot at all, it’s a reaction between the rust from the iron nails and the tannins in the wood.  Oxalic acid comes as a granular powder you mix with water.  Just dap it on the dark spots. Normal precautions with gloves and careful handling. It started like this:

DSCF0507 DSCF0508and over an hour or so with periodic sponging it on, it went to
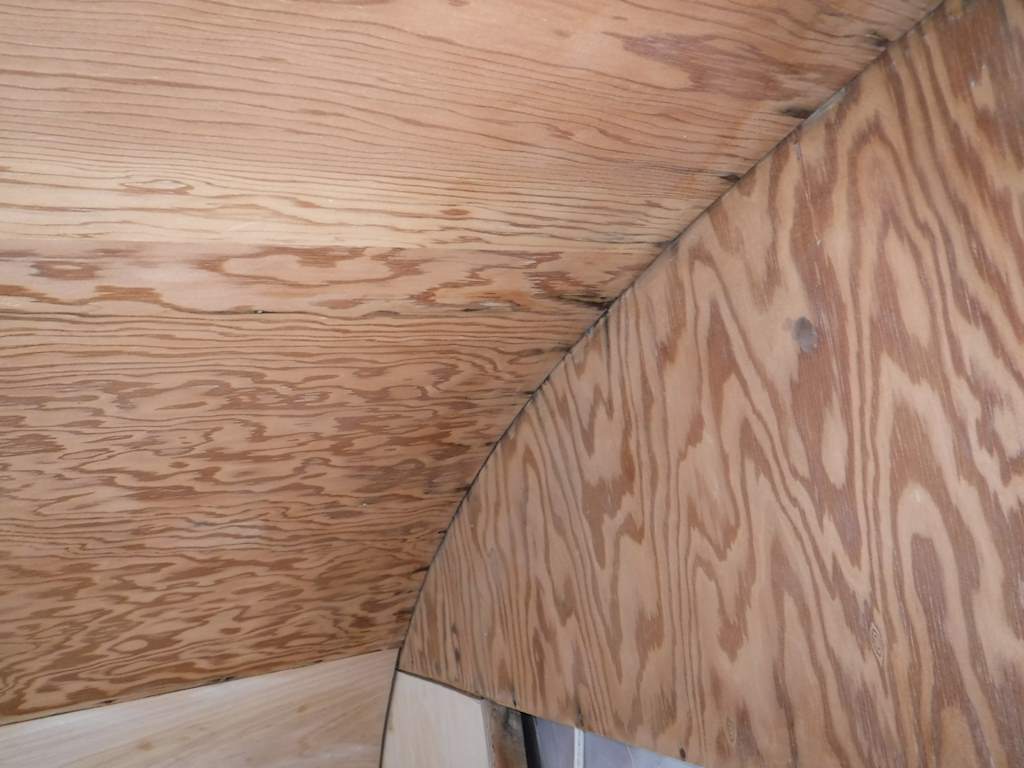
DSCF0523

and eventually this:

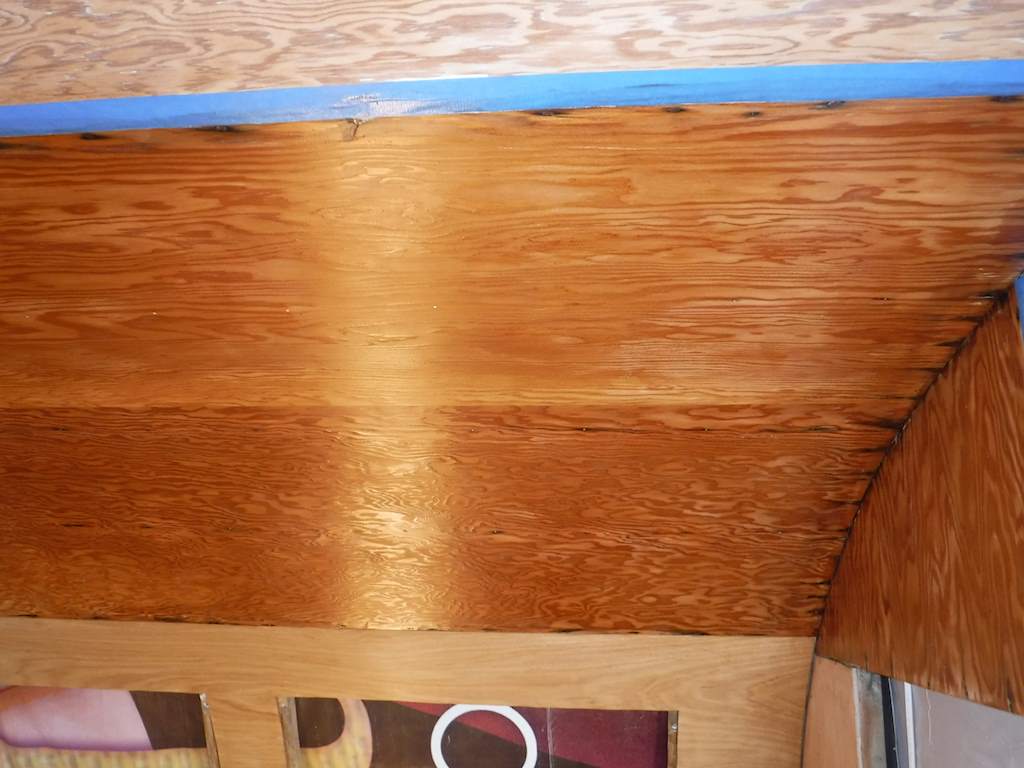
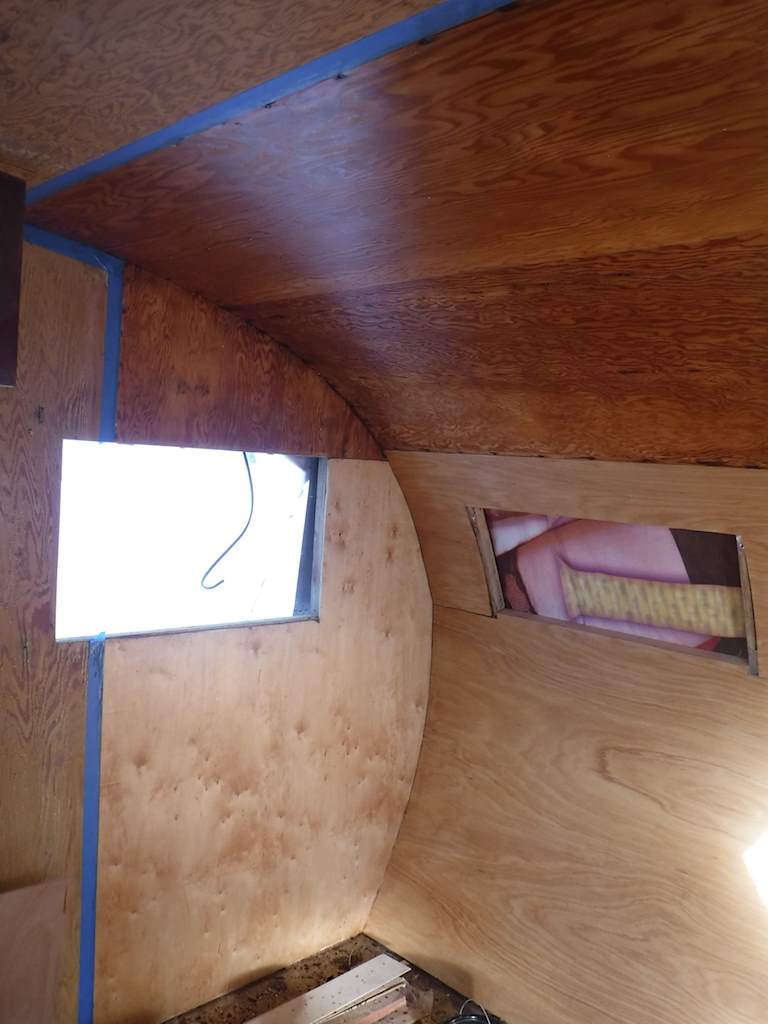
DSCF0528 DSCF0531I could have done a bit more, but I kind of wanted to see how this last bit would be.  Most or all of what’s left will be covered with molding.  After staining and one coat of polyurethane, the front interior looks like this:DSCF0560 DSCF0559 DSCF0558
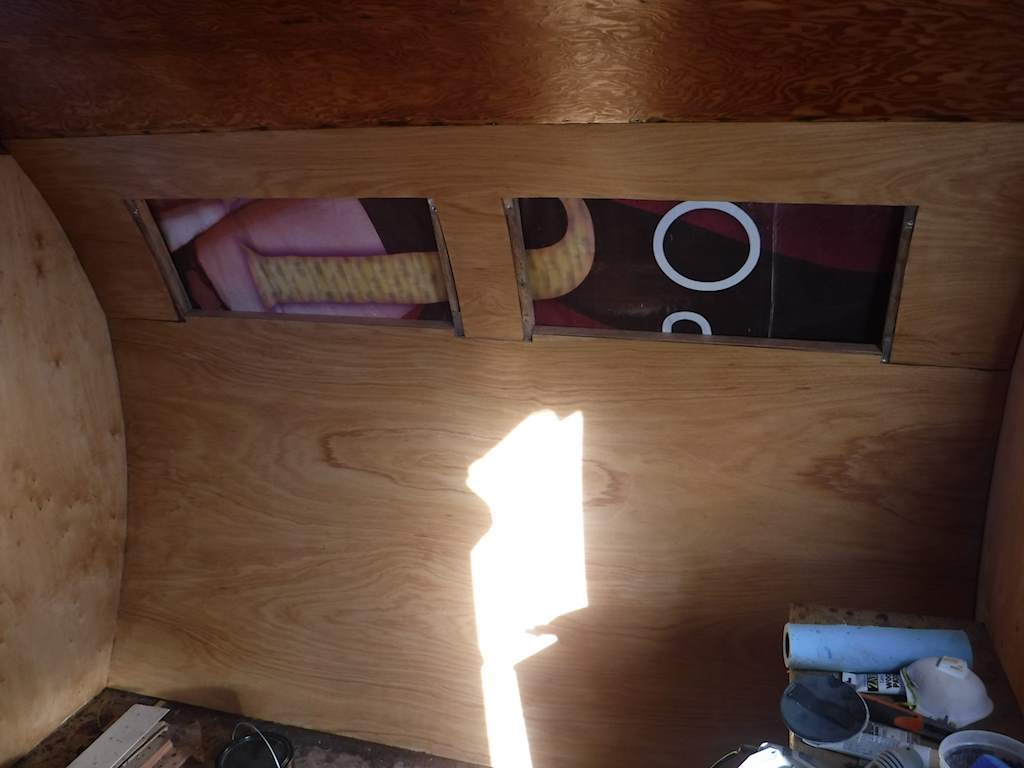
If I were starting from scratch I’d use higher quality ply than this pine stuff for the ceiling and existing walls, but with the warm stain it’s not bad. I like the many-different-woods look and will be expanding that approach.

The next step is a big one.  I need to separate the house from the frame so I can de-rust and paint the frame and replace the floor.  More to come.

February 12, 2016

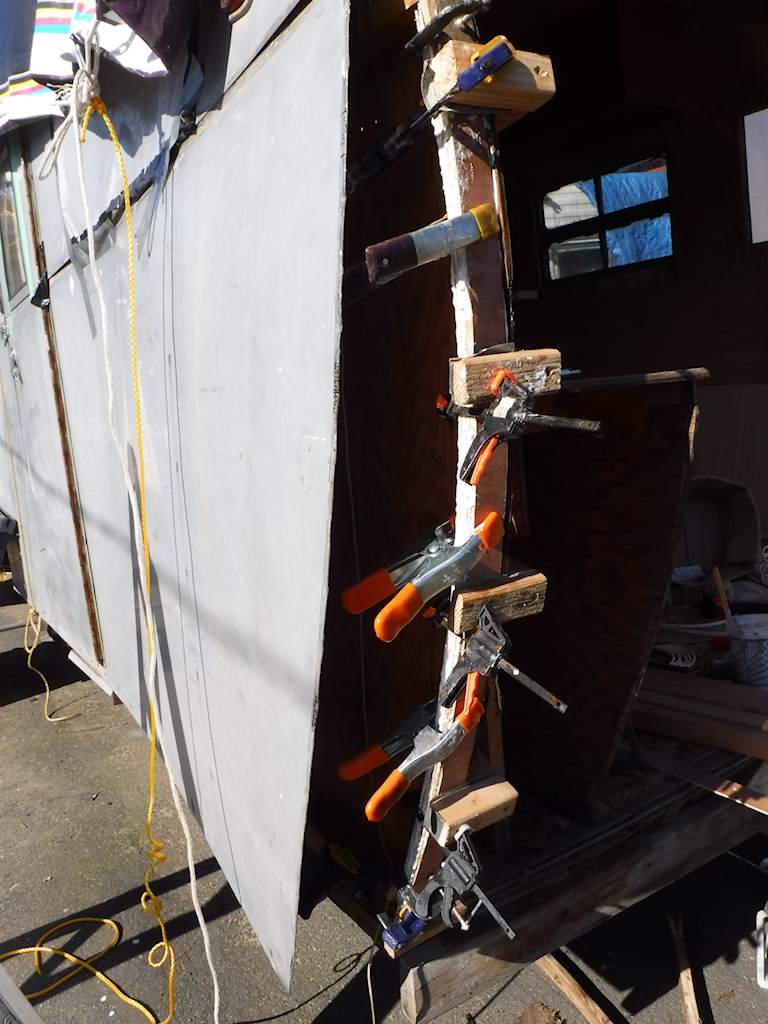
The trailer continues to progress. Once the front side “beams” cured I removed the front side panels and replaced them.  I did decide to glue those in place, like the previous ones were.DSCF0463


DSCF0464Then replaced the cross supports.

DSCF0473


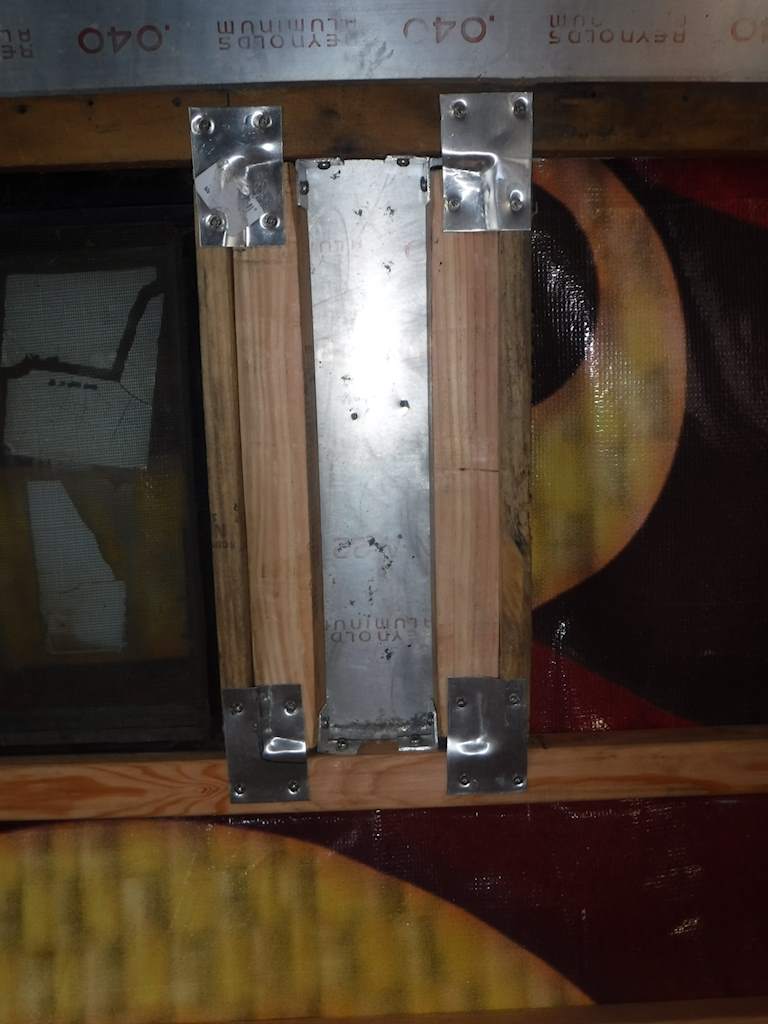
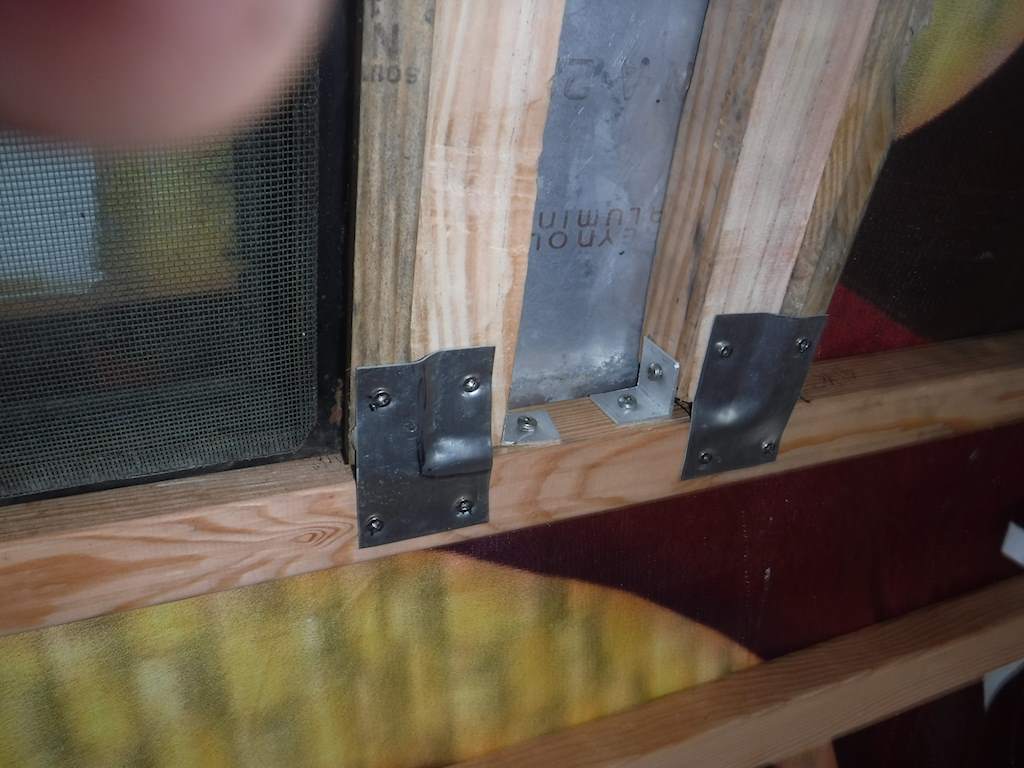
I cleaned up the upper side panel, and used that to properly locate the vertical supports at the front windows.  I had a little trouble getting those properly tied in, but I finally made some aluminum supports, so it looks like this now.

DSCF0495
DSCF0496That seems to hold it pretty well. Now for a more interesting bit of carpentry.  There’s a challenge around the windows.  The window wants a flat surface, but the shell is of course curved.  That would imply the presence of something like this:
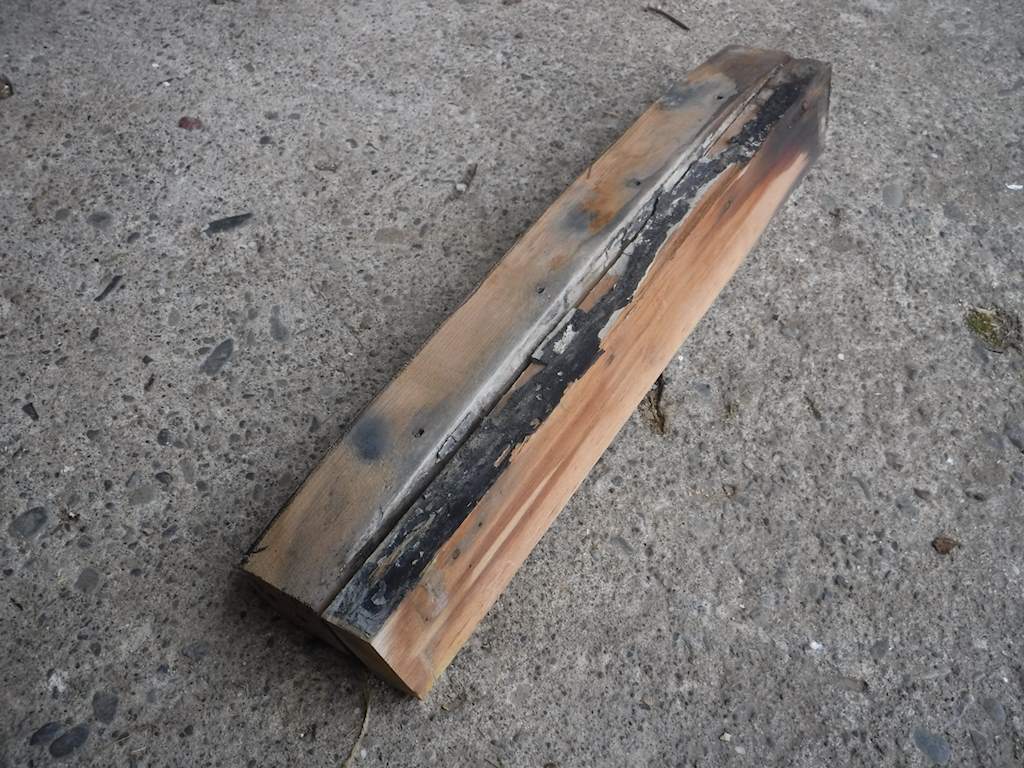
DSCF0470

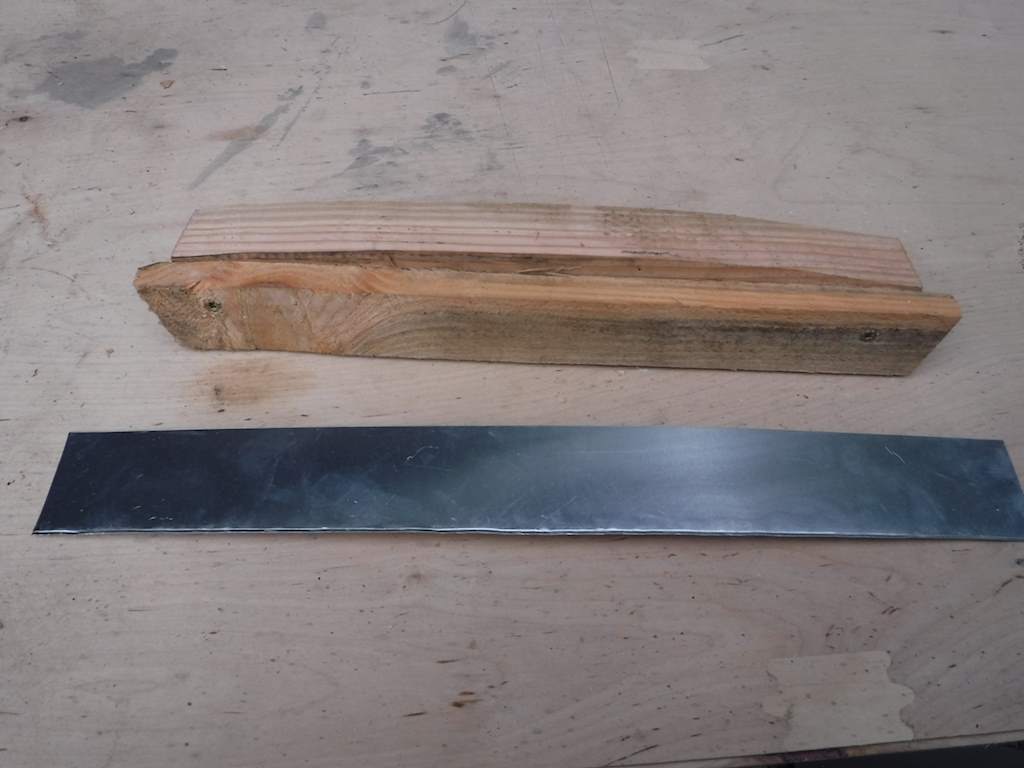
Which is obviously curved on once side and flat of the other. There should be six of those- one on each side of each of the two front and one rear window.  This is the only one I can find.  The others have completely disintegrated.  Also, notice the black stuff and putty between the curved and flat pieces.  That was all there was to protect that wood from rot.  It needs something of aluminum.  I already maded these pieces based on the curve on the back, but I recut them to fit this pattern.  Then I used one of these as a pattern,
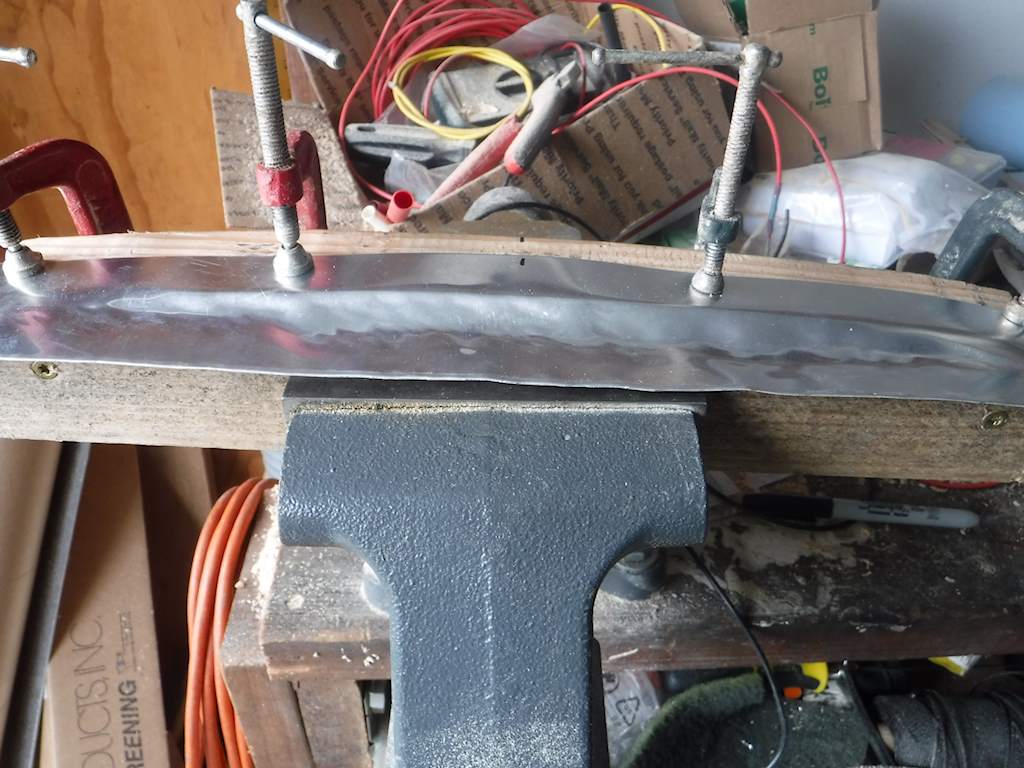
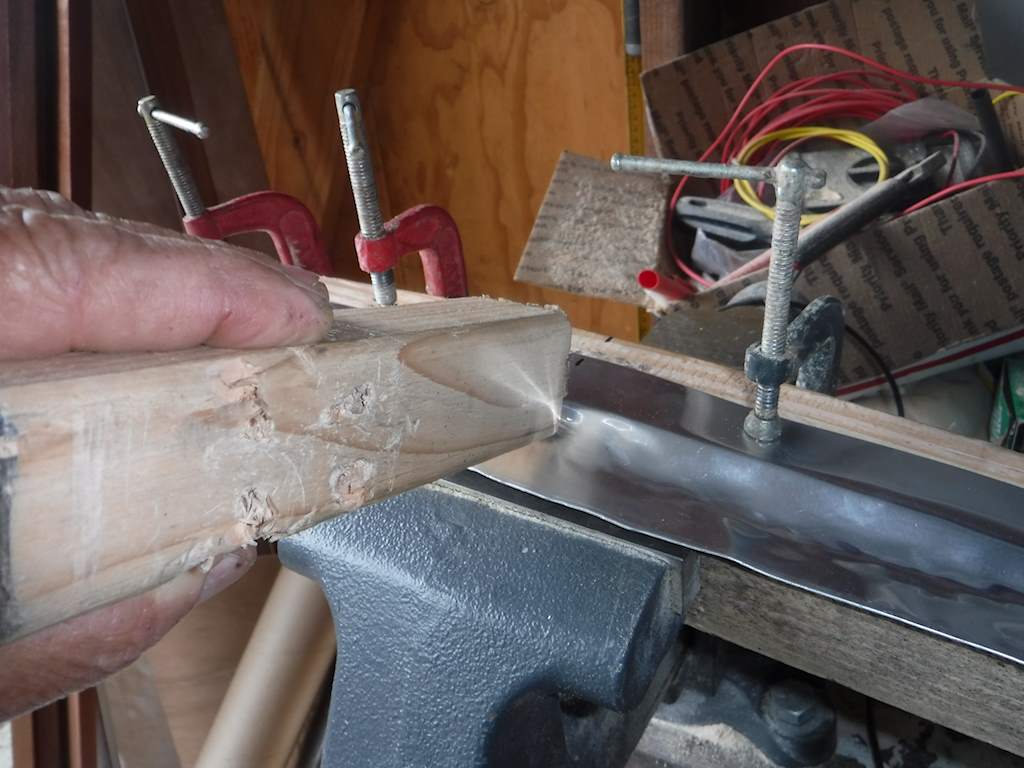
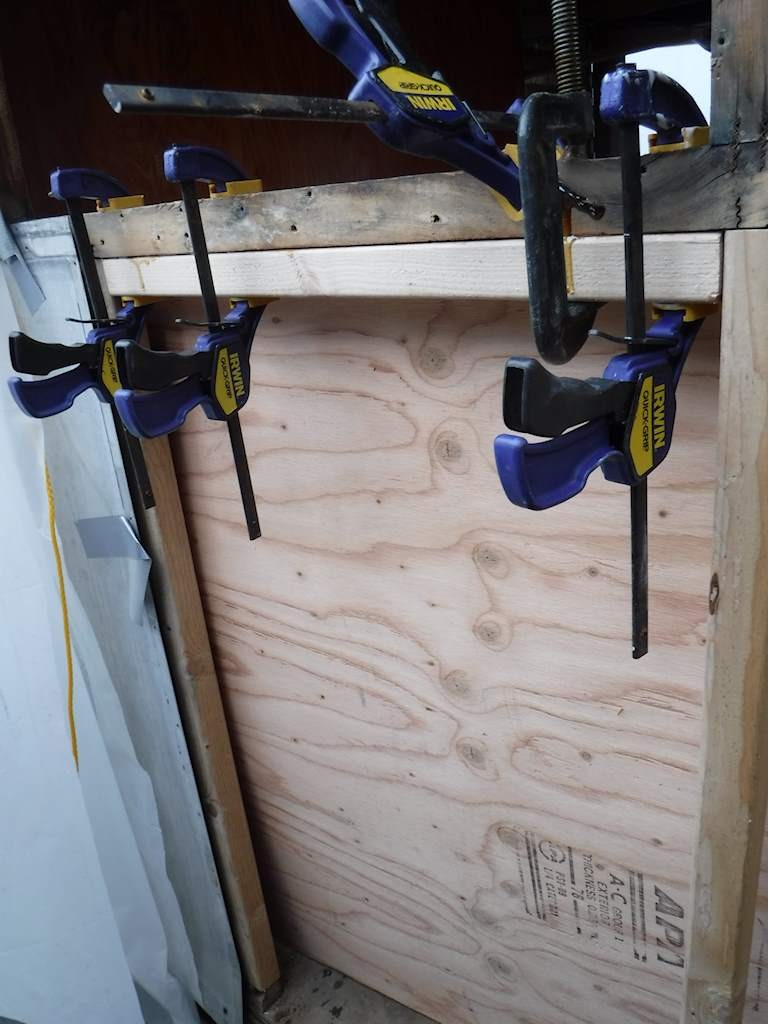
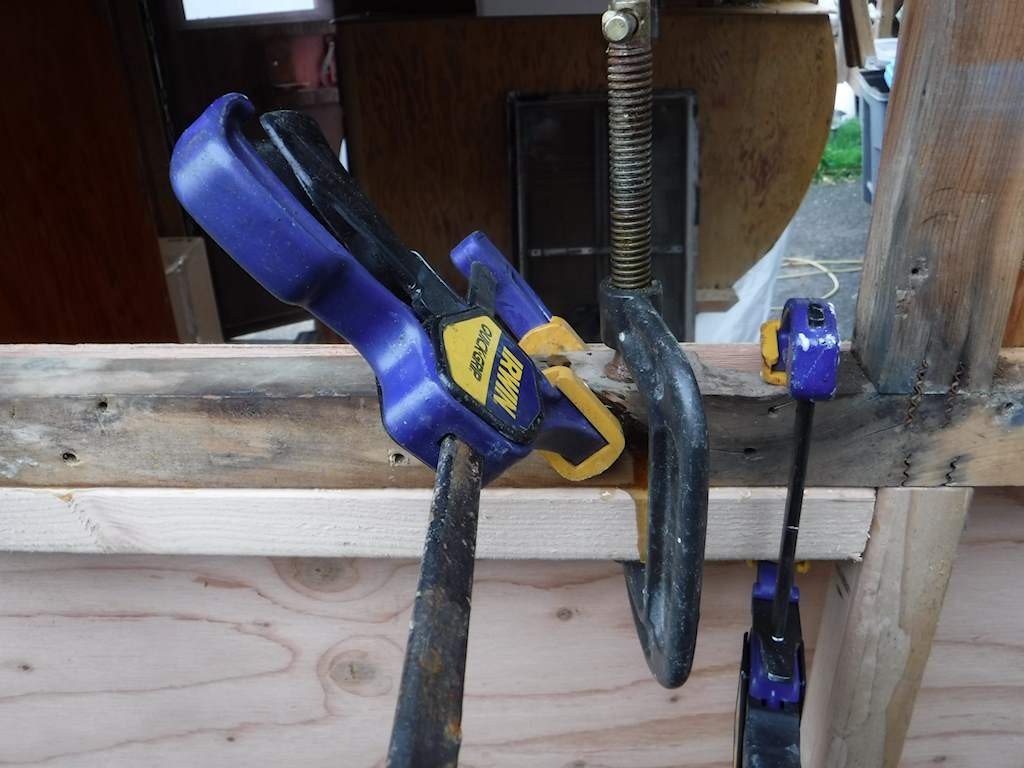
DSCF0480and cut some aluminum sheet.  Clamped the wood into my vise, and clamped on the aluminum.DSCF0483
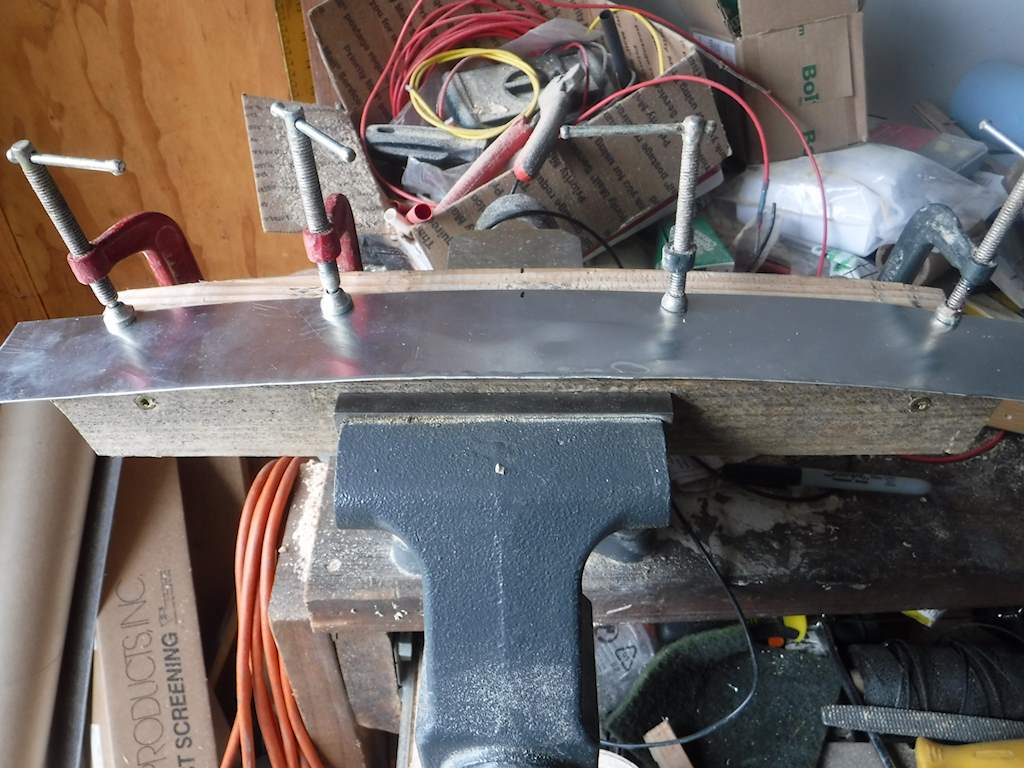
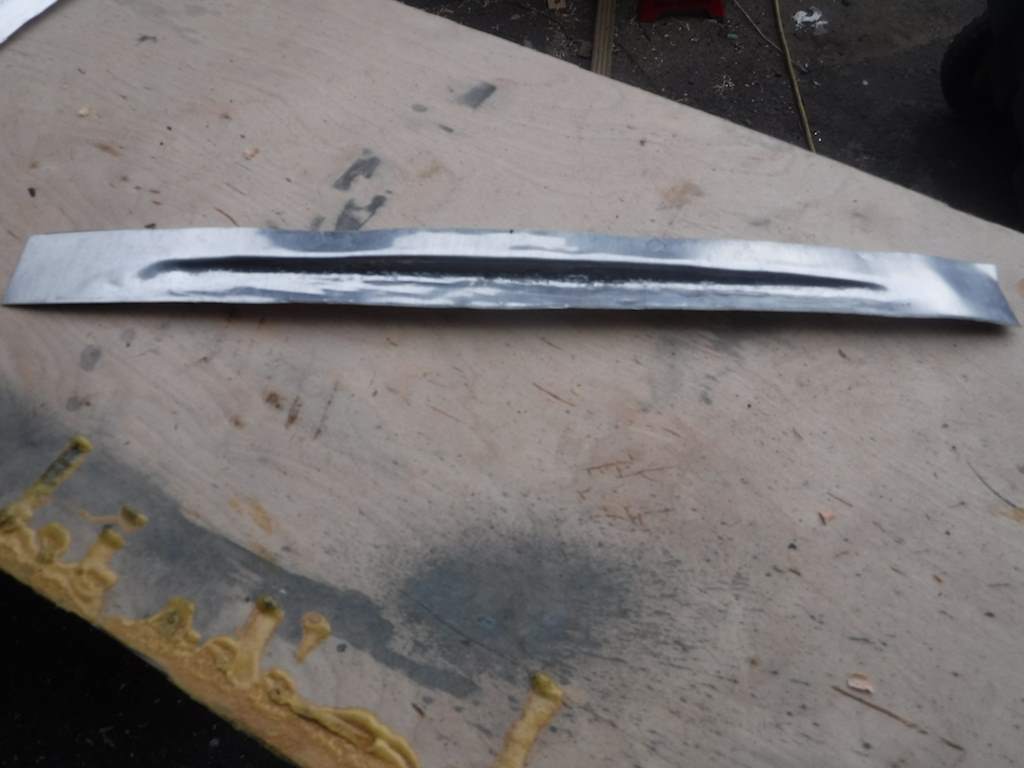
Hit a few hundred times with a plastic hammer, sometimes with the help of a wood bar.DSCF0486 DSCF0490

And get thiDSCF0493s.

Some trimming, and this will precisely cover the hole.

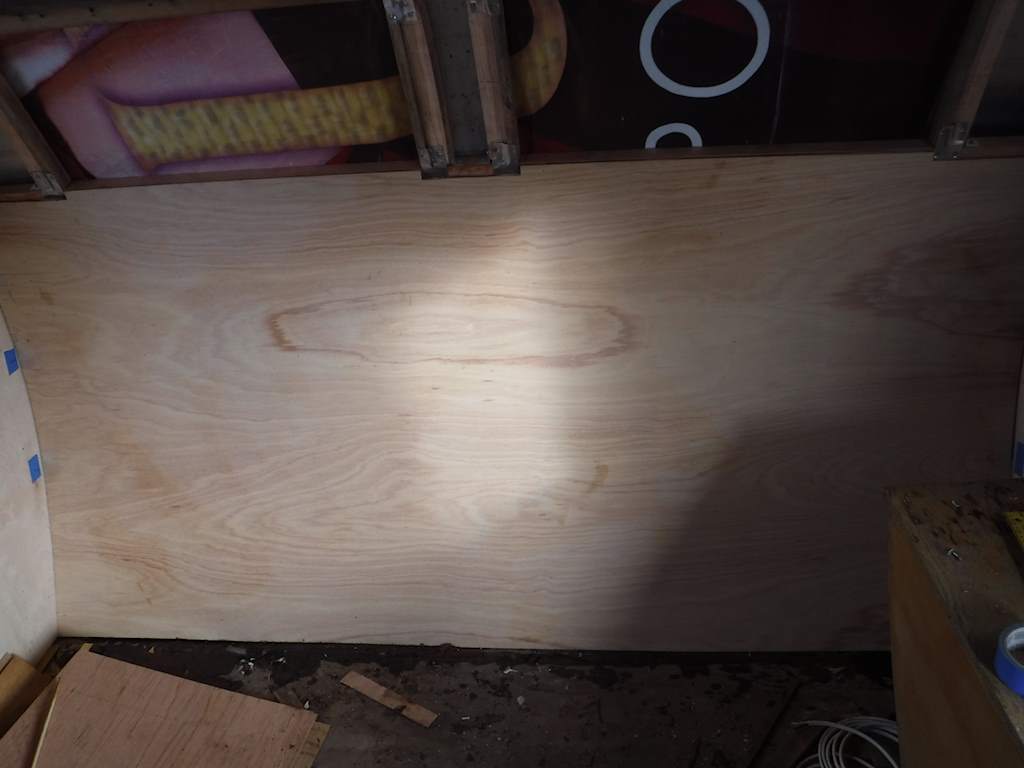
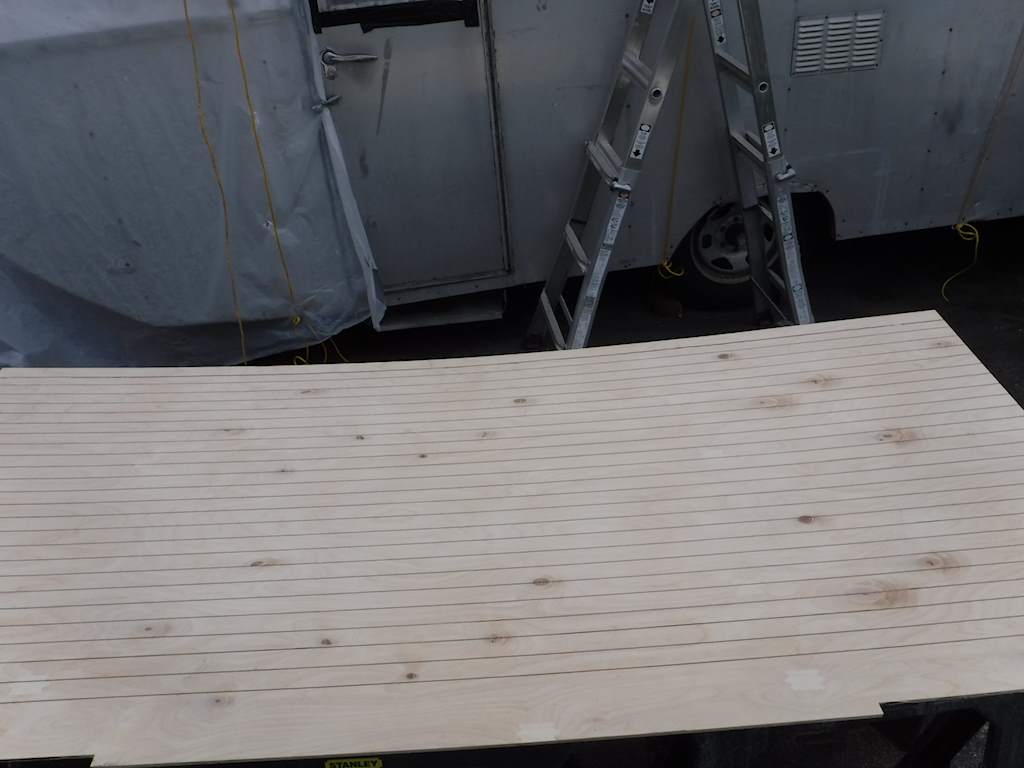
And finally I decided to make the inner skin by laminating 1/8 ply.  I got some nice lauan ply.  The original interior was all pine plywood.  I like the idea of having different types of wood.  So here is three plies, laminated with epoxy.  I still have to do the upper panel.

DSCF0501


February 8, 2016

Yesterday I laminated the new corner “beams”, using some marine epoxy thickened with microspheres. Since I had to let that cure, I didn’t do a lot else.

DSCF0458 DSCF0455

Today I removed the rear interior panel on both sides. I found there was a crack in both the existing corner pieces, and it came apart.  I spliced it back in place.

DSCF0462

Note that the side panel is gone and you can see the aluminum. The existing panels were glued and nailed in place, so I had to do some planing and chiseling and scraping to get all the glued bits off.  I don’t intend to glue the new pieces in- I don’t think that’s necessary. I got the two new side panels cut but ran out of time to install them.  Those will be the baltic birch ply I used on the rear interior panel.

February 6, 2016

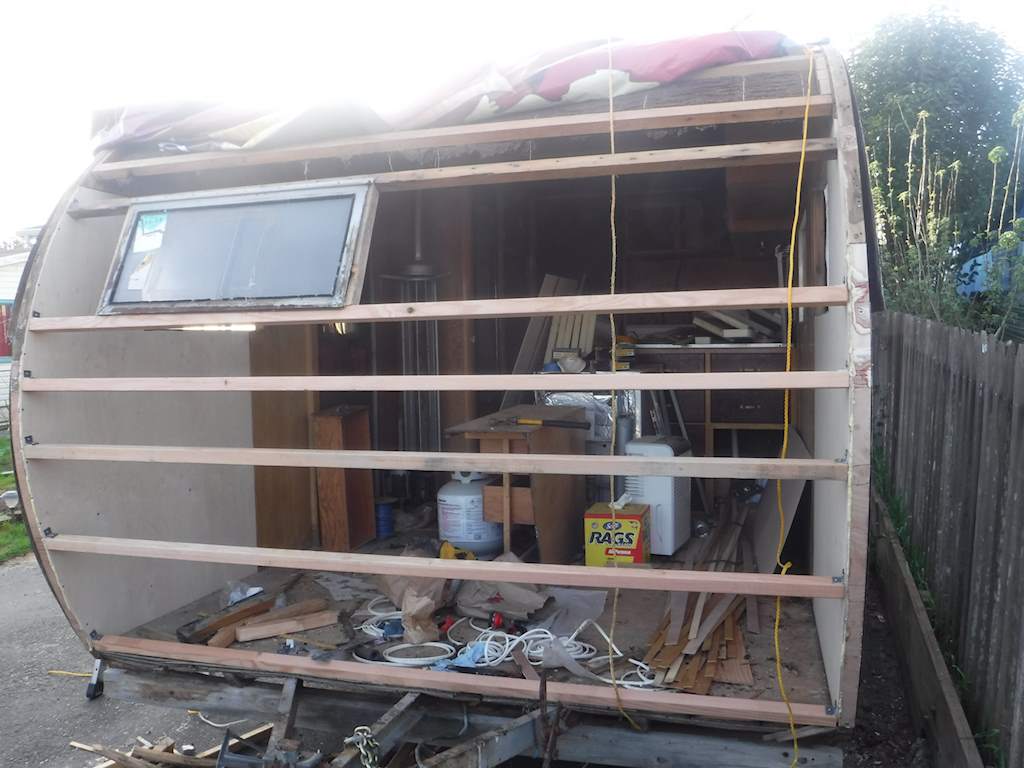
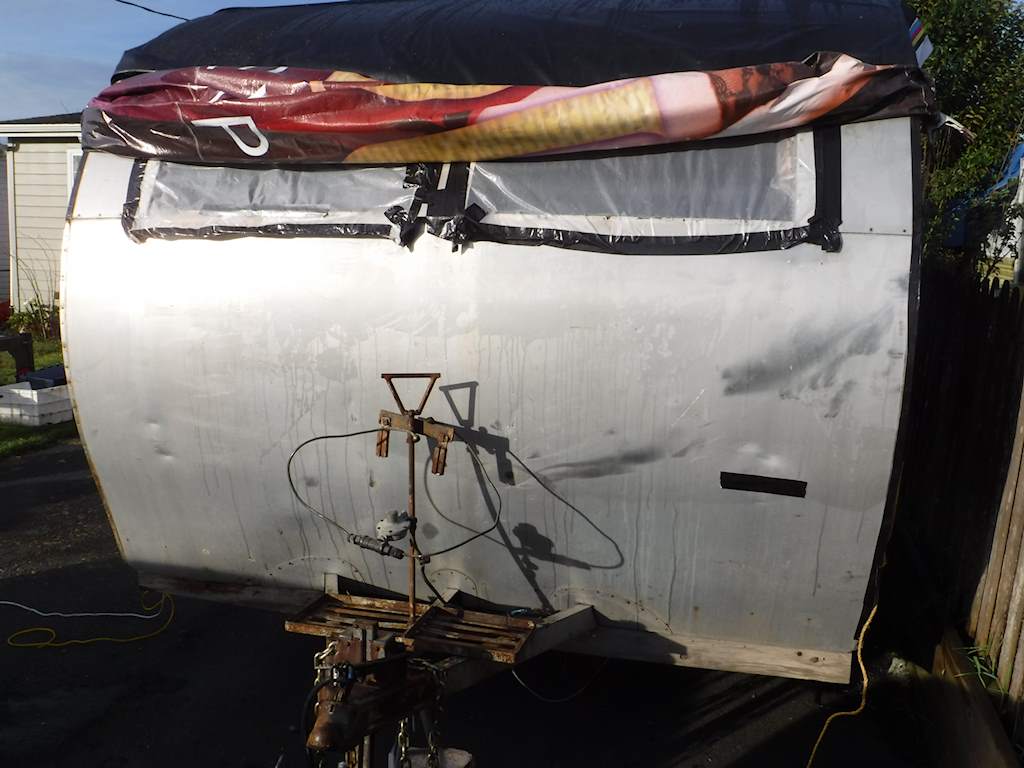
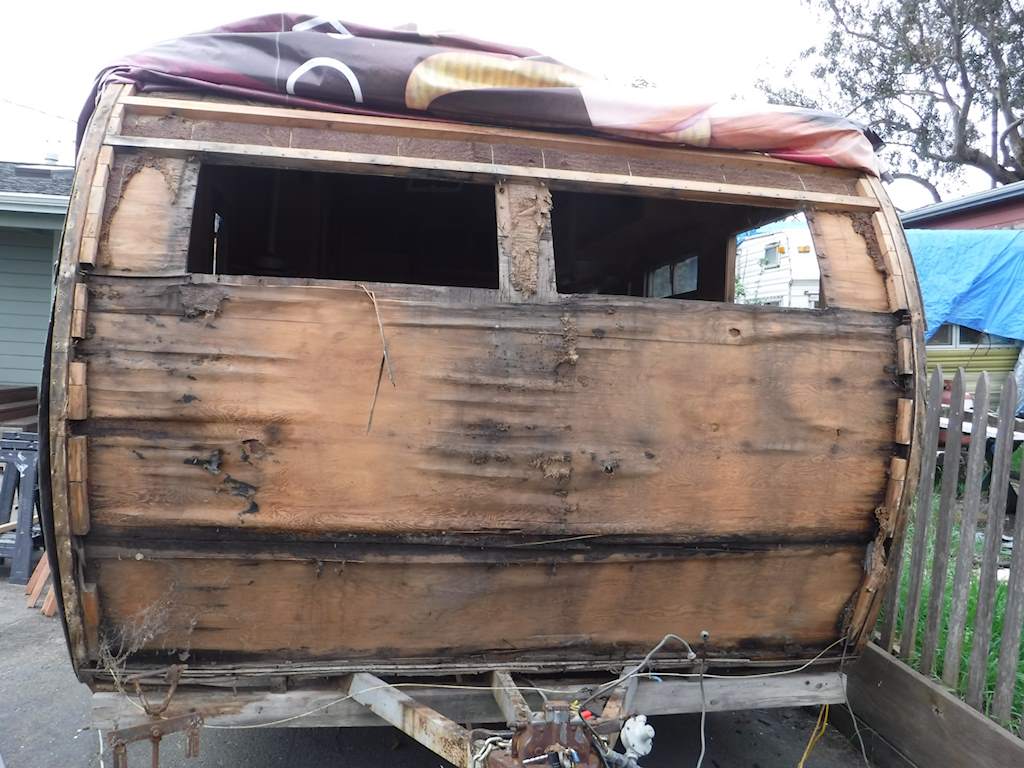
I’ve made some progress in the last couple days. We’ve had no rain for several days.  I’ve pulled off the front.  Here’s how I started (I already pulled out the front windows).DSCF0428

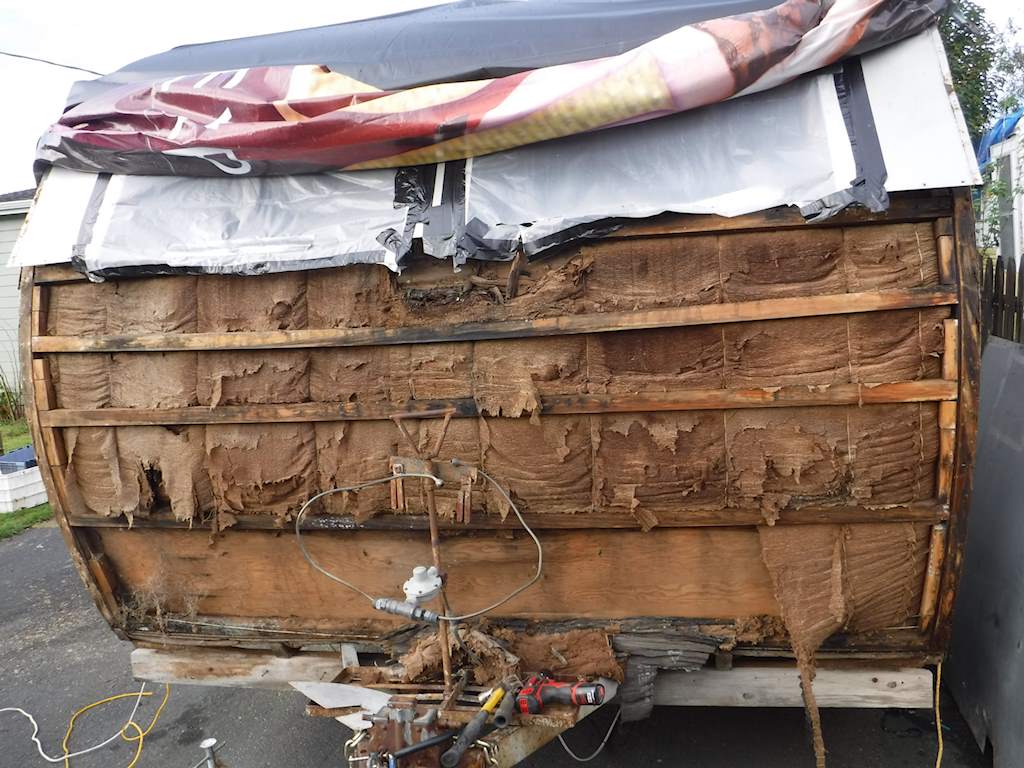
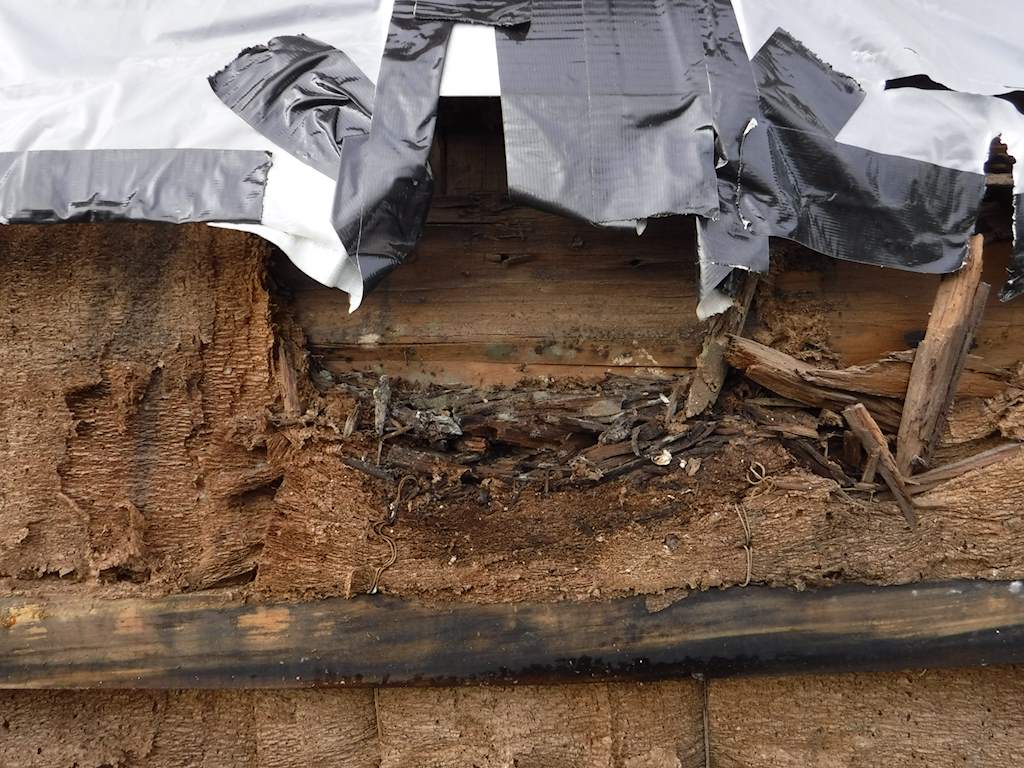
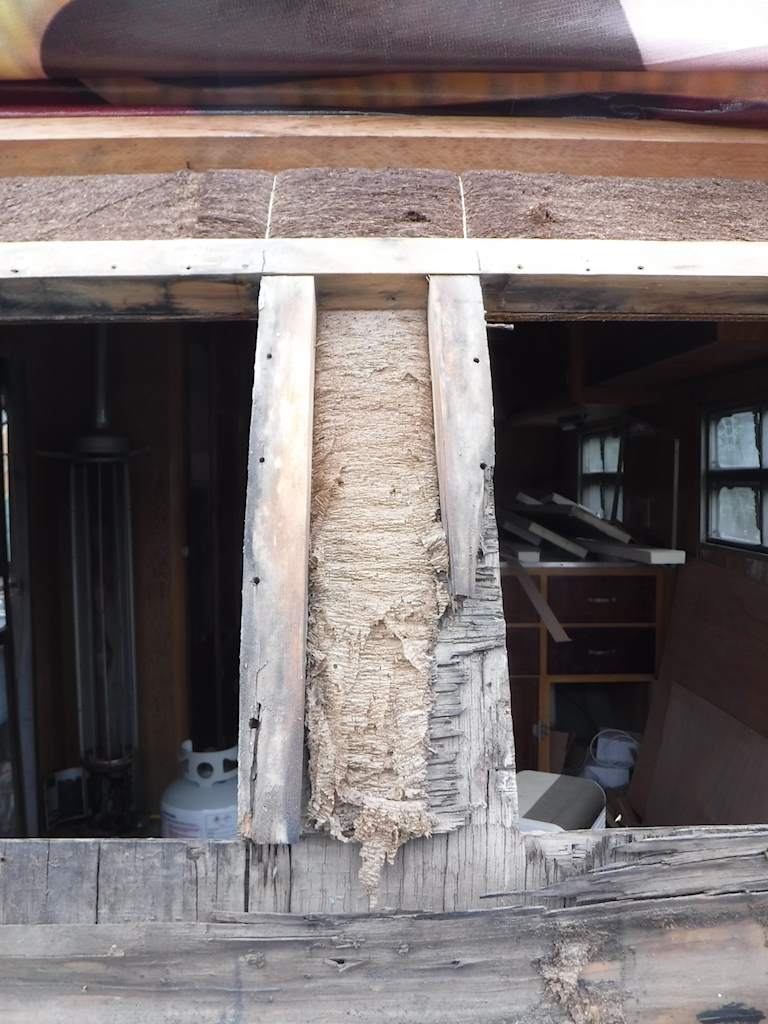
With the lower panel off you can start to see how bad the rot is up front.

DSCF0436


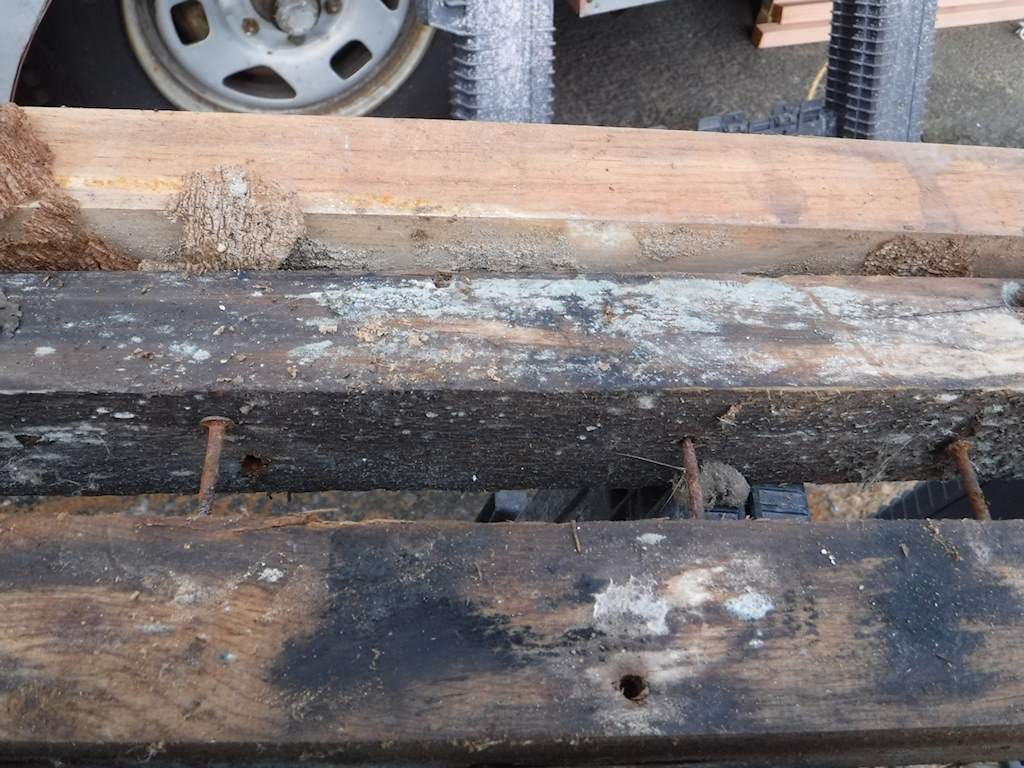
After removing the second panel, the 2×2’s, and that horrible crepe paper insulation you can see more. The crumbly bits in the center of this picture used to be wood.DSCF0439

DSCF0440DSCF0442


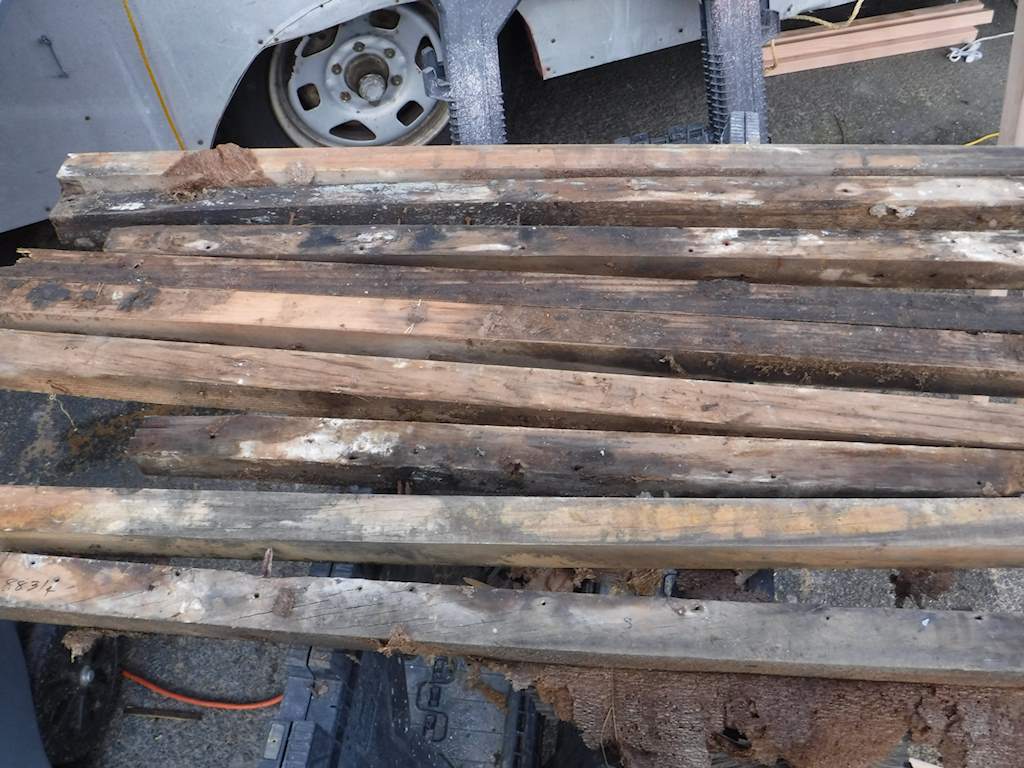
There are the horizontal 2×2’s.  The worst is one step short of dissolving.DSCF0447

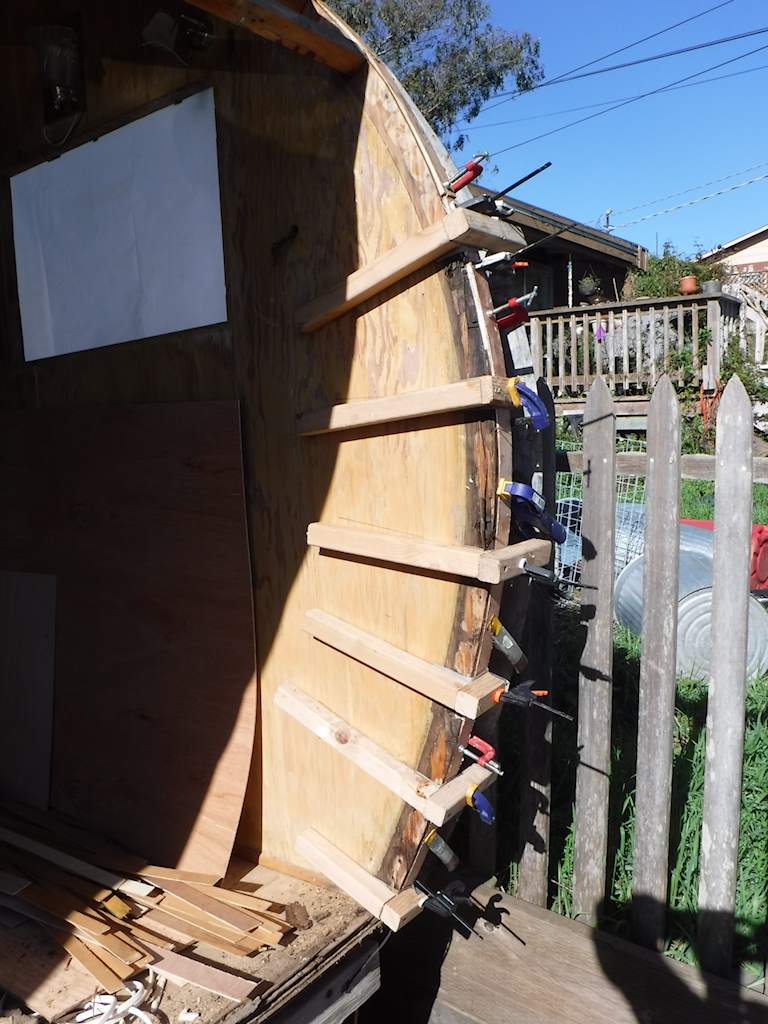
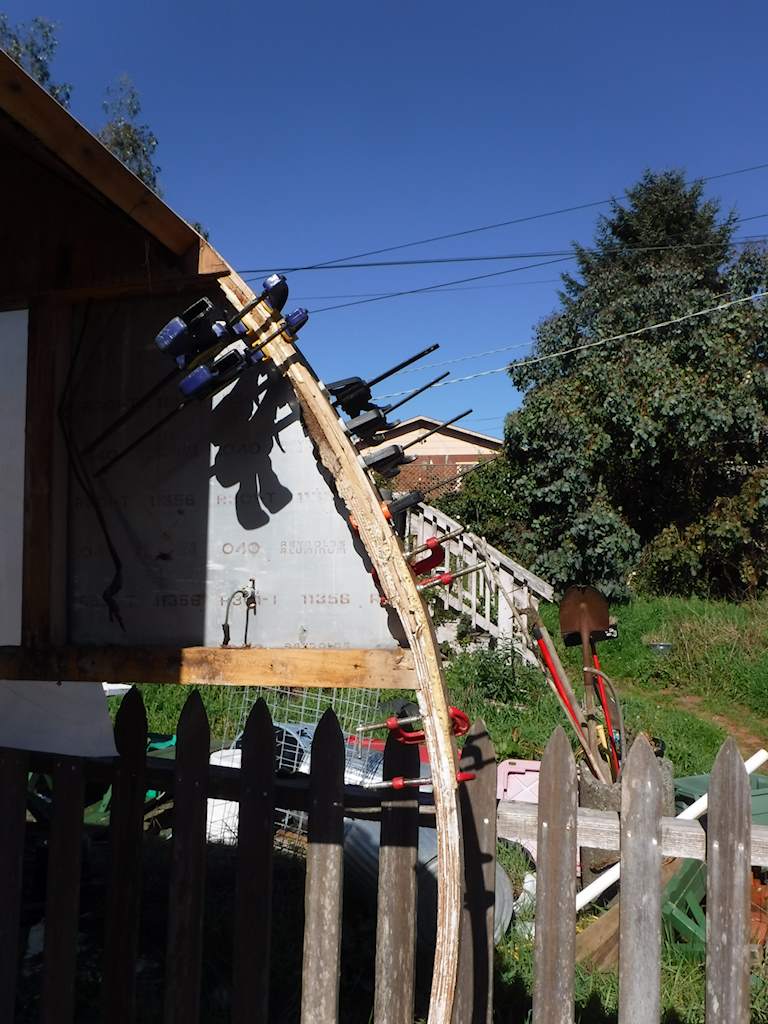
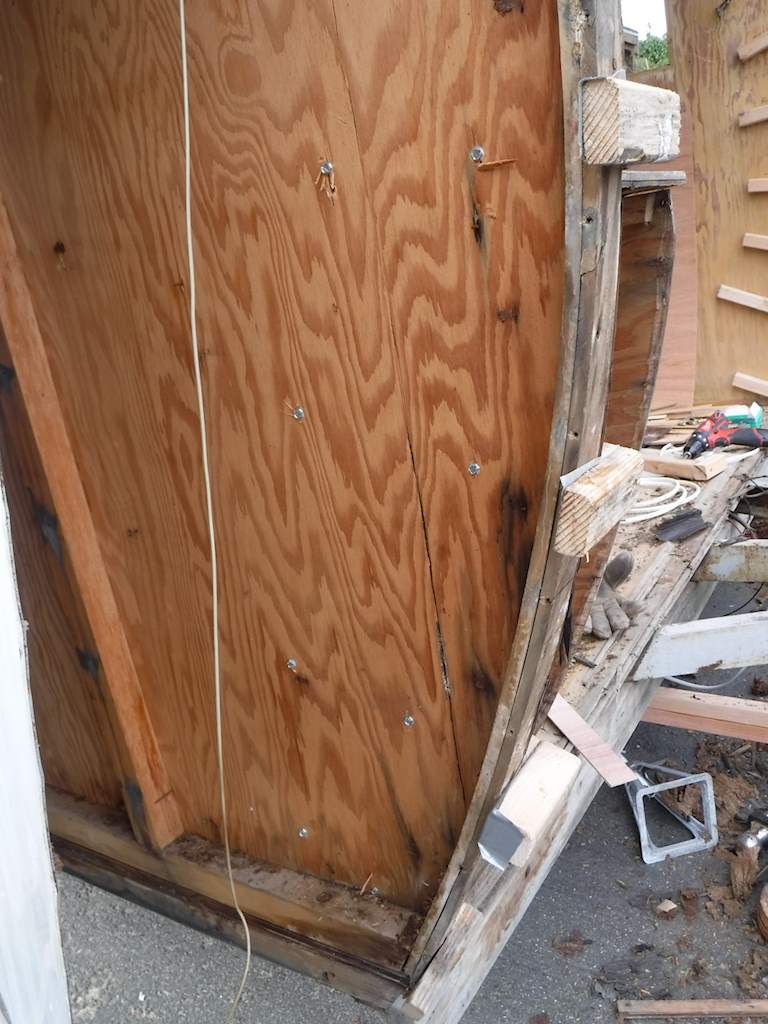
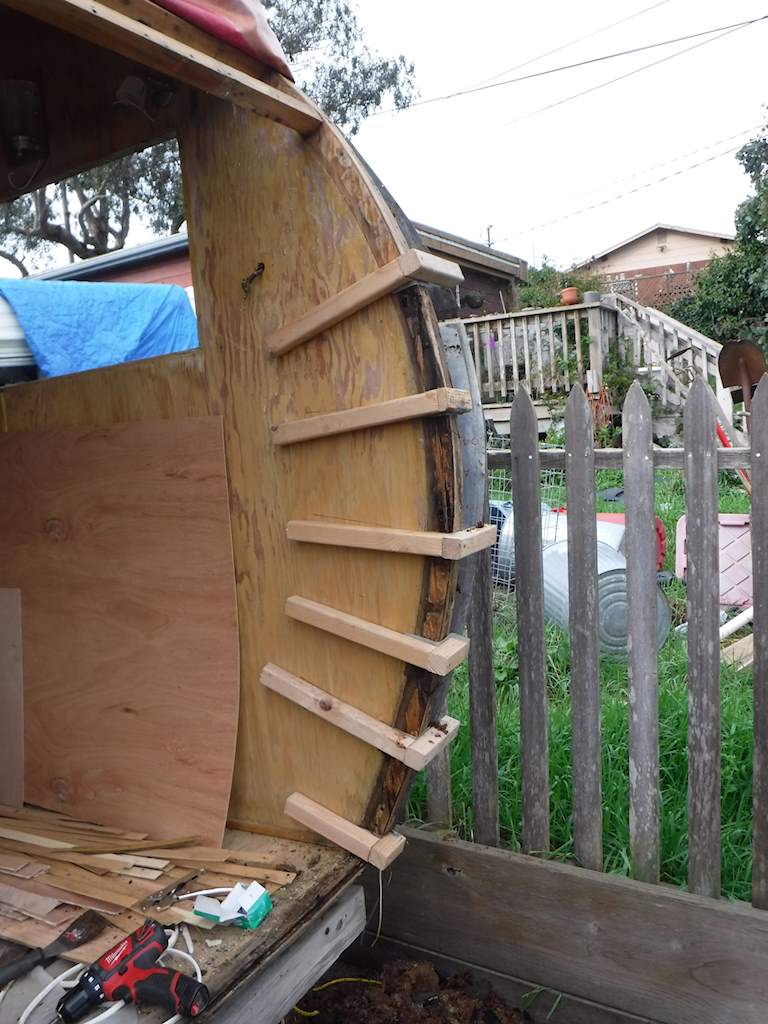
DSCF0448After marking the locations of the 2×2’s and cutting the new horizontal supports I pulled off first two panels of the inner skin. The whole front of the trailer is now open.  Then I made some rough  L-brackets and attached them to the side panels so I can replace the lower part of the corner curved beams.  I guess you’d call them beams, although they are pretty weak.  Here’s the left side.DSCF0451 DSCF0450
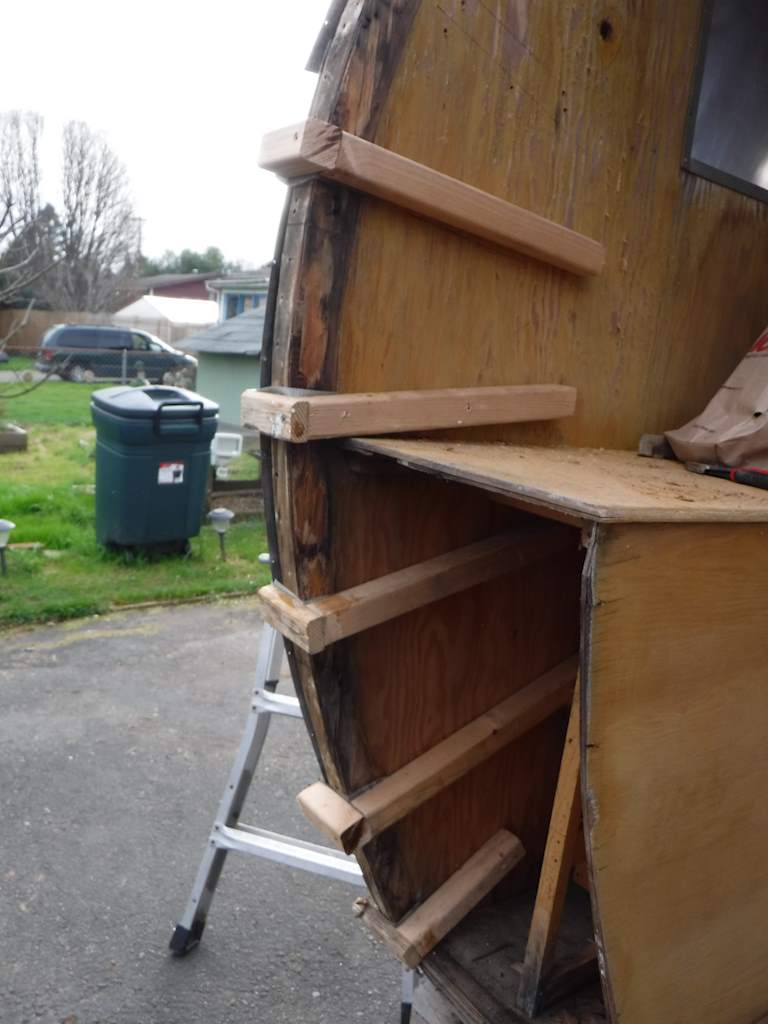
And the right side.DSCF0452

Those ensure that the shape of the new beams will be the same as the old ones. I’ve already ripped something like a dozen layers of doorskin. You see those in the last picture above lying against the wall. I intended to do the lamination today, but the right side is a bit wet.  Not bad, but enough to prevent good adhesion.  So I’ll let it dry overnight and see how it looks tomorrow.


February 2, 2016

Finishing off the back of the trailer has been about twenty times larger project than I thought.  As I mentioned in my last post, I got this really nice Baltic birch plywood for the back. It was really good, but stiff.  Very, very stiff.  To get it to form the curve at the back I had to slit it through about half the thickness on the outside.  Like this:
DSCF0411

And with that I was able to make the curve.  It looked like this on the inside:
DSCF0414

And this on the outside:

DSCF0417

After slitting and forming the insulation I tried to get the panel on, but it just didn’t fit. Turns out there were two problem.  The 2×2 running across just below the window was almost an inch out of straight, pointing out.  And there was so much force required to pull the plywood in the right curve that it was even worse.  So I replaced the 2×2 with one closer to straight, and I slit the plywood completely through.  I’ll have to cover those slits with doorskin, but that I can do later.

DSCF0427


With a little cutting here and a little planing there, and some pushing and tugging and some straps to help form the curve I was able to get everything to fit.  It’s not perfect, but it’s close. Here’s with the upper insulation on:

DSCF0420

And before I closed up the back I tested the lights. One of the wires had pulled off the left taillight, and there’s no good way to replace it. I decided to get new lights. I wasn’t quite sure how to wire it up, since some of the wire color coding was off. Since the wiring was a bit strange and the wires were very old, I decided to run new wires.  And the ID lights didn’t work- one of the connectors had pulled loose, and I had to partially remove that panel.  Each panel with trailer lights has connectors so it can be removed and replaced with having to cut and splice.

I think there were four days of good weather when I started in the morning thinking I would close that day, and didn’t. But finally all that was done.  The panels were polished.  And now the back looks like this:

DSCF0425All overlaps sealed with butyl tape of course.  The left and right sides along the window have a hand-formed aluminum piece to cover the wood. Any competent metalworker would sneer at what I did, but it fits fairly well and the wood won’t rot there like the original did.
January 23, 2016

I spent some time yesterday working on the interior rear panel, with no success.  I found some really nice baltic birch plywood with exterior glue line.  It has five plys in a quarter inch, although more bow ties than I would like. The problem is that it’s too good- very stiff, and I can’t force it to the curve I need.  I’ve removed it and I need to slice halfway through on the back side.

I did get the ID lights on top and the top panel reattached. Here’s the wiring:DSCF0403

Marine grade heat-shrink adhesive crimps with connectors on the end. That way if someone has to remove that panels they don’t have to cut wires. Since that’s the first panel I’ve reattached that is visible when on the ground, I had to polish it.  I spent a couple hours experimenting.  The metal polish I bought is a complete waste of time.  But it seems to work pretty well to start with No. 7 rubbing compound, then polishing compound on a rubber pad, than polishing compound and a fleece pad.

Here’s my first test piece.  Since it’s against the side of the trailer, that’s a before and after.

DSCF0406

It’s not a perfect mirror finish, but it looks pretty good I think.  After 65 years I think it deserves to have a few battle scars and imperfections. Here’s the rear roof panel, polished and with lights.  Note you can start to see reflections.

DSCF0408

I also continue to work on windows as a fill-in project.  They also don’t come out perfect, but I think reasonable.  As an example, here’s one of the door windows.  It started like this:

Outside:DSCF0381


Inside:

DSCF0378with (as mentioned previously) two different kinds of putty on that.  Two completely useless attempts to stop leaks without doing it right. After scraping, wire brushing, and cleaning looked like this:
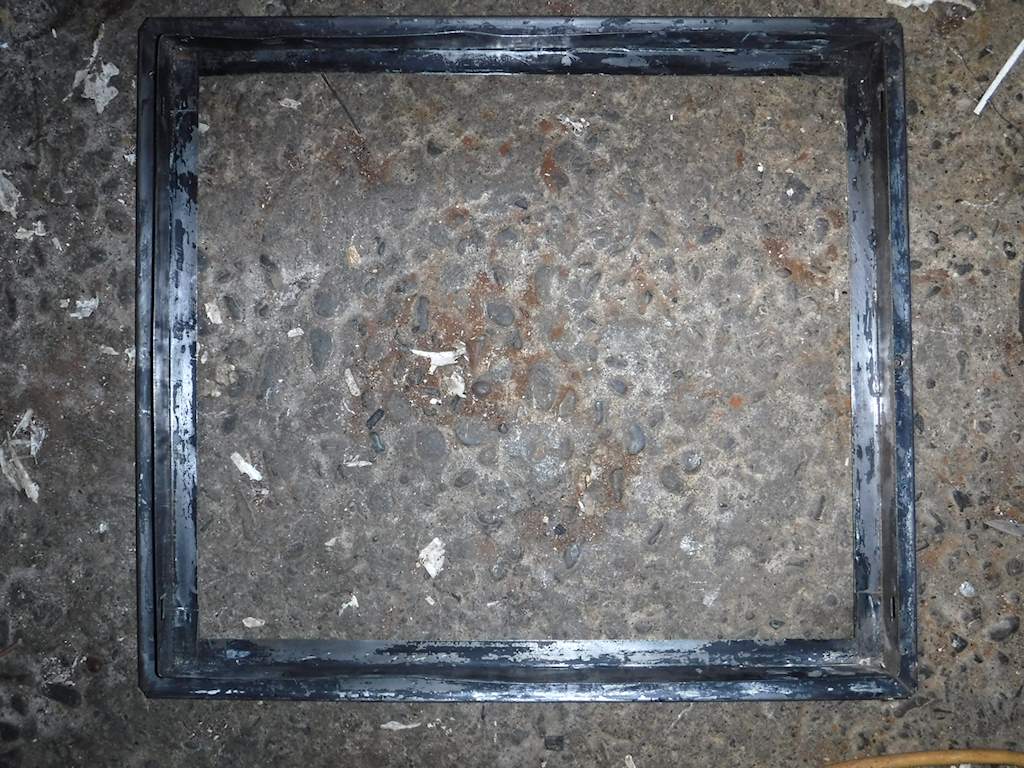
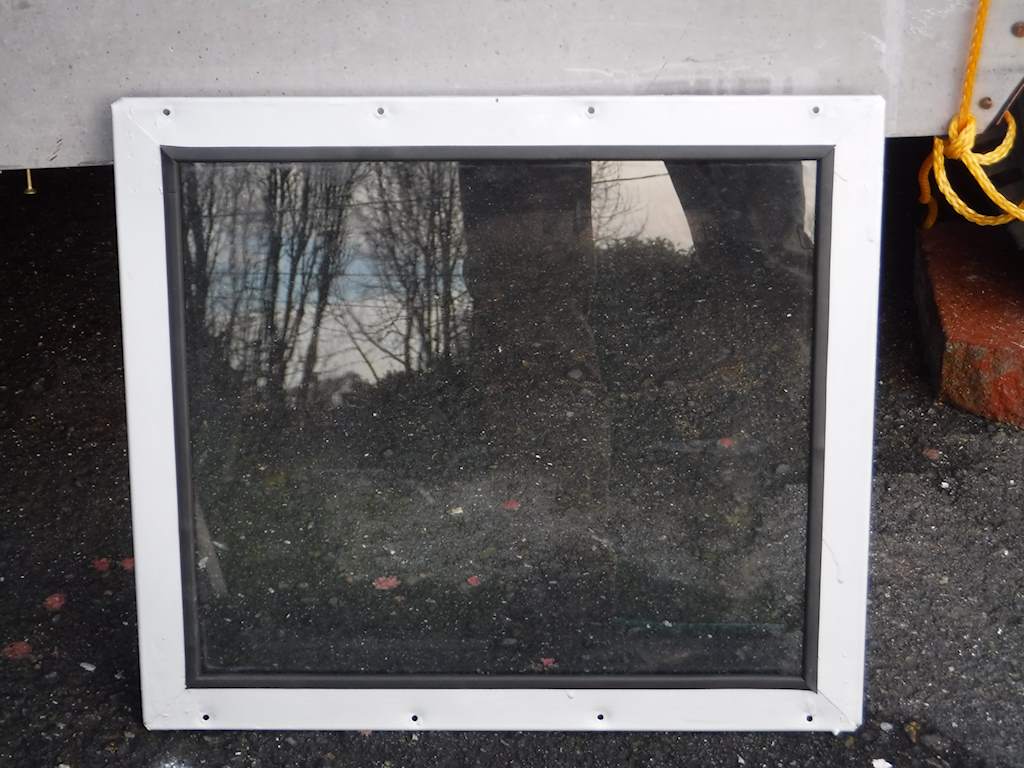
 

DSCF0394

And after painting with alumathane and reassembly with new neoprene edge seal looks it like this:
DSCF0409


January 21, 2016

For the last few days I’ve been dodging the rain.  I was able to complete the right rear inside panel.  The original 2×2 that I had sistered was the first piece of wood that was less than 100% that I kept.  It still was fairly strong, but the top surfaced was wet and a bit spongy.  So I drilled some small holes and filled those with propylene glycol. When that soaked into the wood I filled them again.  And again.  And again.  I probably got a half cup into it.

DSCF0398

I added a cross-member above the hole. which you can see in the previous picture.  That’s the access to the externally-accessible storage, and I like having the hinge supported better than the original. For the side panel I used ACX plywood I had. Pretty ugly stuff, but most of it will be below the mattress so never seen. With a combination of wood glue, clamps around the edges, and some brads I got that attached.

DSCF0400

That now all looks pretty solid.  Still needs some stain (maybe) and a couple coats of polyurethan.

January 15, 2015

I  continue to dodge rainy days.  Today we were supposed to have no rain from about 5 AM to 5 PM.  It actually started sprinkling about 2PM, so I didn’t get everything I had hoped to done.  As thought I’d ever gotten everything I wanted to done.

Mainly I’ve been working on the back of the trailer.  I’ve got the right side almost rebuilt.    DSCF0393

The rotten wood is all gone. I had to replace a piece of plywood, as you can see.  I still need to glue that to the side beam. This is a storage bay next to the bed, with access from the top.I’m going to remove those screws, put wood putty in the holes, sand and/or scrape the peeling varnish off the original wood, and put a couple good coats of polyurethane inside and out.

On the left side I need to replace a larger chunk of plywood.  Like this:

DSCF0388

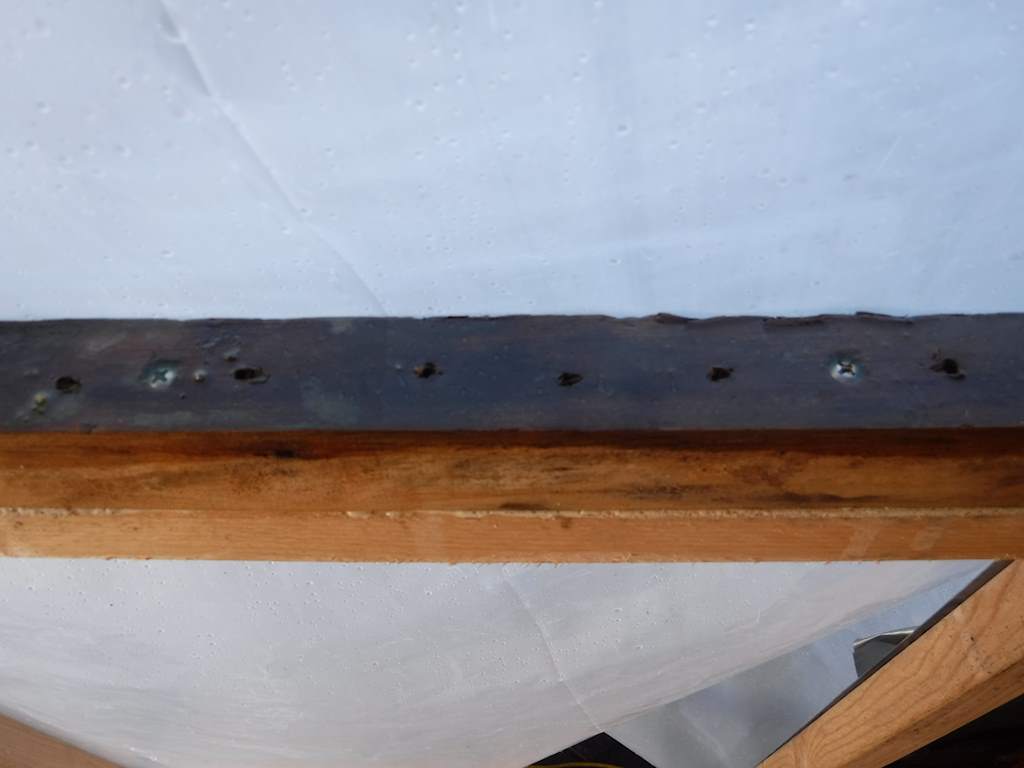
It’s just sitting in place.  I need to trim to match the curve of the rear, next time I get some clear weather.  After I pulled the old pieces off I found that the posts were loose and the stringer was broken. The two verticals in this picture were attached so poorly I pulled them out by hand, with no tools.

DSCF0383

The stringer is broken.  Just a poor piece of wood.

DSCF0385

So I’m sistering it. I don’t have any wood screws that long, but I’ll get some.

DSCF0389

DSCF0391

This is where I was when the rain started.  Another two or three hours should see the structure glued and polyurethaned.  When that’s all cured I can put in the new rear inside panel- the old one was massively disintegrated.

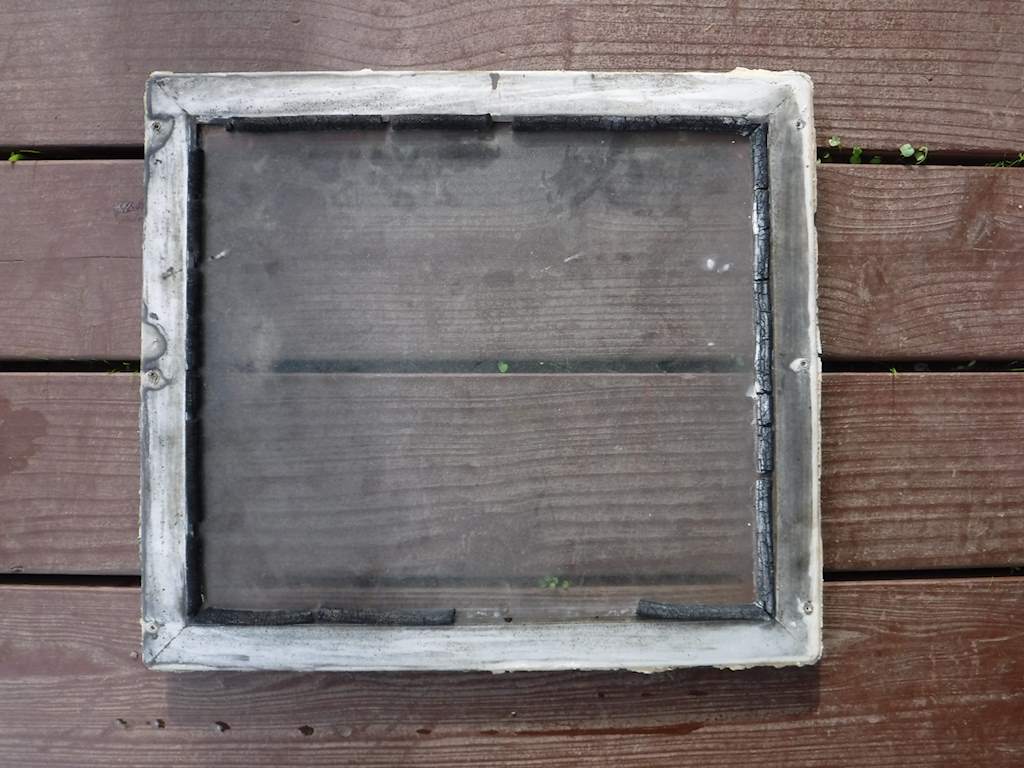
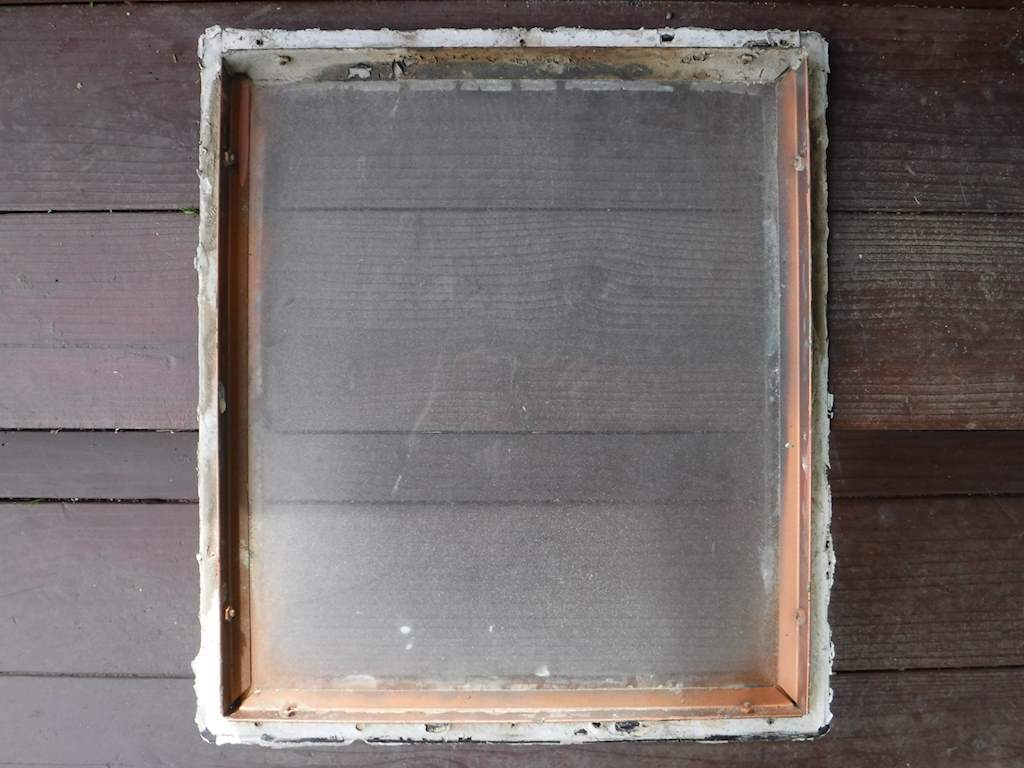
I’m also working on the windows. I’ve rebuilt a couple of them.  There are two windows in front, one in the rear, one in each of the two doors, one more on the right side, and four on the left.  All but the door windows open. One of the door windows was in fairly decent shape. Not usable as is, but not major problems and little rust.  The other was horrible. Somebody had sprayed it with copper paint from the inside, without even masking.  Somebody had tried to seal it twice. Once many years ago, using some kind of putty which has hardened.  Then over that an attempt with silicone.  Neither worked of course.  It never does.

DSCF0381

DSCF0378


But getting it off was a pain. I tried a couple things, but what worked best was chiseling it off, using a plastic hammer and a 2 inch wide flexible steel putty knife.  That seemed just the right amount of force to get it off in hours rather than days, but gentle enough not to damage the window frame. Took about two hours of that before it made sense to start with the wire brush. Now that’s all ready to paint and reassemble. Now it looks like this:

DSCF0394

January 11, 2016

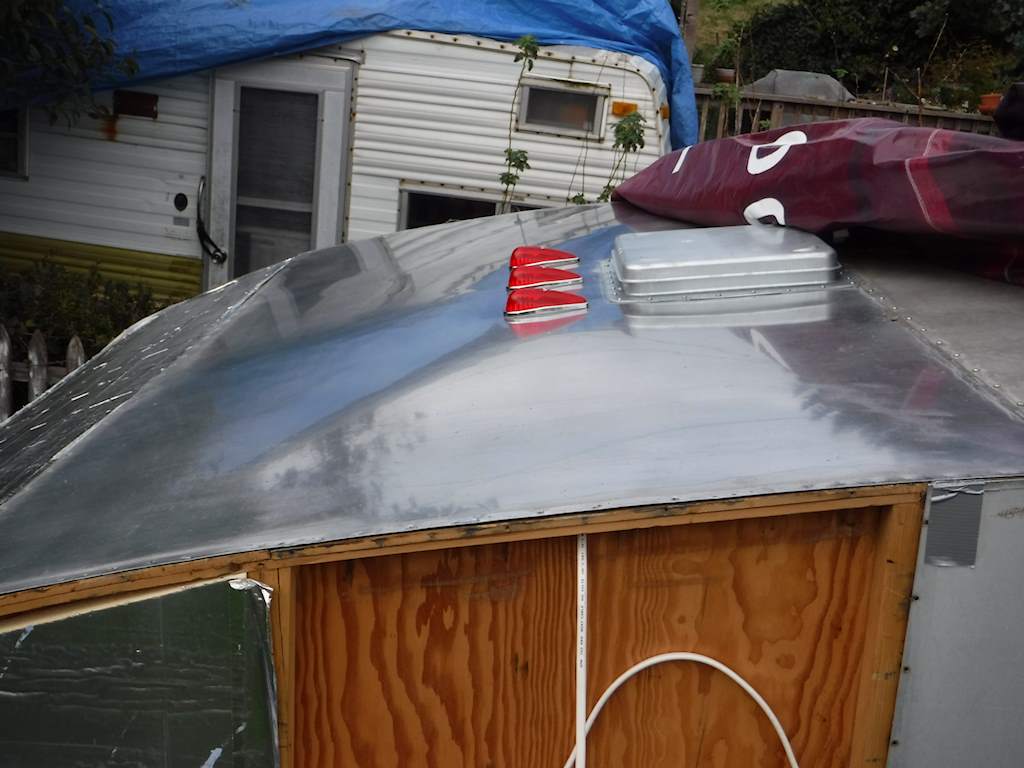
all the roof insulation, almost.  I mounted the three roof lights that indicate that the trailer is over 80 inches wide, but I found I didn’t have the multi-wire crimps I need. I ordered them, but until I get them I won’t be able to do that panel.

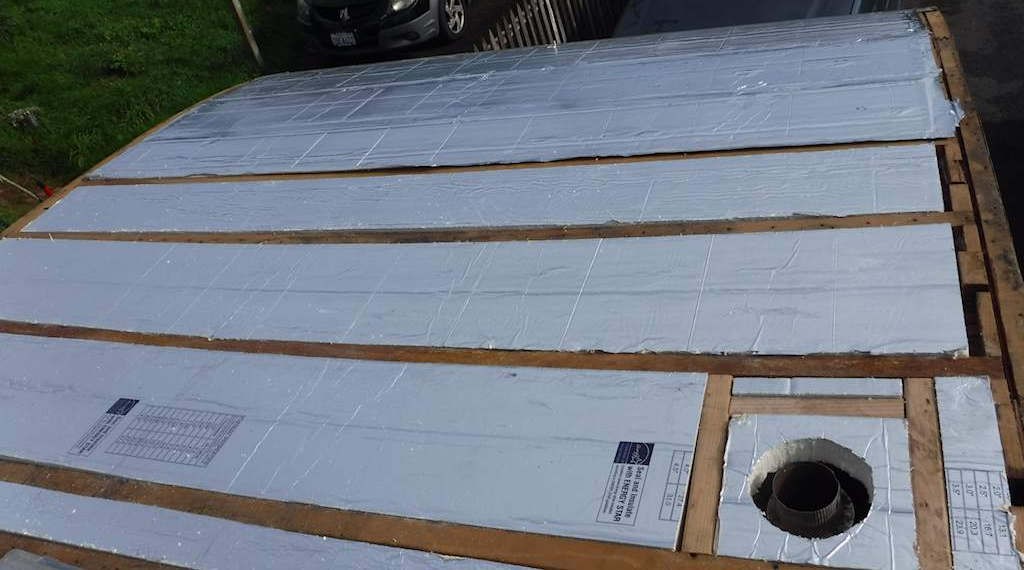
Leaving that aside, I got all the roof looking like this:
DSCF0367

In this picture the front part has been sealed with aluminum tape but the three closest bays haven’t.  This picture is taken while I’m doing that. There are three 14-2 wires running from left to right in that picture, but they are covered by the aluminum tape so not visible.  One for the kitchen lights, one for the bathroom lights, and one for the water pump and water heater.

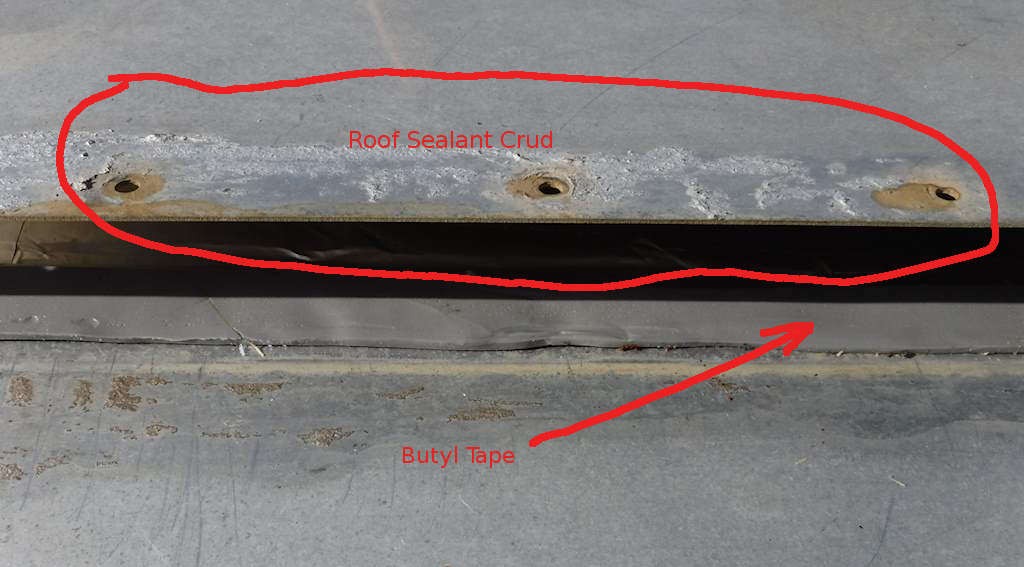
Then the panels go on with butyl tape at every overlap, like this:
DSCF0370

You can see the old roof  “sealant” there.  It doesn’t seal anything.  As far as I can tell it does two things. It transfers money from the trailer owner to the people who sell the stuff, and it allows the trailer owner to feel like they are trying to stop the leak. The alternative is not trivial- it’s pretty much what I’ve been doing.  Pull stuff apart, replace rotten wood, clean off the old junk, and put it together with butyl tape everywhere.

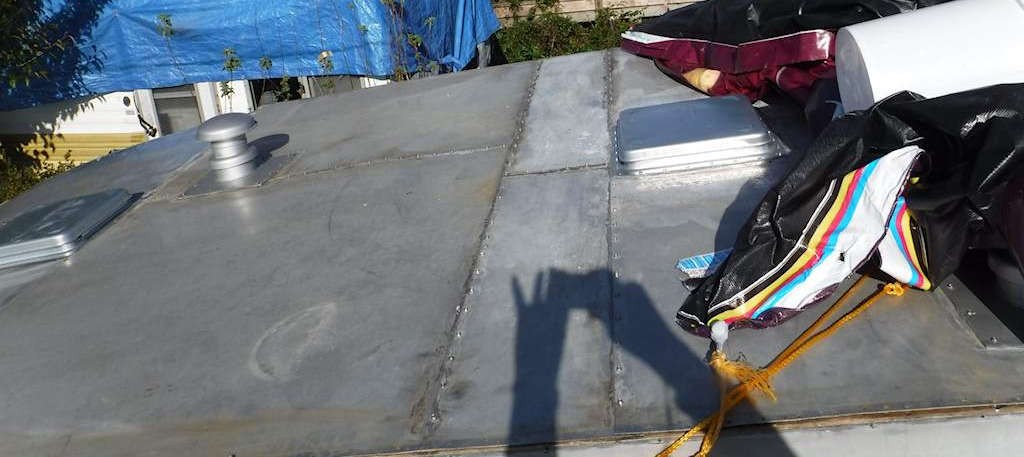
I got this much done on Sunday.


And from there back to here on Monday.  The vent in the center right of the picture below is covering the hole on the center left of the picture above. The left panel, with the left-side vent, is where the lights go.  So that vent and the panel are just sitting in place. But front vent, both stacks, and all the other panels are firmly in place with all solid wood, new butyl tape and watertight. I keep the tarp on anyway, because the corners aren’t sealed yet.  Eventually there’s an aluminum angle, and a drip rail on the right side where the doors are.  That can’t go on until the entire structure rebuild is done, including the floors and the steel understructure.DSCF0374

I’m rebuilding the rear end next.  More photos to come.