Thanks to rain and Christmas, all I’ve been able to do is some work on the windows. I have the first one almost done, and I think I know what I need to do now. Yesterday and today we got clear skies, but I’m not working on the trailer on Christmas day!
But today I made a little progress. I was able to get the left rear corner structural member done. Two more panels are off:
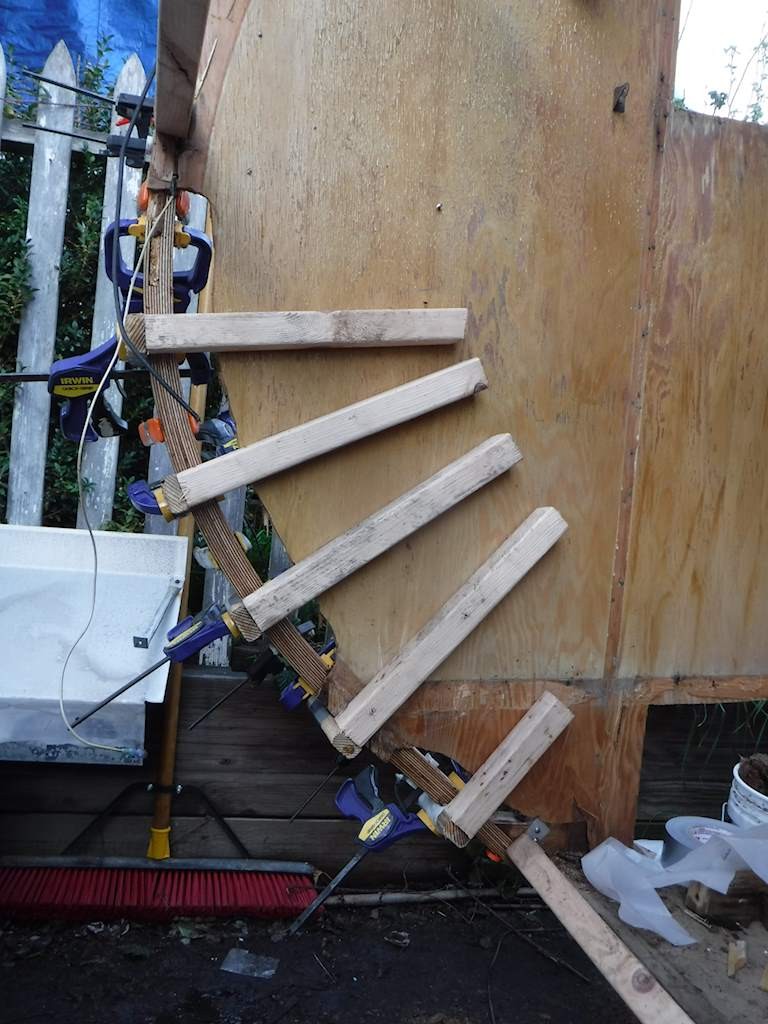
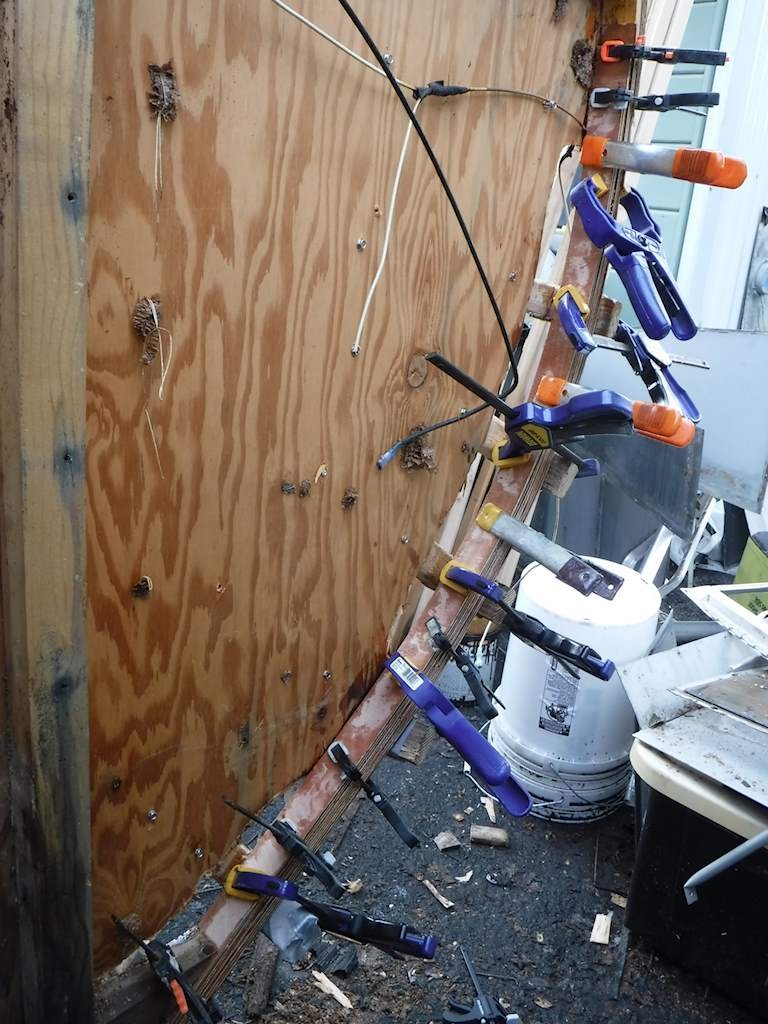
The whole interior panel needs to come off. The stringer below the window is rough, but salvageable. View looking from outside rear left through where the window goes and into the bedroom.
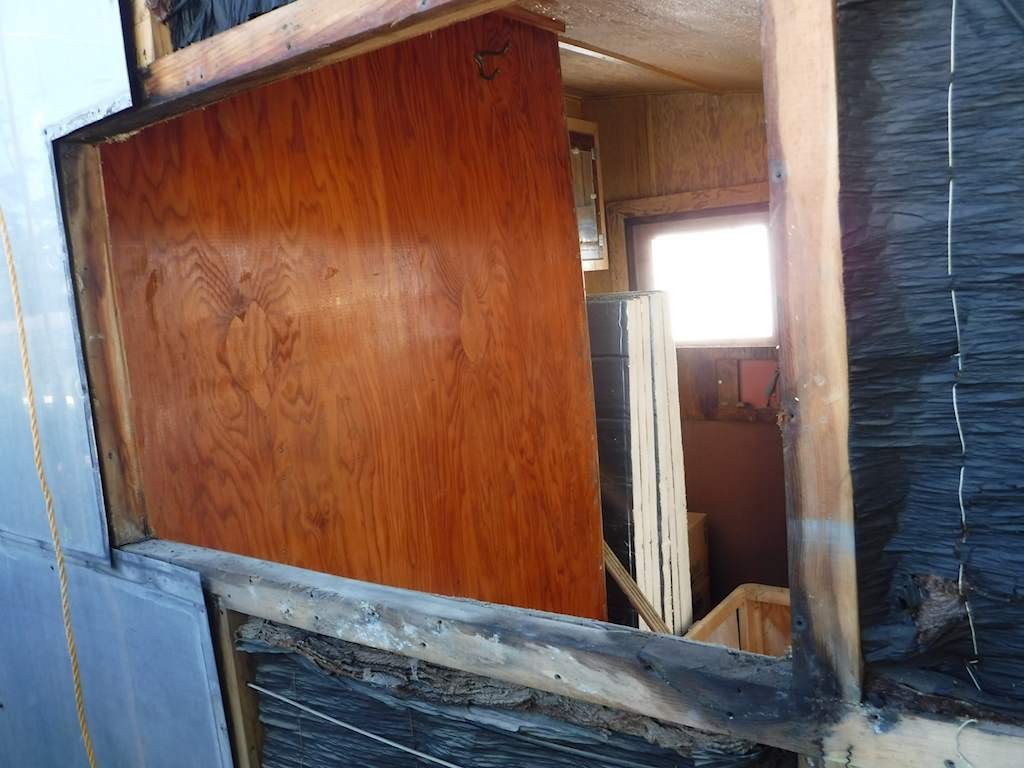
I plan to drill some small holes in wood like that and inject some ethylene glycol. I.e. Antifreeze. Then let it dry before sealing it up.
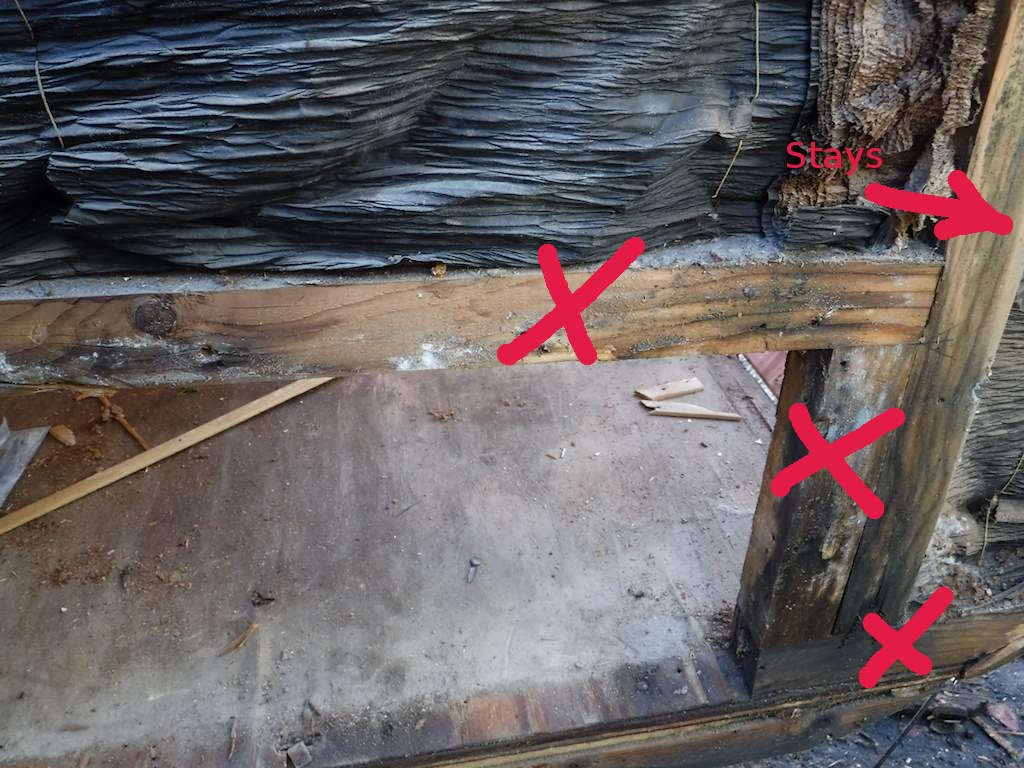
Below that is the side hatch for external storage access. Similar problem. In this case there is a cross-member and a vertical I can remove and replace. The vertical in this picture will stay and get the ethylene glycol treatment. The short piece at bottom right will go and be replaced as part of the floor replacement, when I get to that.
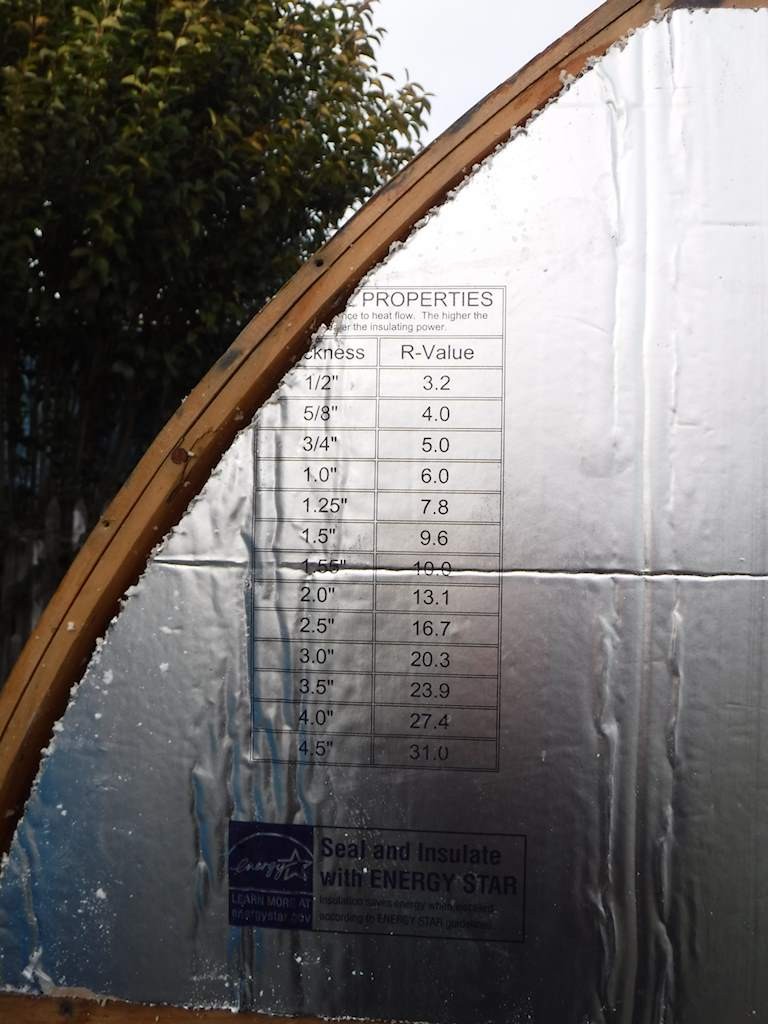
And I started installing the side insulation. This is polyiso- the best insulation available. Look at the R-values! I’m using 1.5 inch.
I had to drill holes and notch for the wires. I don’t like those hidden solder joints. I’m doing this more like house wiring. Wires should run from an accessible junction to an accessible junction. You can see the old system used separate black/white wiring. The new system will all be 14 gauge marine wire, in a jacketed 2-wire bundle. Initially I’ll use wire nuts, but I can change to adhesive heat-shrink 3-way crimps if there’s any sign of corrosion or loosening.
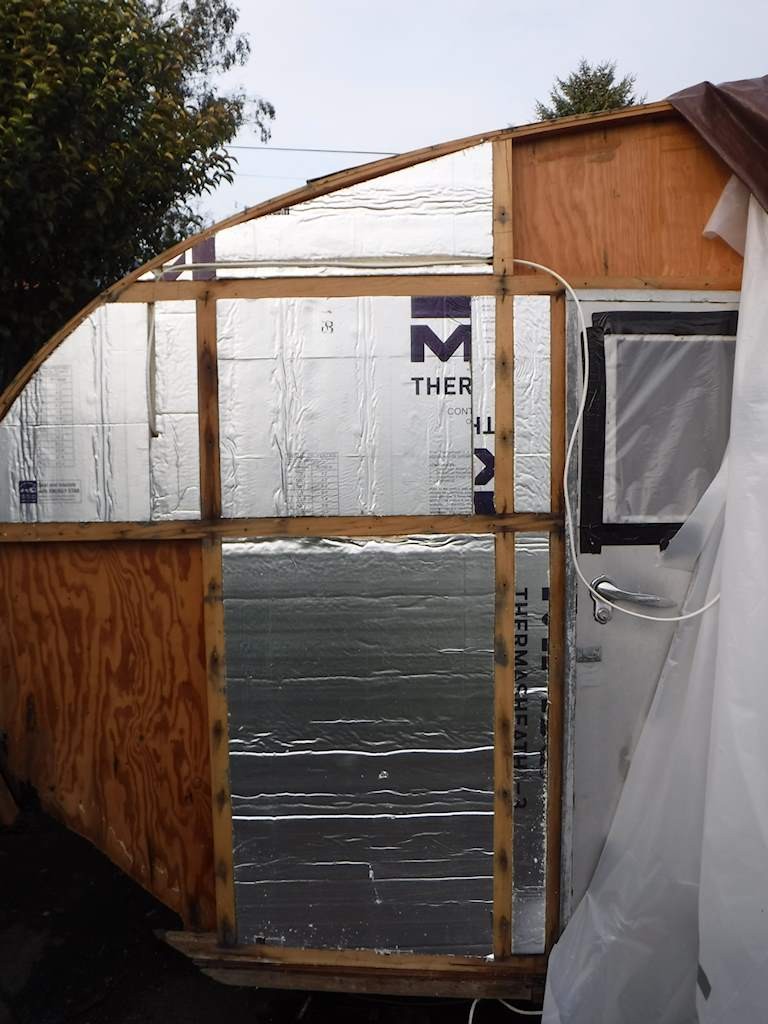
The bottom two are temporary. The nuts for the bolts from the frame stick up here, so I can’t close this up until I’ve redone the floor. All the seams will be sealed with aluminum tape to make a relatively moisture-proof layer.