all the roof insulation, almost. I mounted the three roof lights that indicate that the trailer is over 80 inches wide, but I found I didn’t have the multi-wire crimps I need. I ordered them, but until I get them I won’t be able to do that panel.
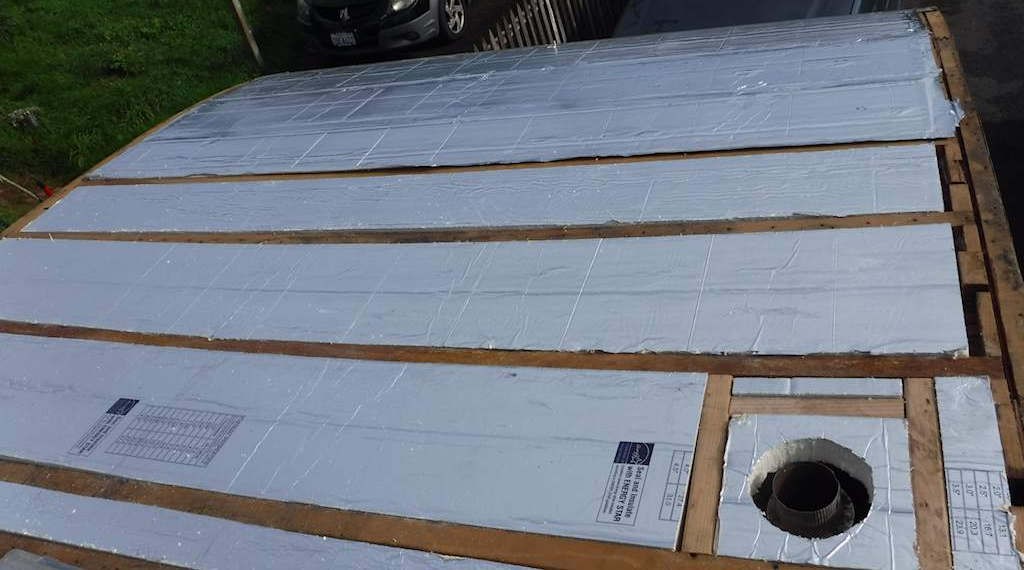
Leaving that aside, I got all the roof looking like this:

In this picture the front part has been sealed with aluminum tape but the three closest bays haven’t. This picture is taken while I’m doing that. There are three 14-2 wires running from left to right in that picture, but they are covered by the aluminum tape so not visible. One for the kitchen lights, one for the bathroom lights, and one for the water pump and water heater.
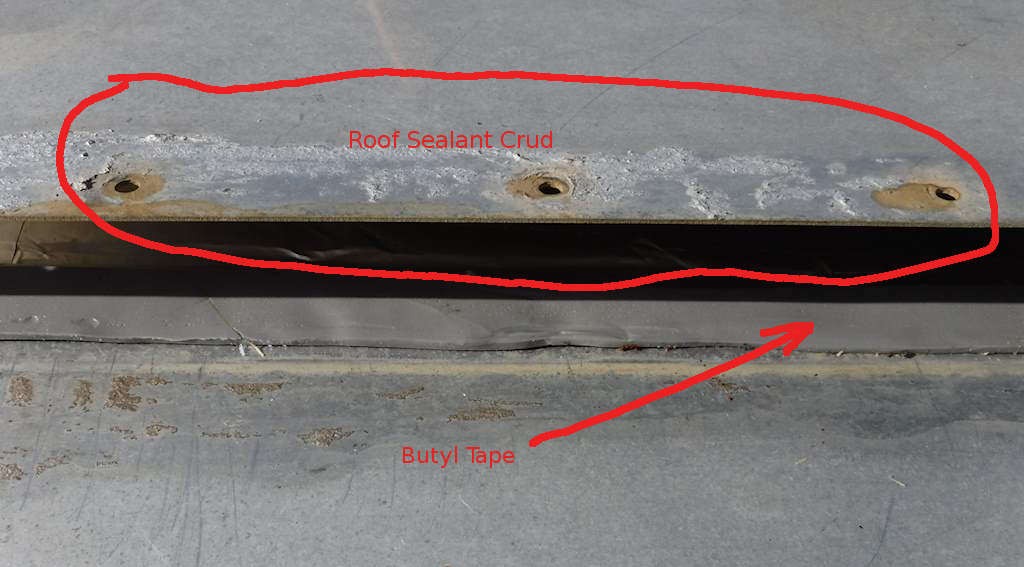
Then the panels go on with butyl tape at every overlap, like this:

You can see the old roof “sealant” there. It doesn’t seal anything. As far as I can tell it does two things. It transfers money from the trailer owner to the people who sell the stuff, and it allows the trailer owner to feel like they are trying to stop the leak. The alternative is not trivial- it’s pretty much what I’ve been doing. Pull stuff apart, replace rotten wood, clean off the old junk, and put it together with butyl tape everywhere.
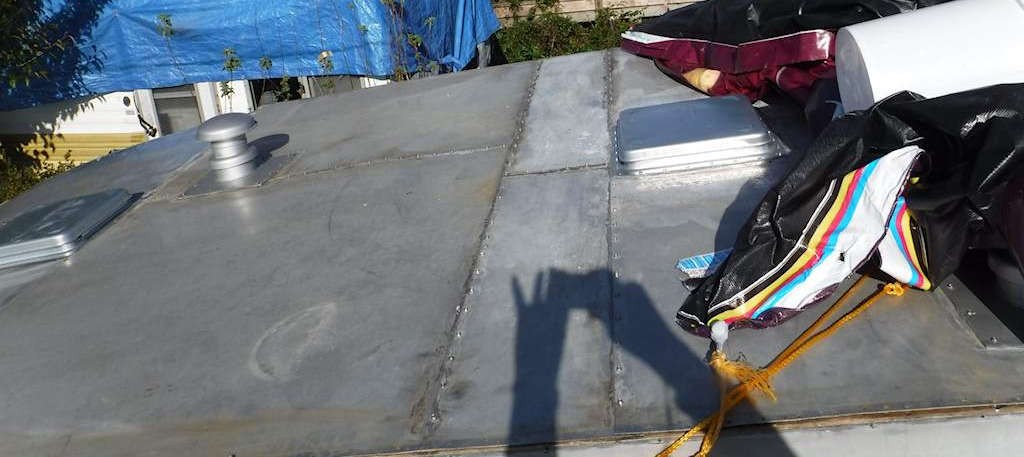
I got this much done on Sunday.
And from there back to here on Monday. The vent in the center right of the picture below is covering the hole on the center left of the picture above. The left panel, with the left-side vent, is where the lights go. So that vent and the panel are just sitting in place. But front vent, both stacks, and all the other panels are firmly in place with all solid wood, new butyl tape and watertight. I keep the tarp on anyway, because the corners aren’t sealed yet. Eventually there’s an aluminum angle, and a drip rail on the right side where the doors are. That can’t go on until the entire structure rebuild is done, including the floors and the steel understructure.
I’m rebuilding the rear end next. More photos to come.