Finishing off the back of the trailer has been about twenty times larger project than I thought. As I mentioned in my last post, I got this really nice Baltic birch plywood for the back. It was really good, but stiff. Very, very stiff. To get it to form the curve at the back I had to slit it through about half the thickness on the outside. Like this:
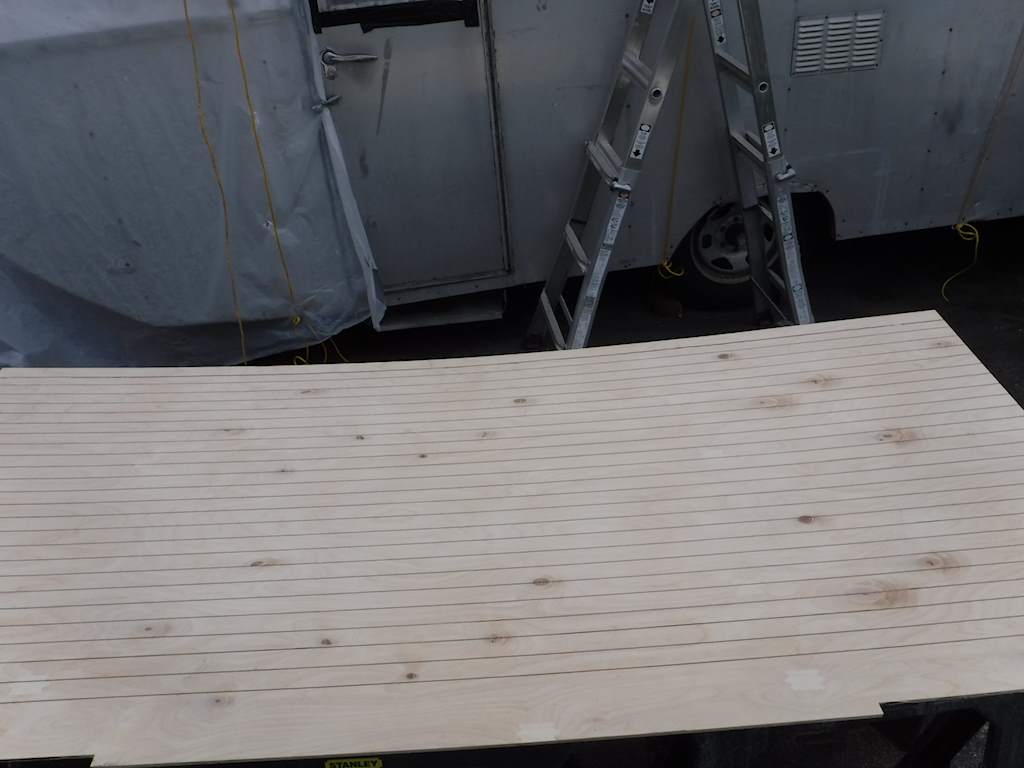
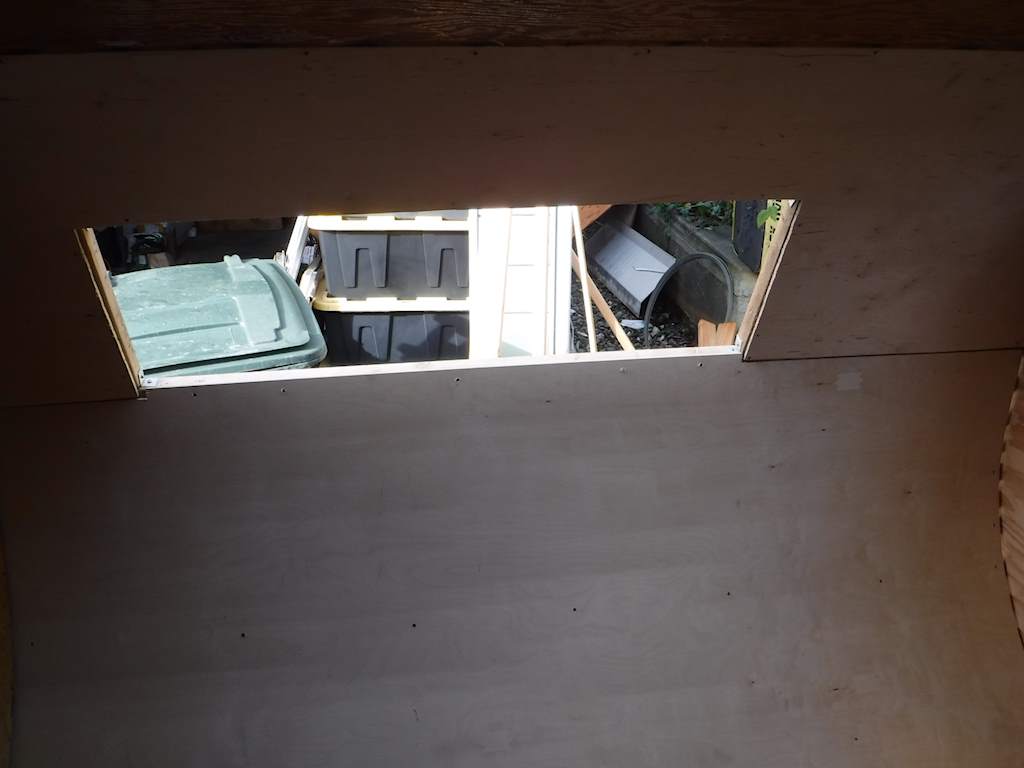
And with that I was able to make the curve. It looked like this on the inside:
And this on the outside:
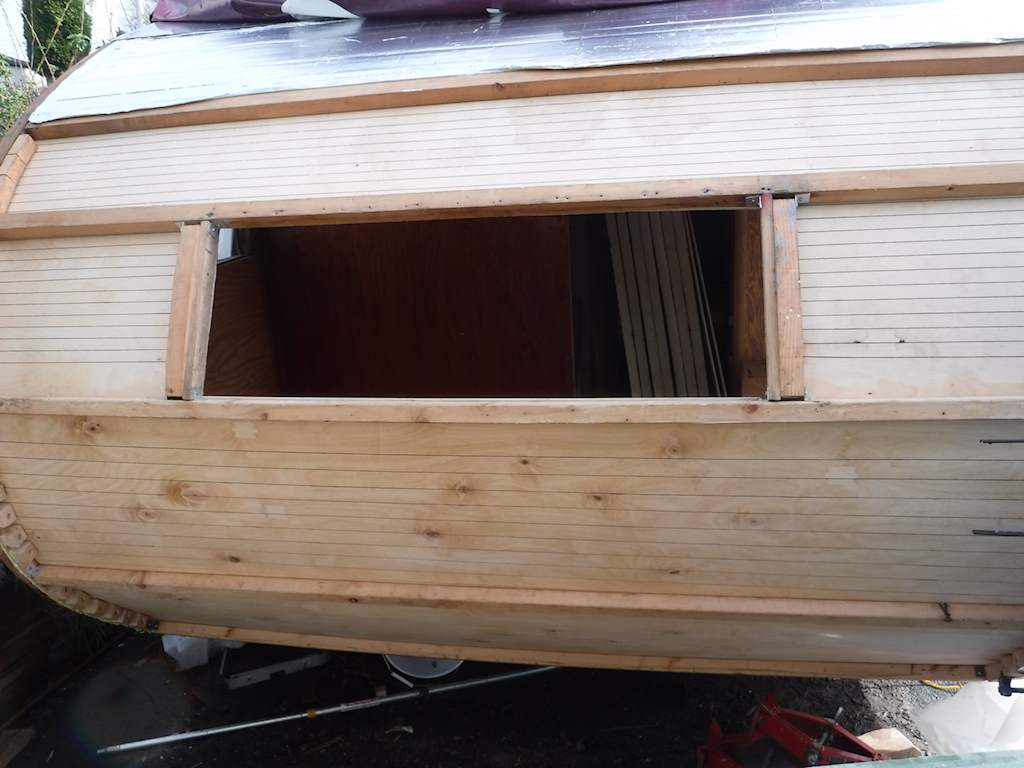
After slitting and forming the insulation I tried to get the panel on, but it just didn’t fit. Turns out there were two problem. The 2×2 running across just below the window was almost an inch out of straight, pointing out. And there was so much force required to pull the plywood in the right curve that it was even worse. So I replaced the 2×2 with one closer to straight, and I slit the plywood completely through. I’ll have to cover those slits with doorskin, but that I can do later.
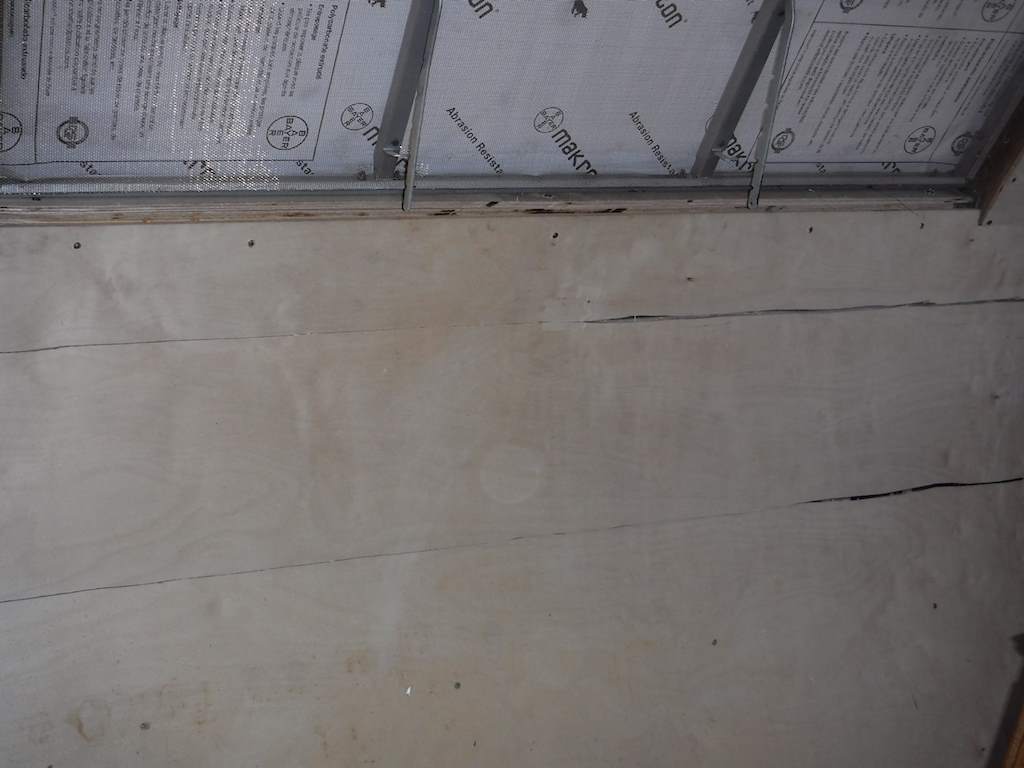
With a little cutting here and a little planing there, and some pushing and tugging and some straps to help form the curve I was able to get everything to fit. It’s not perfect, but it’s close. Here’s with the upper insulation on:
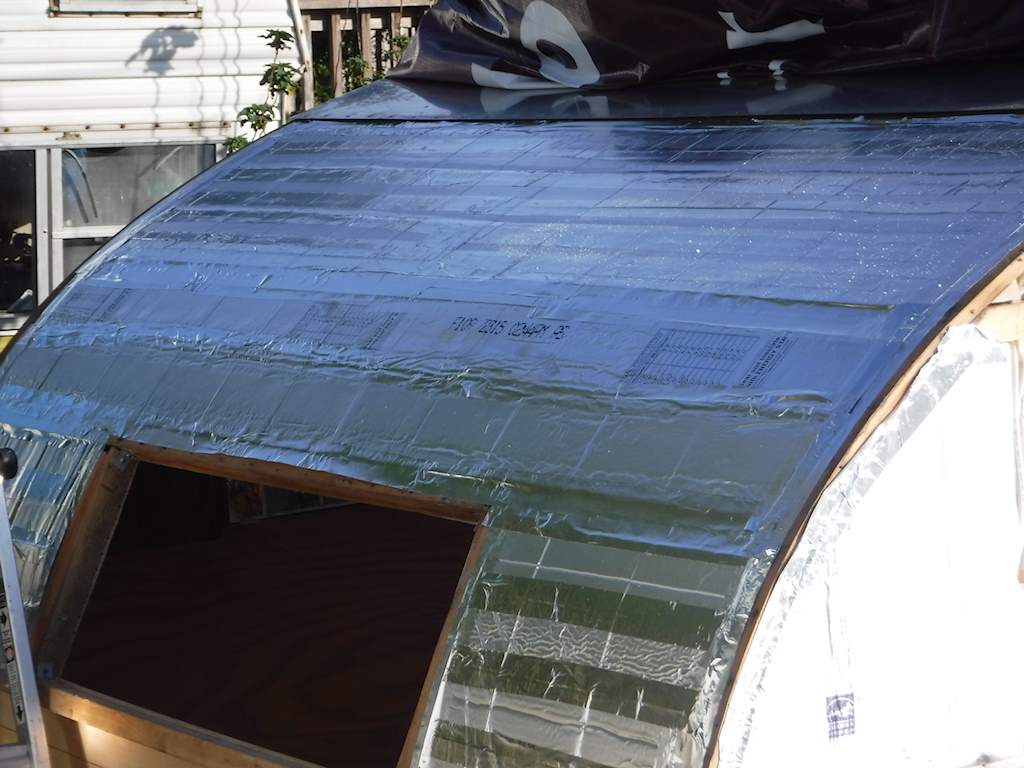
And before I closed up the back I tested the lights. One of the wires had pulled off the left taillight, and there’s no good way to replace it. I decided to get new lights. I wasn’t quite sure how to wire it up, since some of the wire color coding was off. Since the wiring was a bit strange and the wires were very old, I decided to run new wires. And the ID lights didn’t work- one of the connectors had pulled loose, and I had to partially remove that panel. Each panel with trailer lights has connectors so it can be removed and replaced with having to cut and splice.
I think there were four days of good weather when I started in the morning thinking I would close that day, and didn’t. But finally all that was done. The panels were polished. And now the back looks like this:
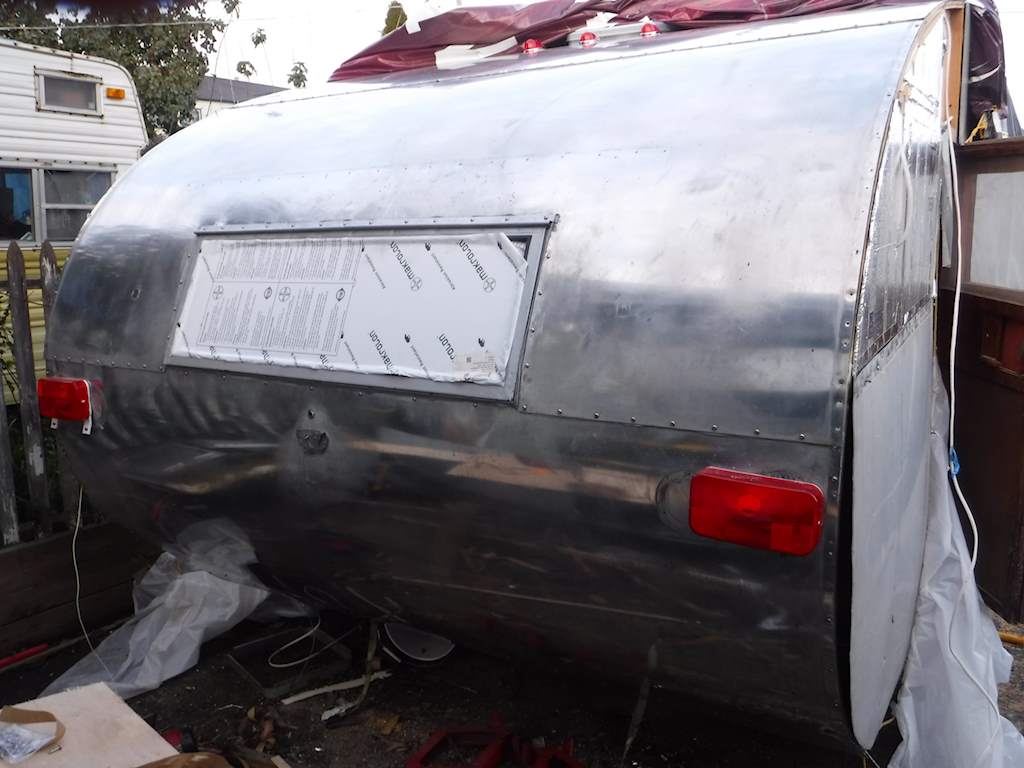 All overlaps sealed with butyl tape of course. The left and right sides along the window have a hand-formed aluminum piece to cover the wood. Any competent metalworker would sneer at what I did, but it fits fairly well and the wood won’t rot there like the original did.