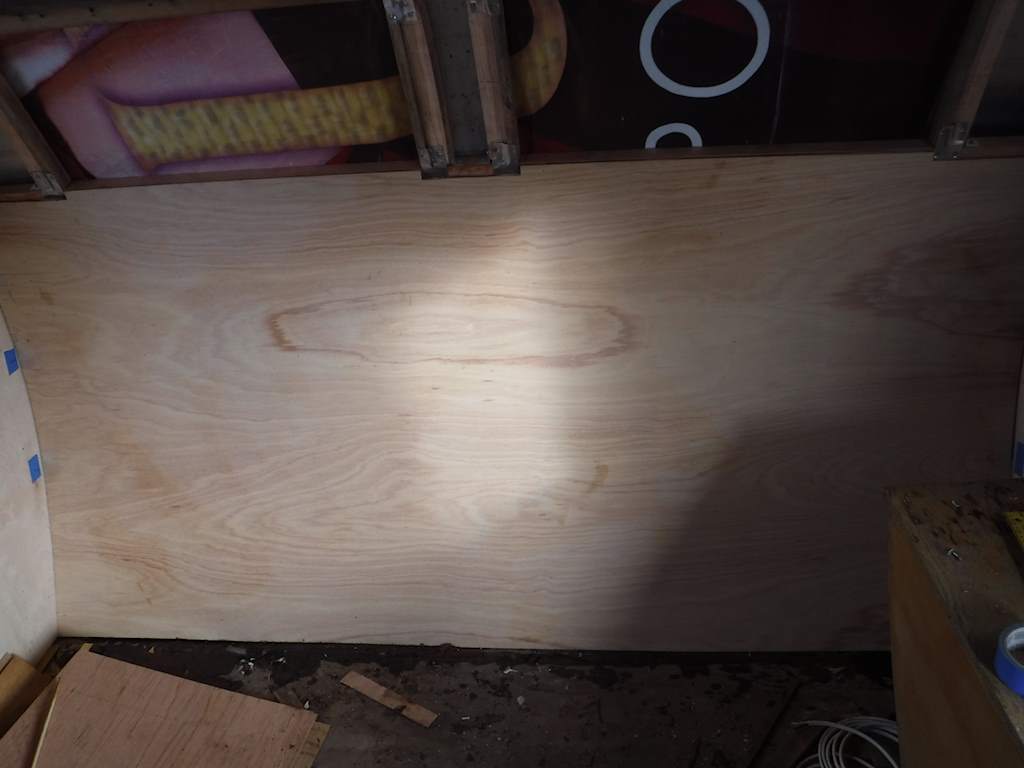
The trailer continues to progress. Once the front side “beams” cured I removed the front side panels and replaced them. I did decide to glue those in place, like the previous ones were.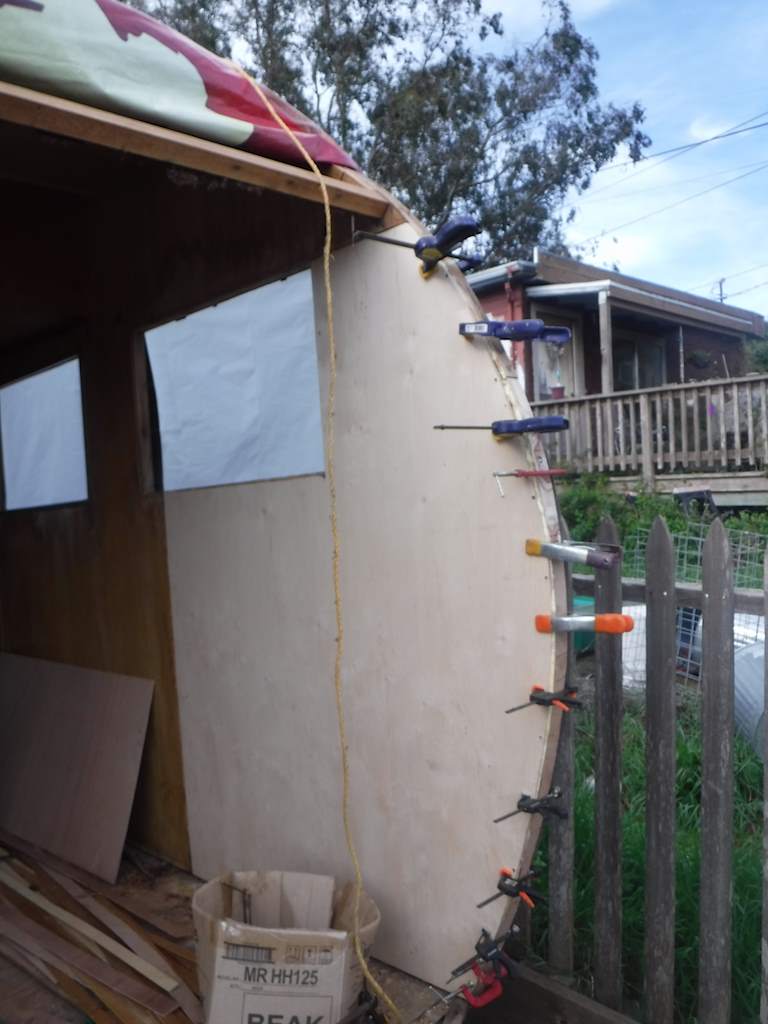
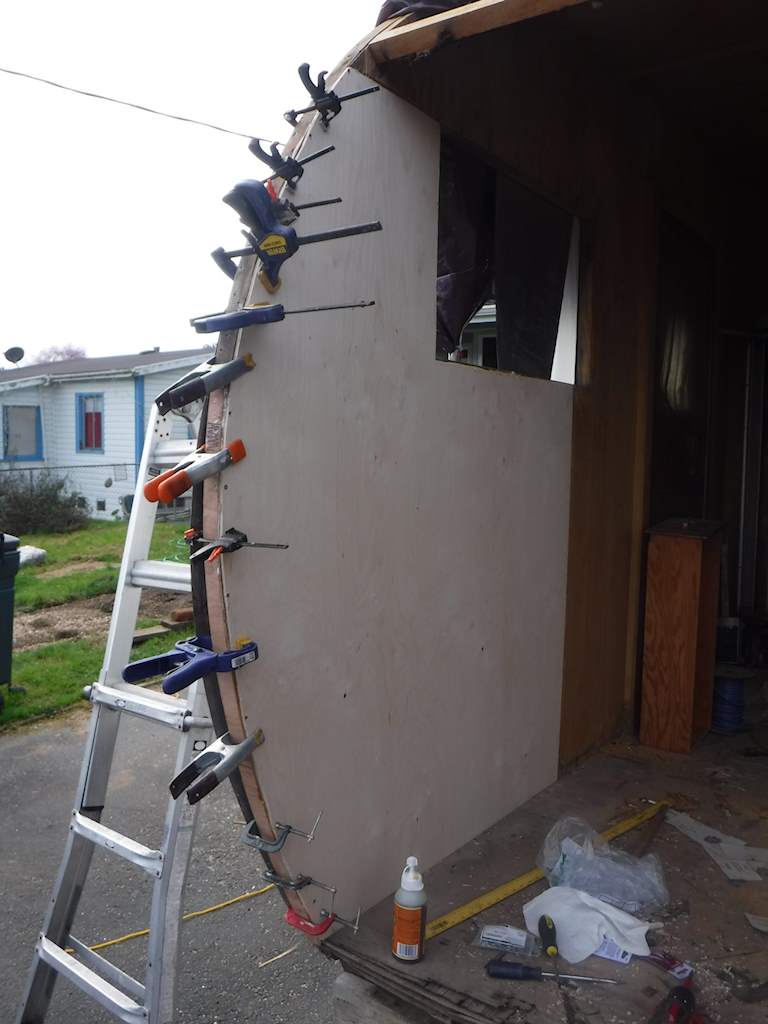 Then replaced the cross supports.
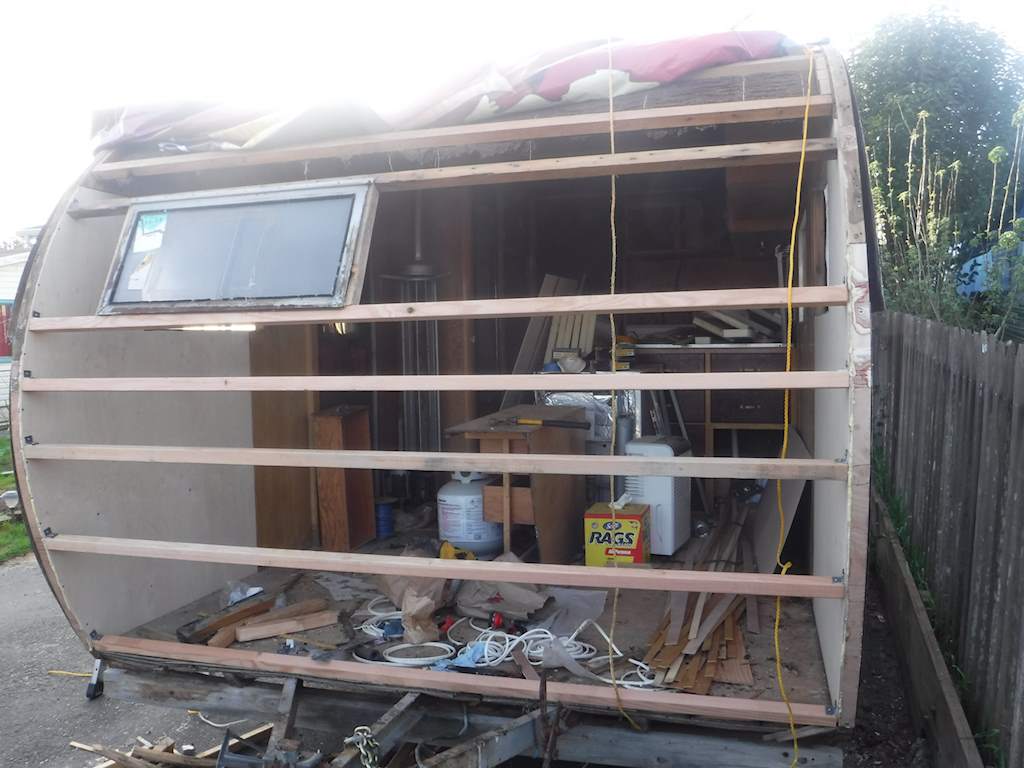
I cleaned up the upper side panel, and used that to properly locate the vertical supports at the front windows. I had a little trouble getting those properly tied in, but I finally made some aluminum supports, so it looks like this now.
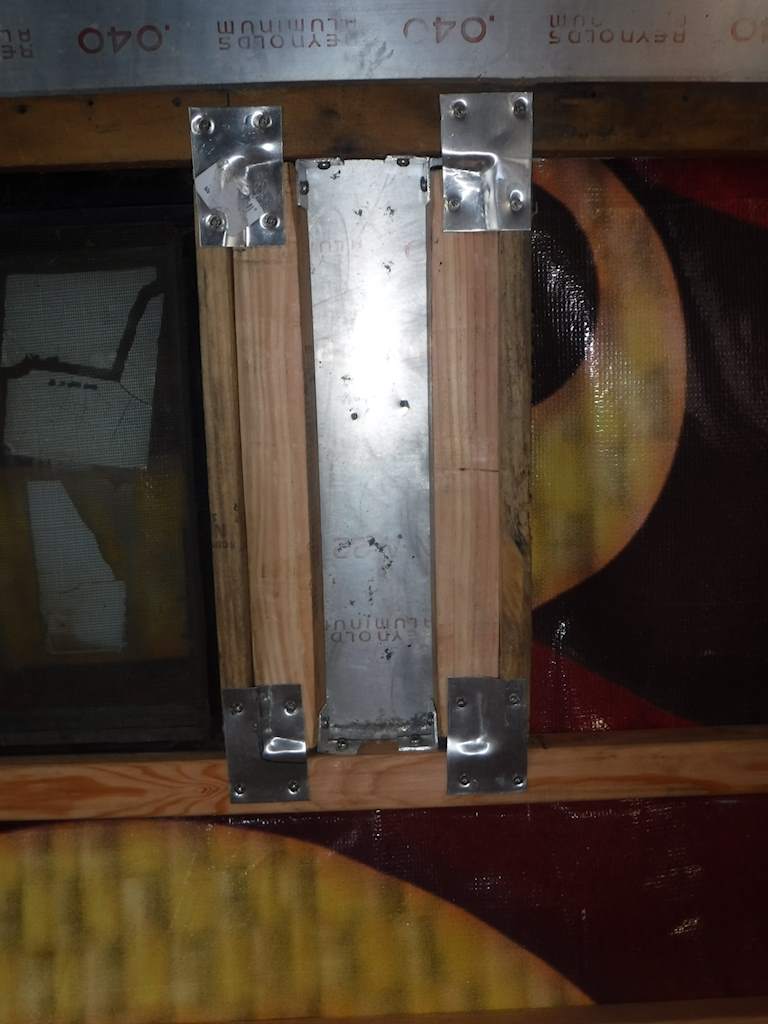
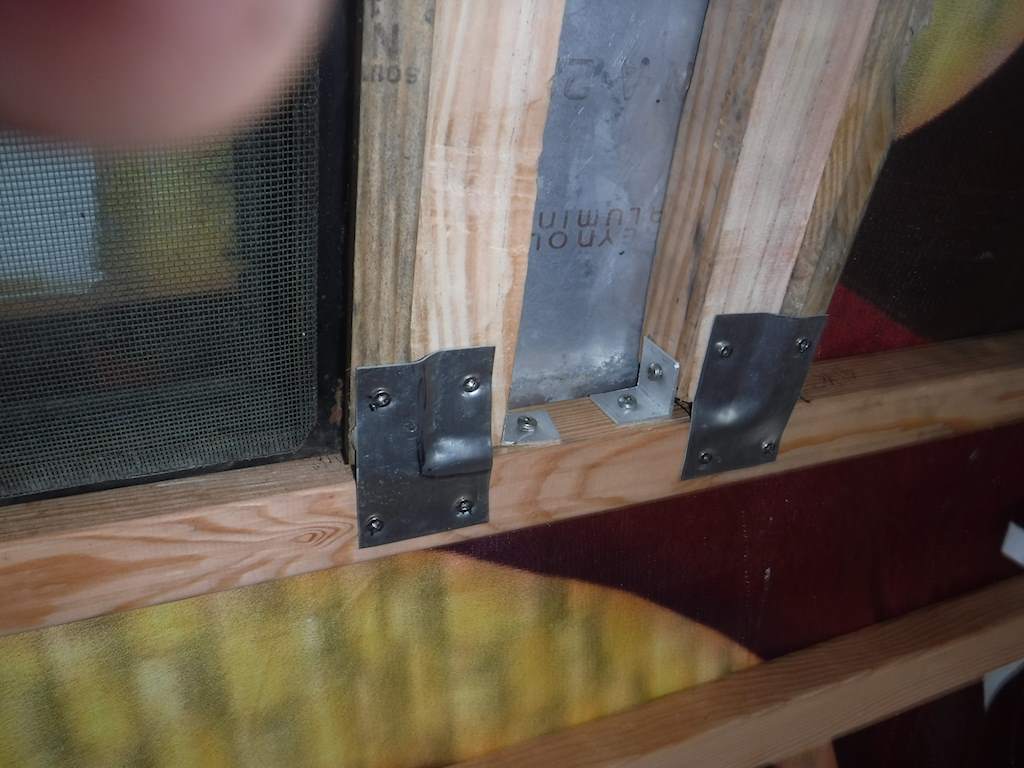 That seems to hold it pretty well. Now for a more interesting bit of carpentry. There’s a challenge around the windows. The window wants a flat surface, but the shell is of course curved. That would imply the presence of something like this:
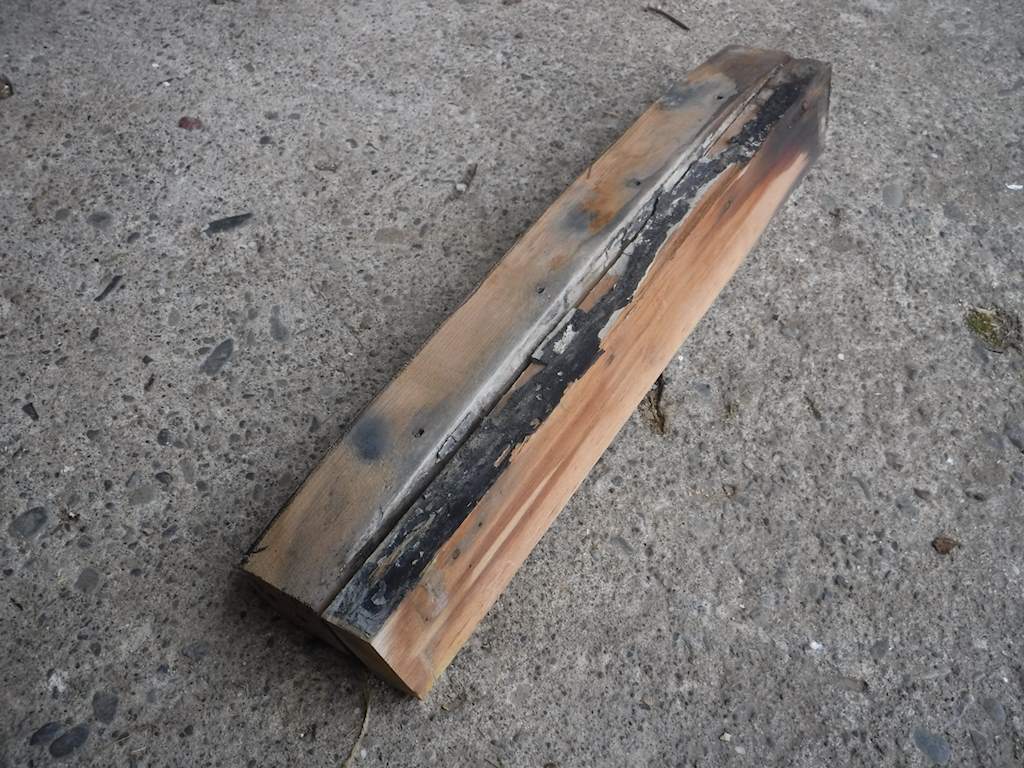
Which is obviously curved on once side and flat of the other. There should be six of those- one on each side of each of the two front and one rear window. This is the only one I can find. The others have completely disintegrated. Also, notice the black stuff and putty between the curved and flat pieces. That was all there was to protect that wood from rot. It needs something of aluminum. I already maded these pieces based on the curve on the back, but I recut them to fit this pattern. Then I used one of these as a pattern,
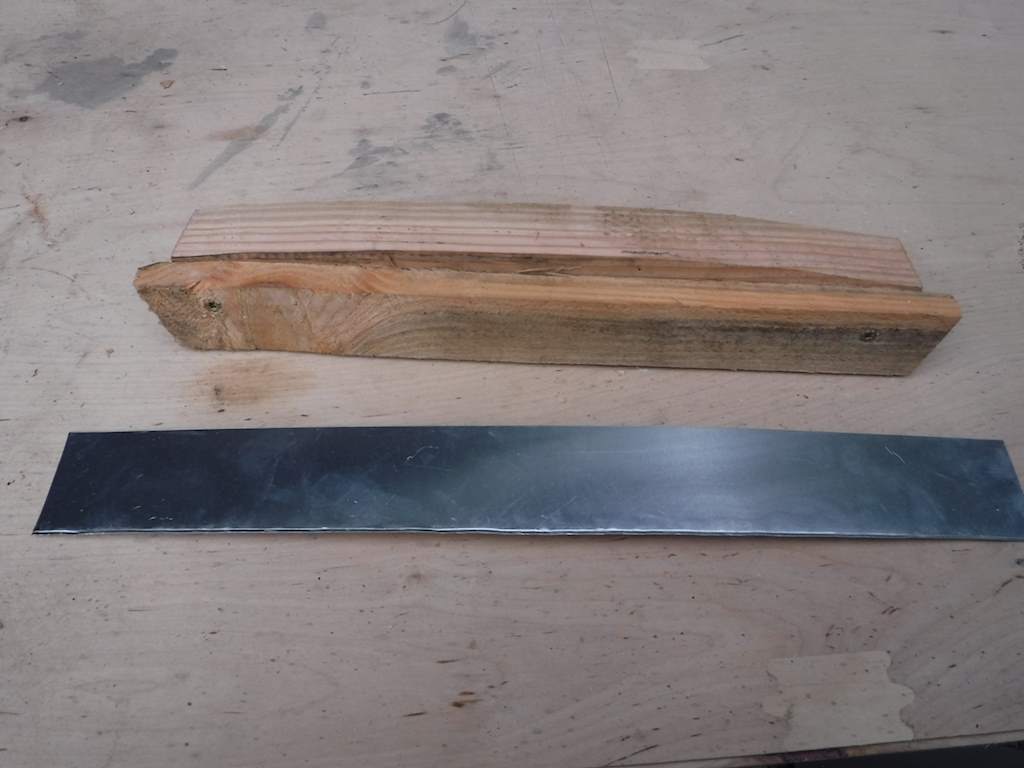 and cut some aluminum sheet. Clamped the wood into my vise, and clamped on the aluminum.
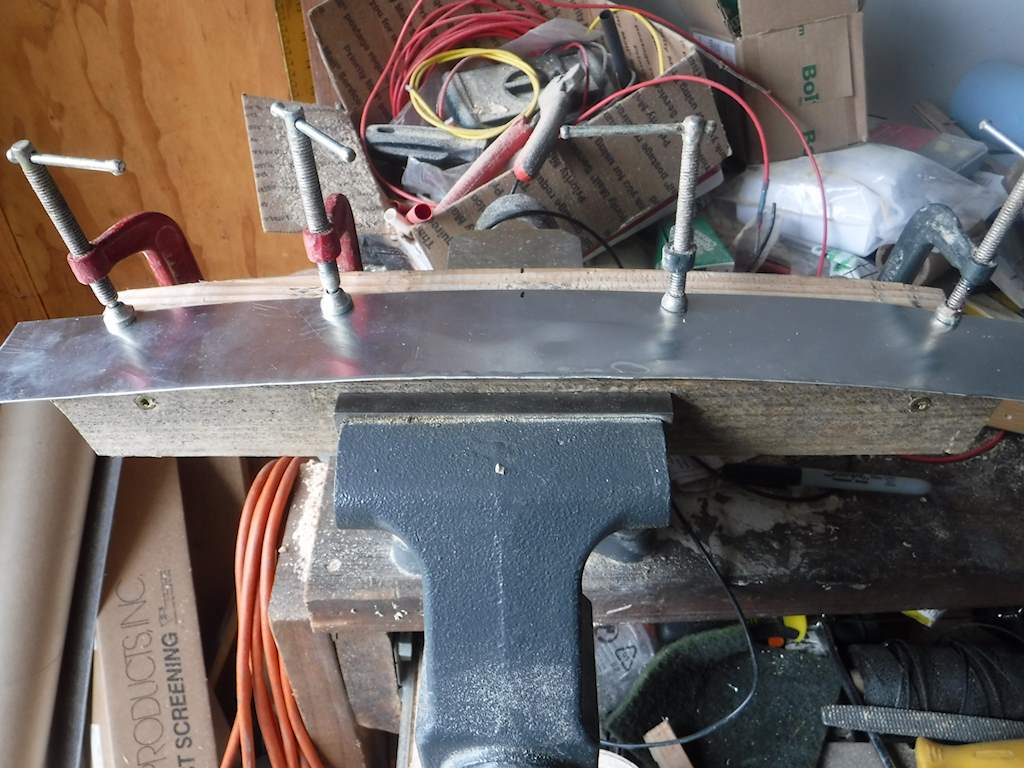
Hit a few hundred times with a plastic hammer, sometimes with the help of a wood bar.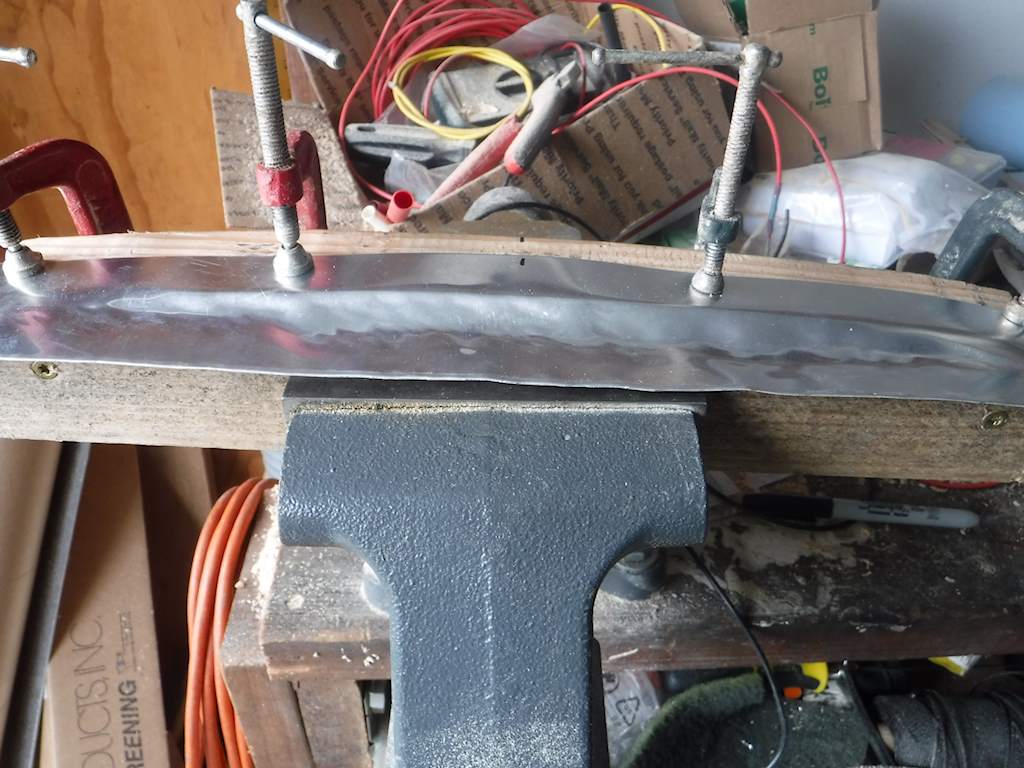
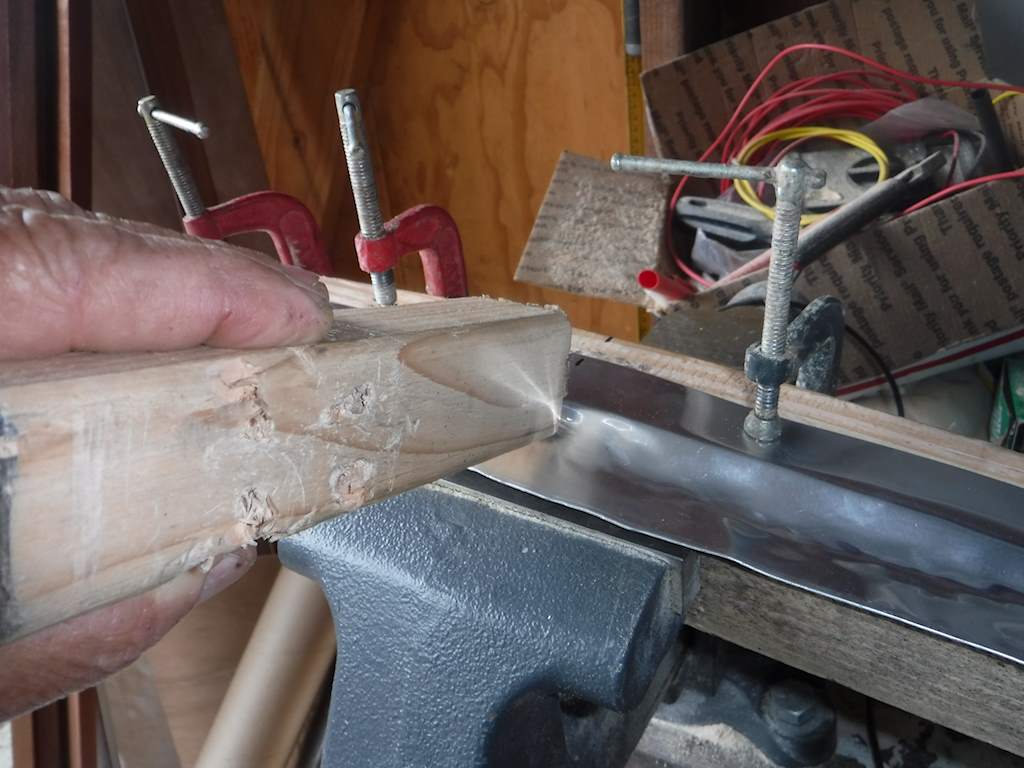
And get thi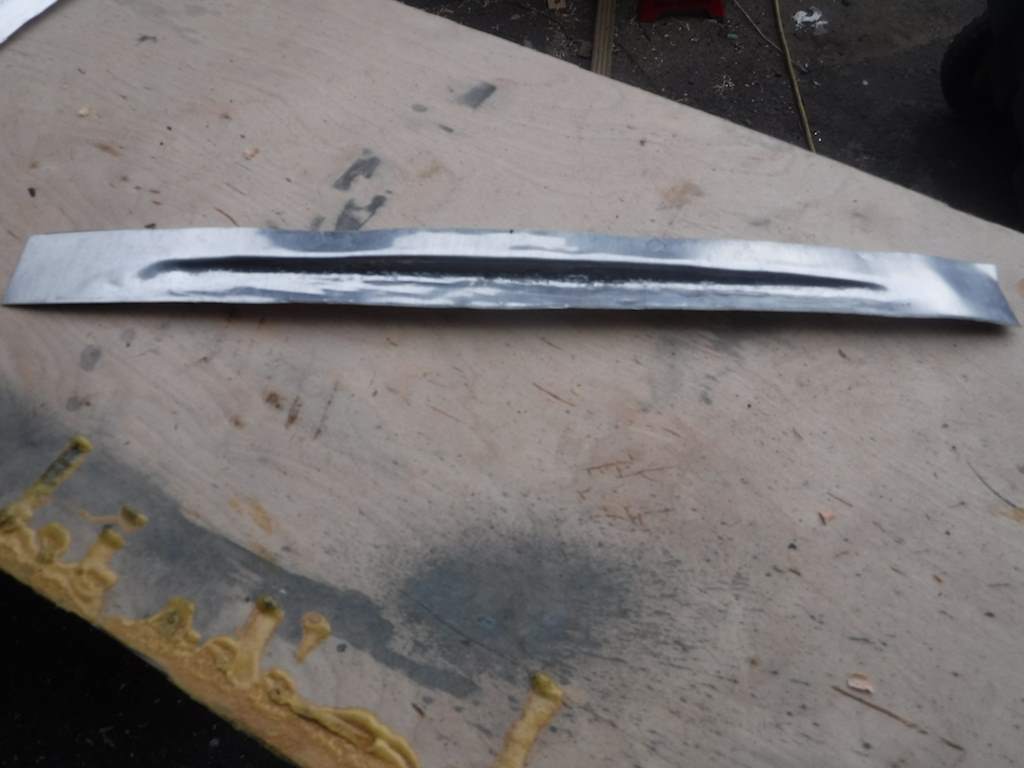 s.
s.
Some trimming, and this will precisely cover the hole.
And finally I decided to make the inner skin by laminating 1/8 ply. I got some nice lauan ply. The original interior was all pine plywood. I like the idea of having different types of wood. So here is three plies, laminated with epoxy. I still have to do the upper panel.
