I’ve made some nice progress in the last few days. First I completed the trailer lights in back. The originally had round Bargman lights right and left with a licence plate light in the center. There was a lot of corrosion around the lights, and when I was handling one of them the electrical parts just fell apart. So I went with the modern lights I could get locally. So this is what they looked like:
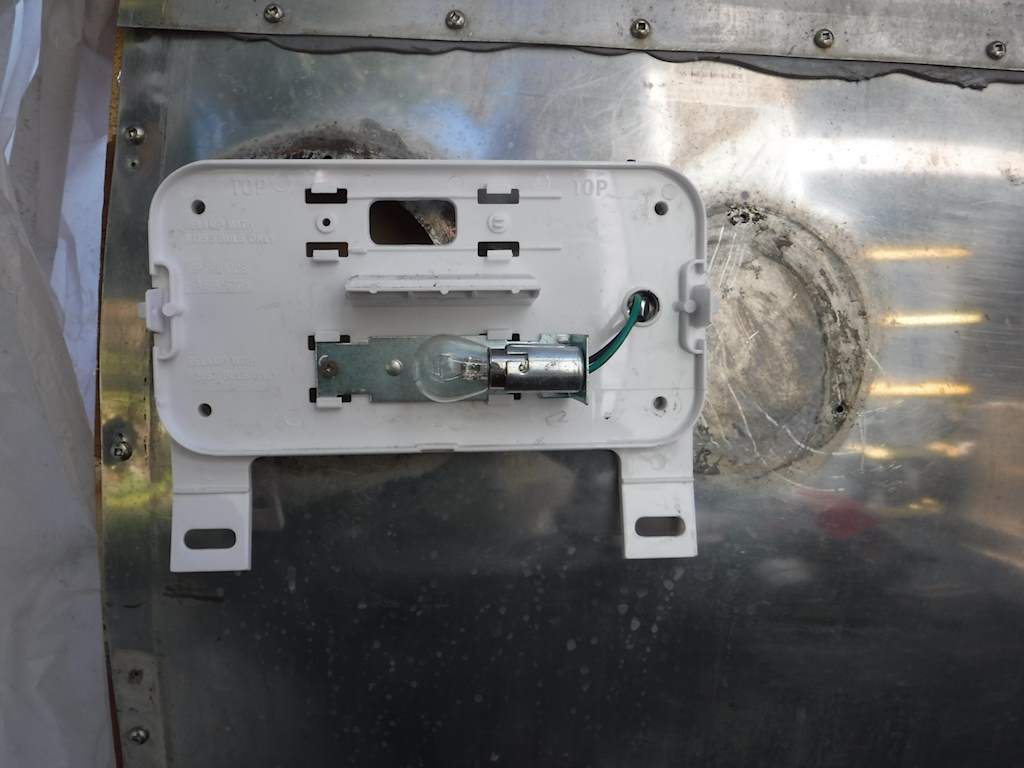
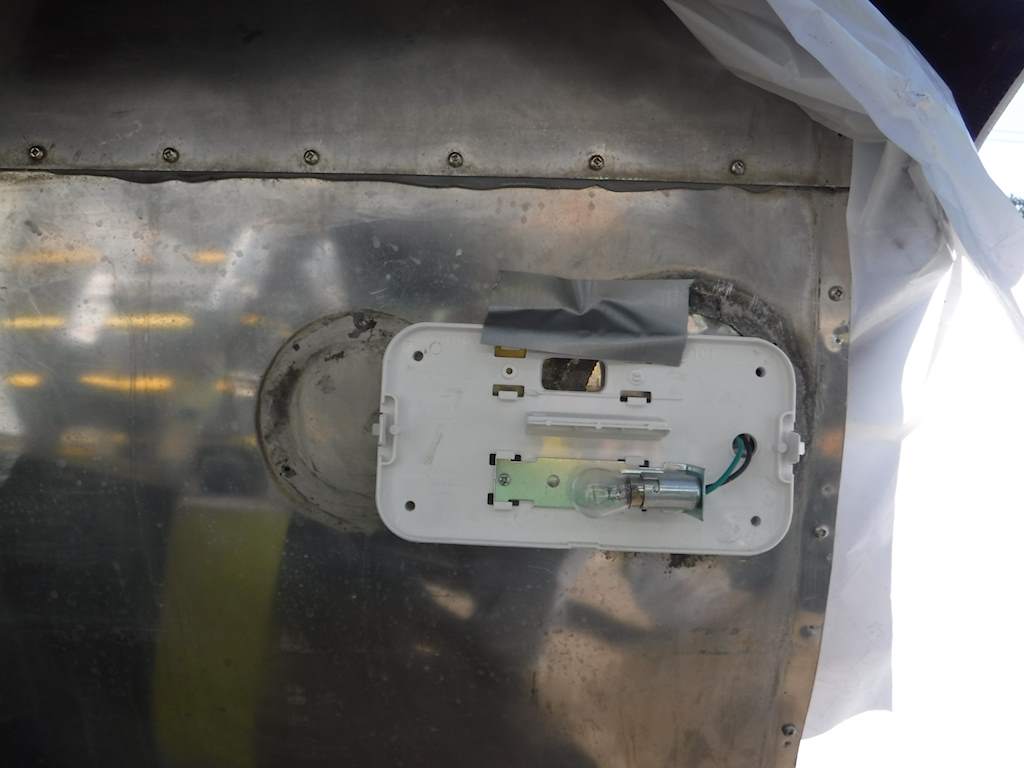 Not beautiful. Note also that the license plate light is integral with the left taillight, so there was a hole in the center. So I needed some aluminum sheet to cover the holes.
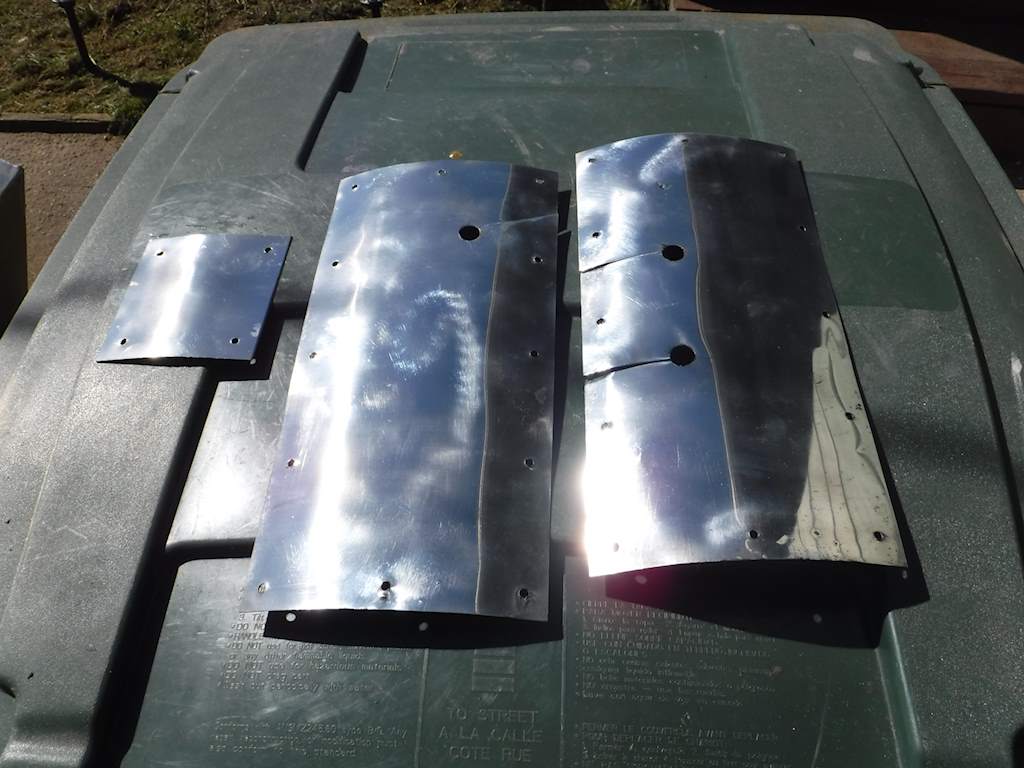
To get these in place with a lot of disassembly I slit below the wire holes. For the left one I had to actually make the center part removable.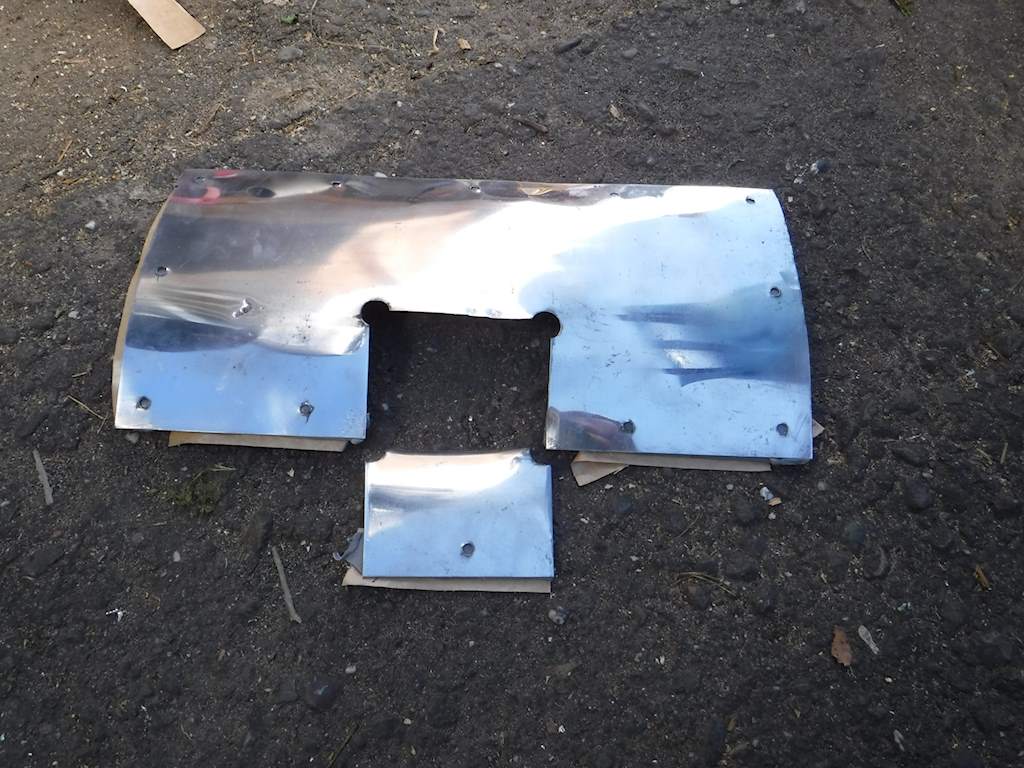
And heres what it looks like when completed.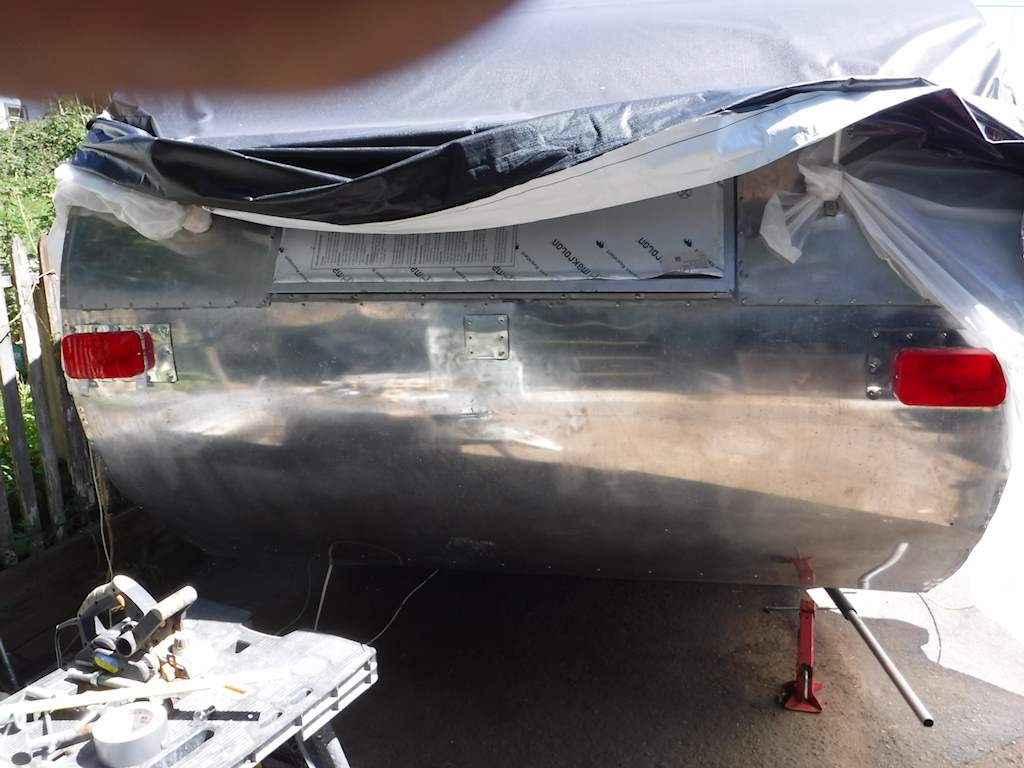
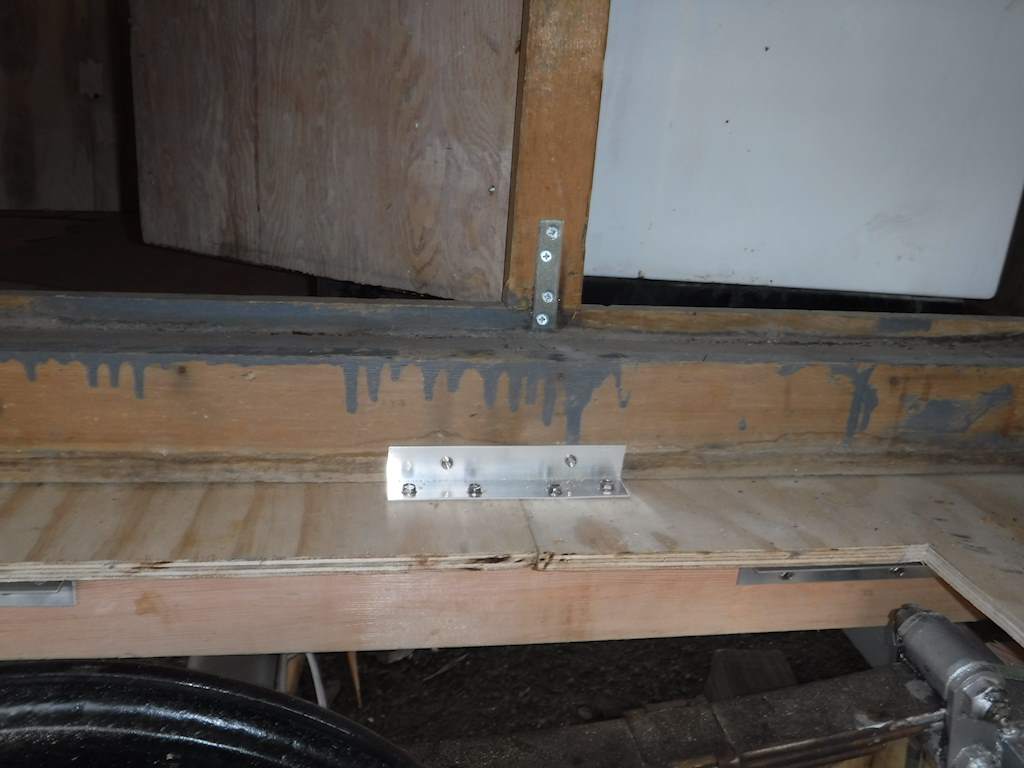
Next I worked on the central floor beam. This runs from front to back. I attached all the clips to the floor. The last three feet or so slant up, so I waited to assemble that in place. Here are some photos.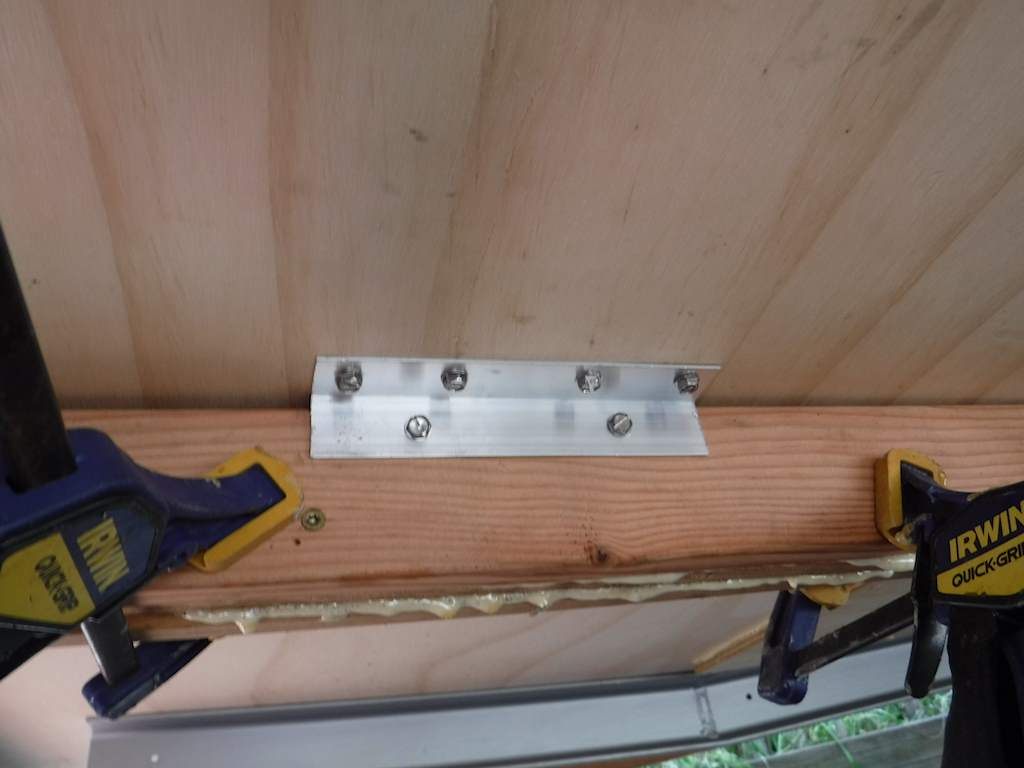
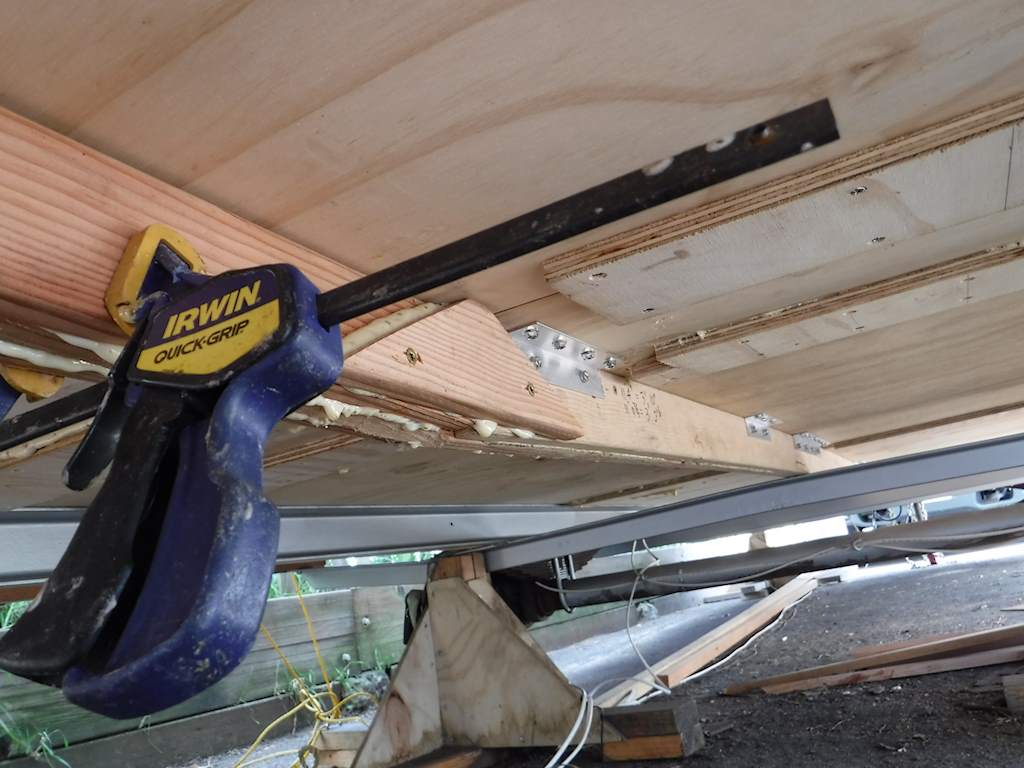
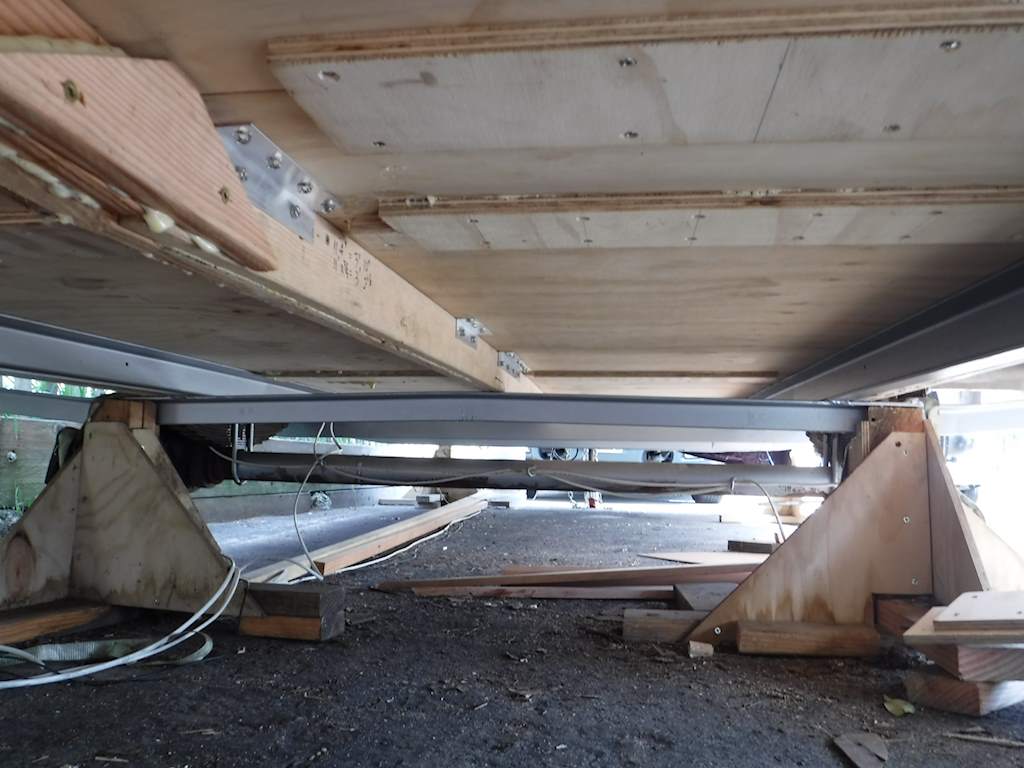 The I did the framing on the left, in the kitchen. There is a hole at the bottom for the water heater, and another above it for the water inlet.
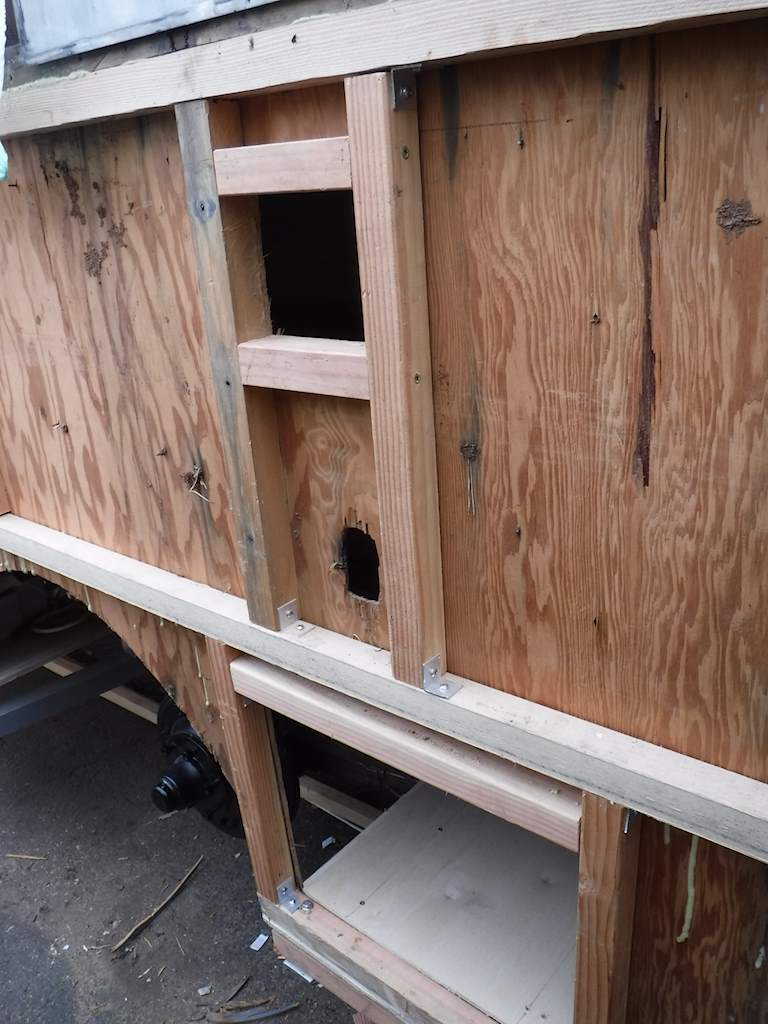
I made a shelf so the water heater sits at the right level.
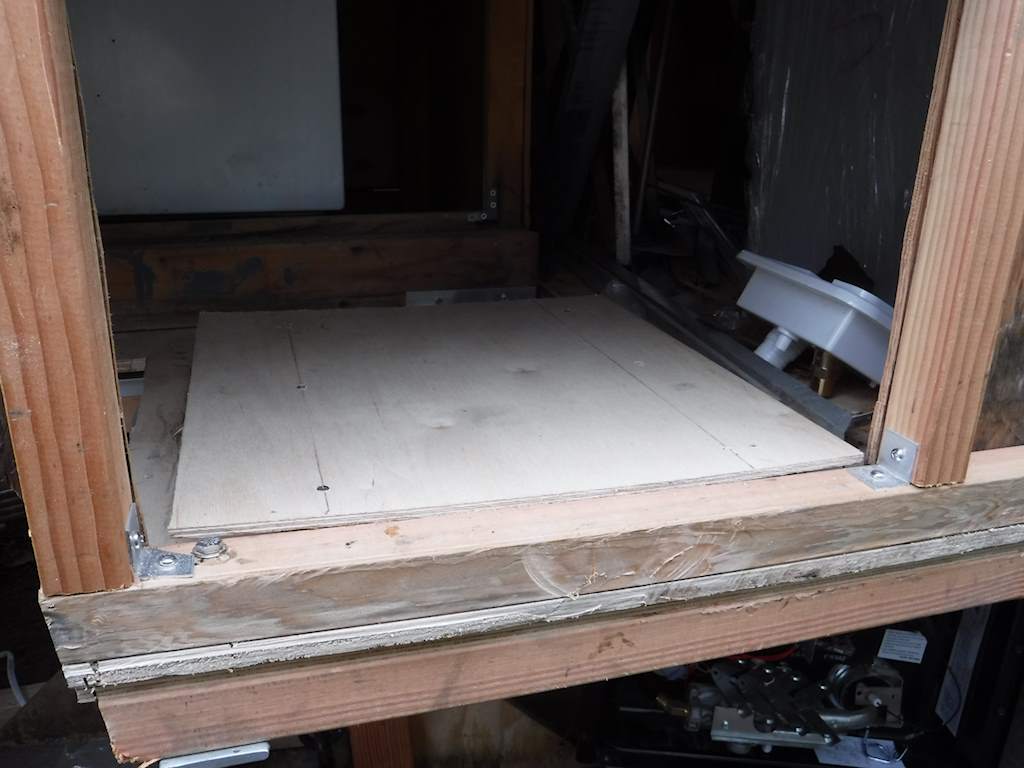
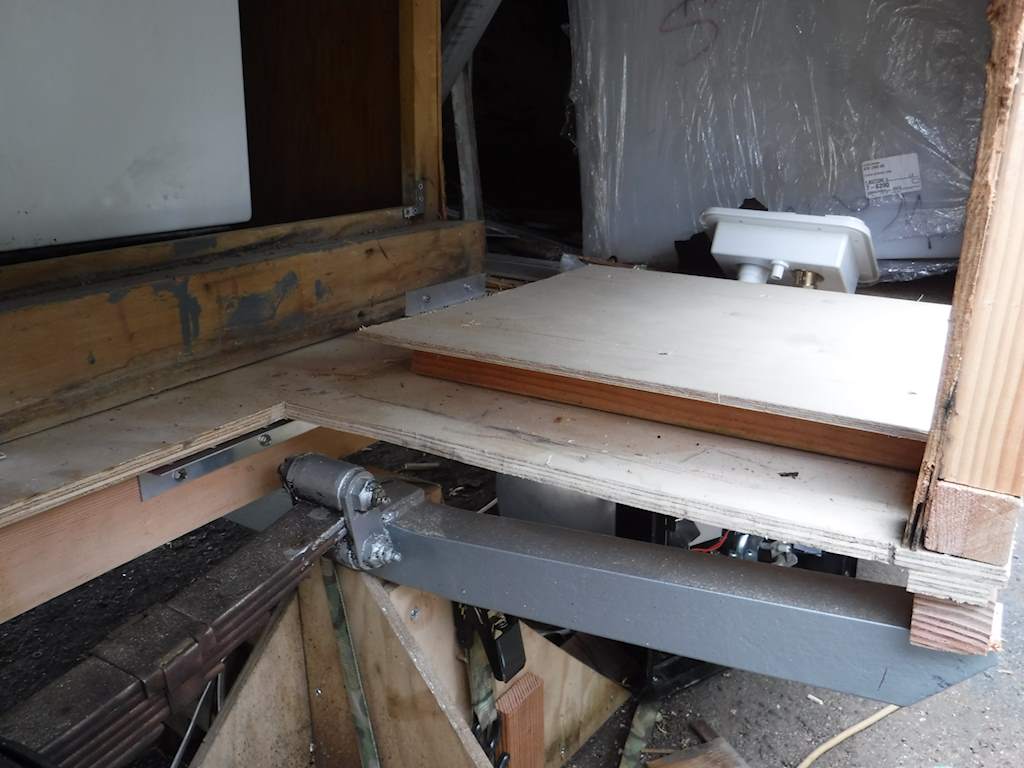 I needed to cut a hole in the wall between the kitchen cabinet and the bathroom. The water tank will sit just over the wheel well. You can see it in the background of the picture above. The water tank, heater, pump, and accumulator will take up almost all of the cabinet. While I was working in this area I added some reinforcement to the cabinet. Like the one on the right side, it was assembled using those corrugated fasteners, which had rusted badly.
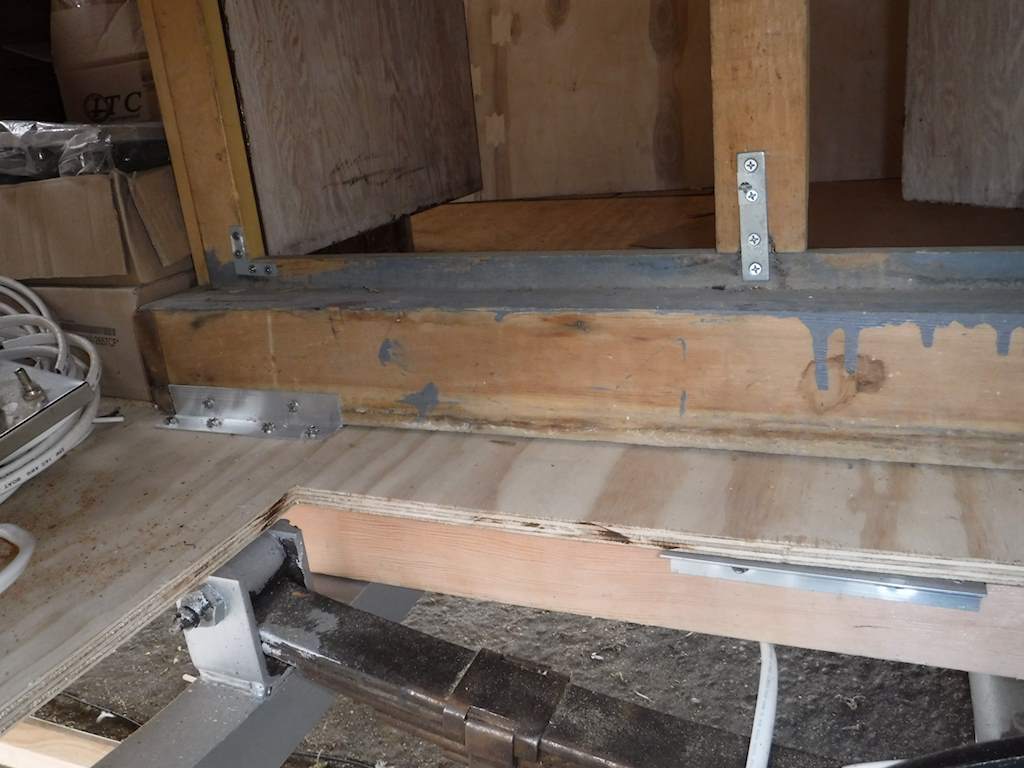
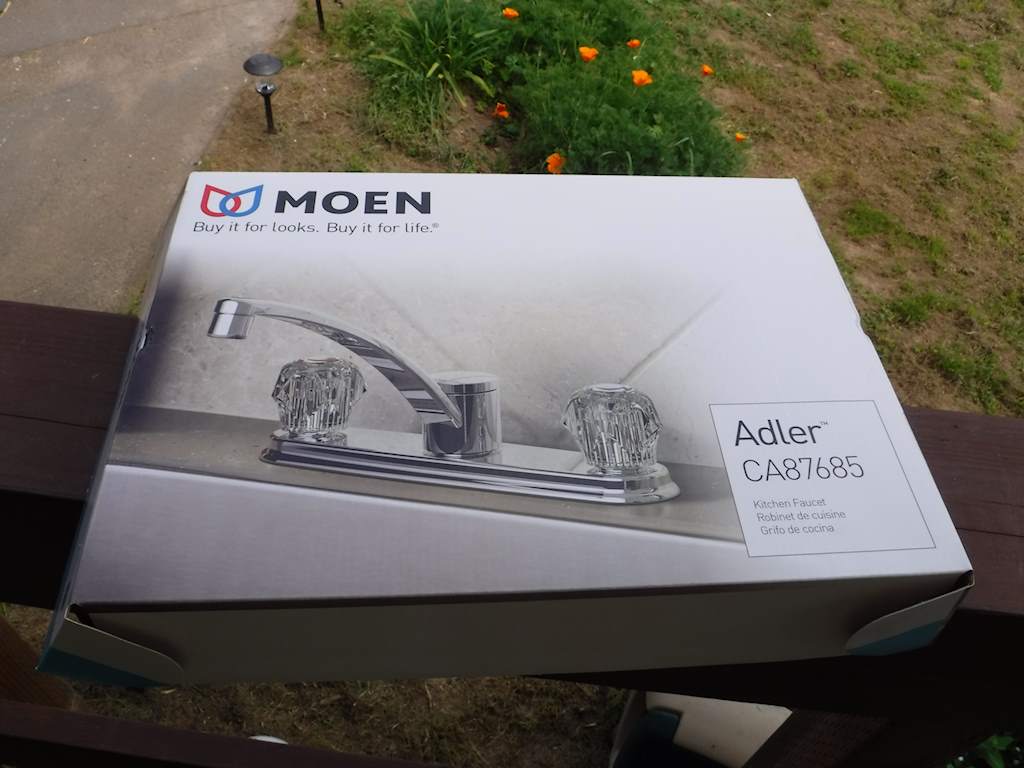
I also replaced the faucet. Once I put in the wheel well and the water tank I’ll never again have this good access. I like Moen faucets and that’s what they had locally.
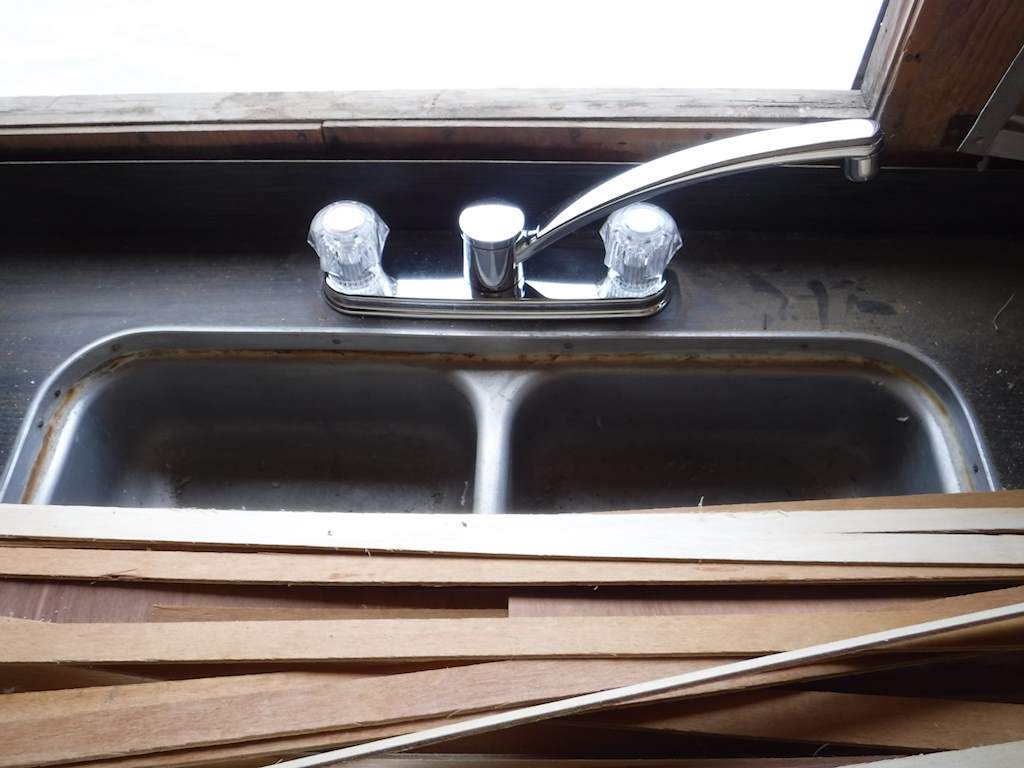
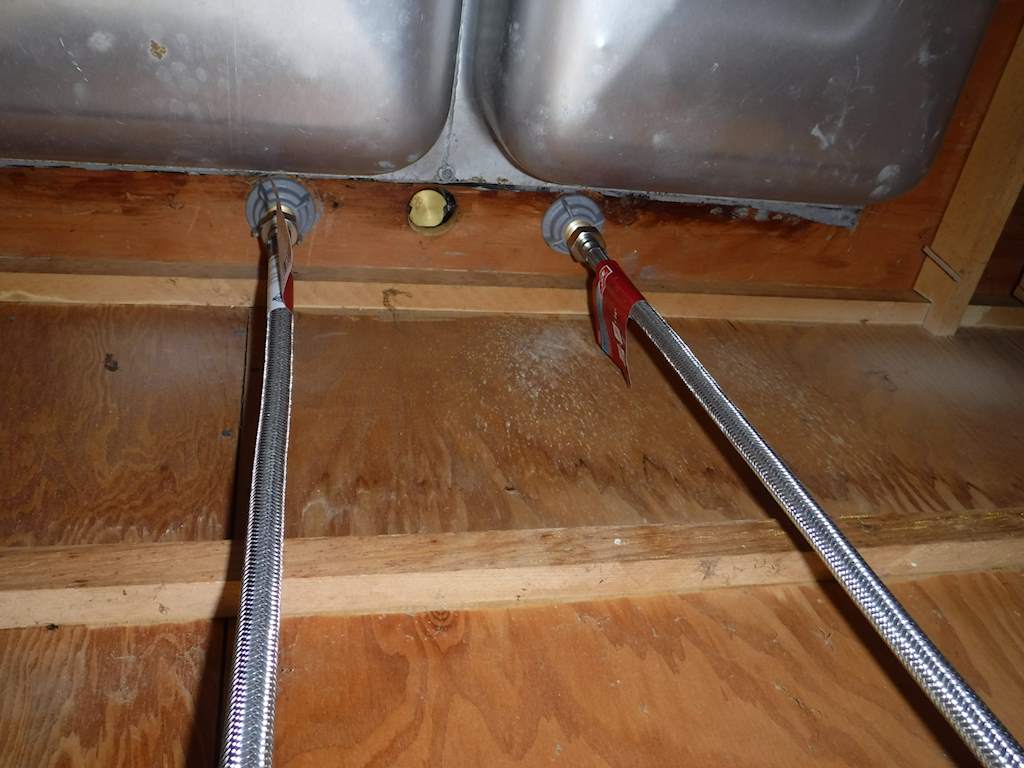
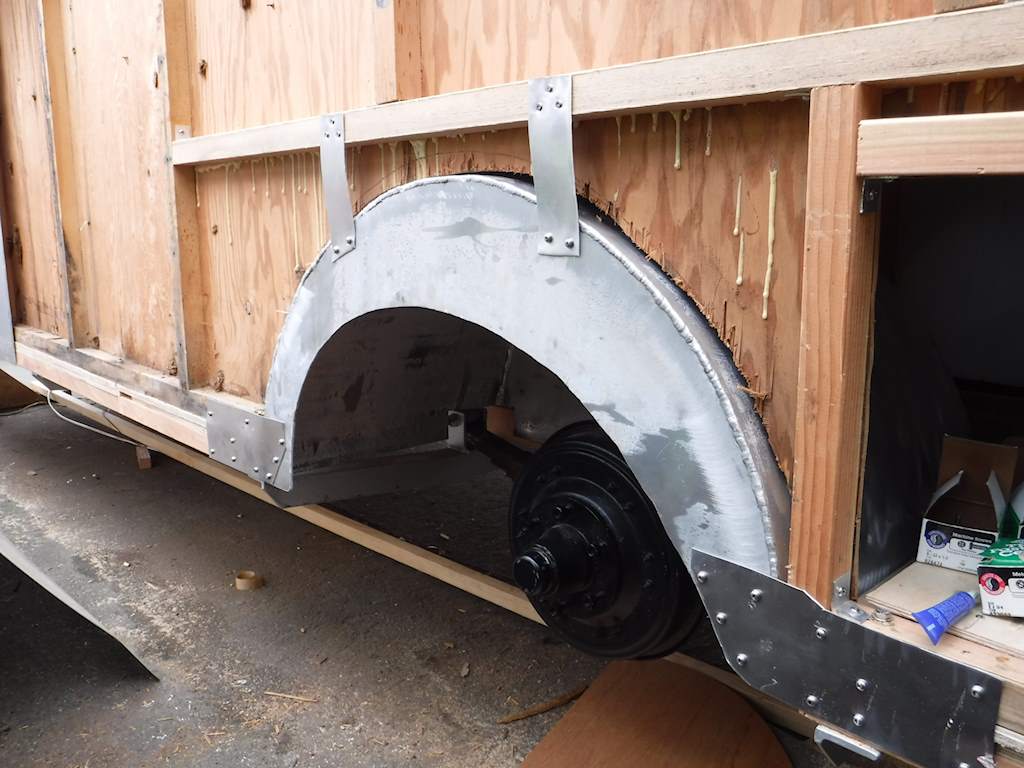
With new hoses of course. Then I attached the wheel well. I had to be a bit clever with the attachments. The inside attachment is just like the right. The right side exterior and angle clips, but for the left side that doesn’t work. For the left side I used straps.
Also there were a few screw holes that were getting loose. I drilled those out with a brad point bit and glued in dowel pins.
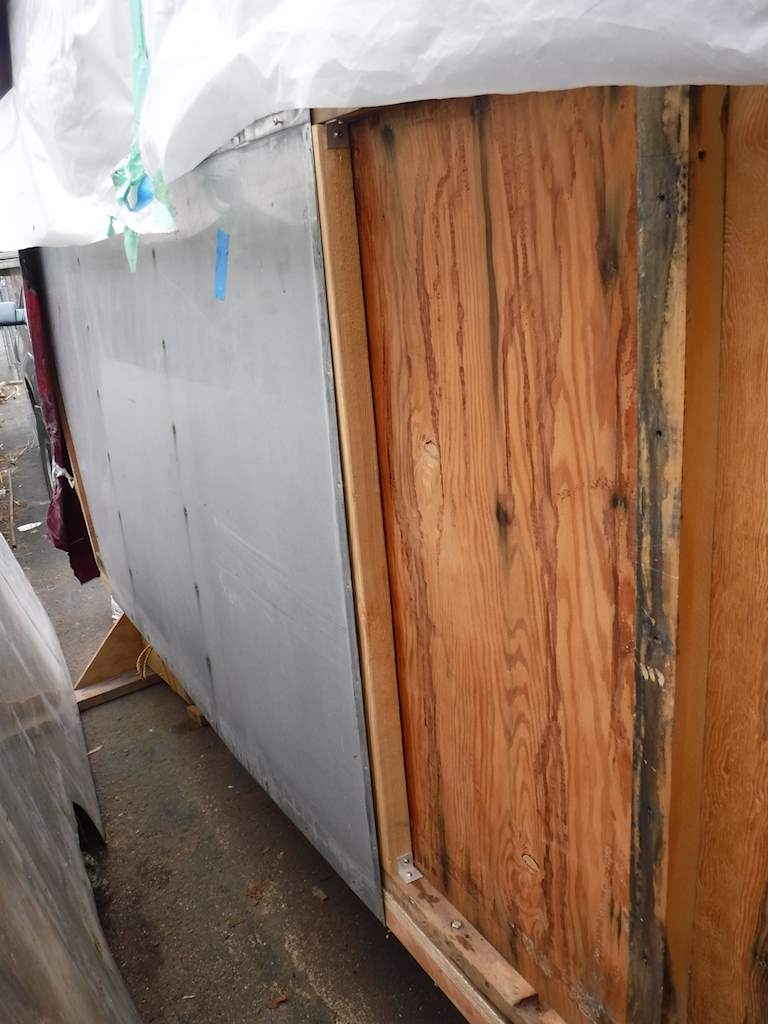
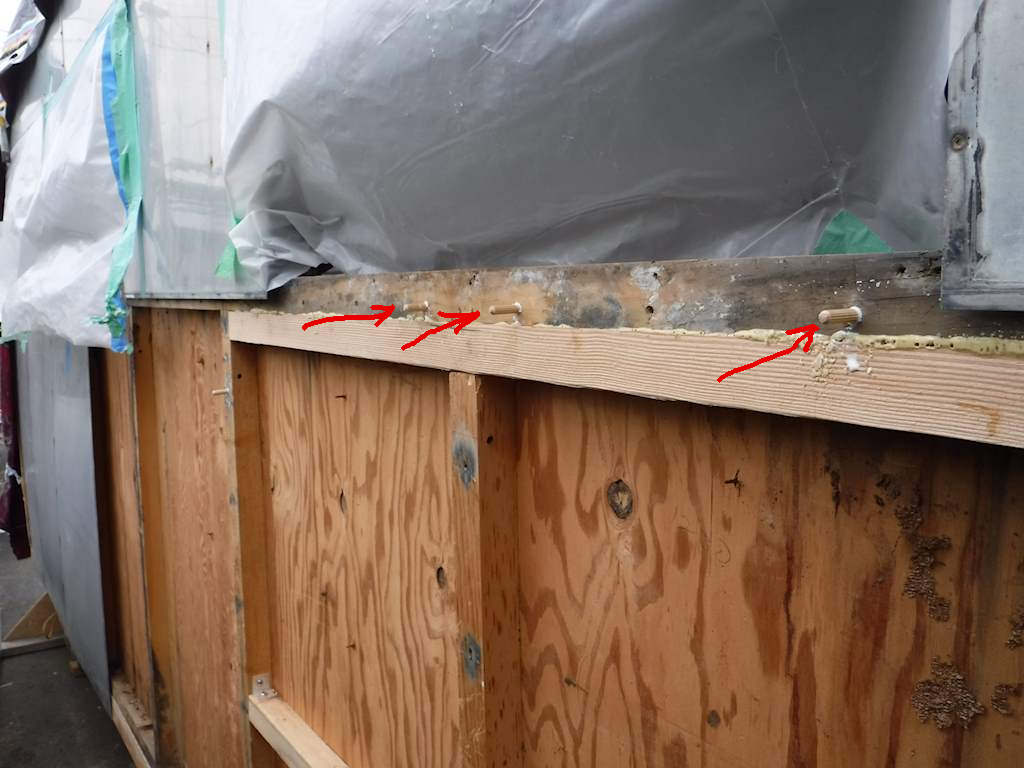 Then later cut the dowels flush. The joint between the center lower exterior panel and the front wasn’t at a 2×2, so I added another vertical to give the joint support.
Then all was ready for the insulation.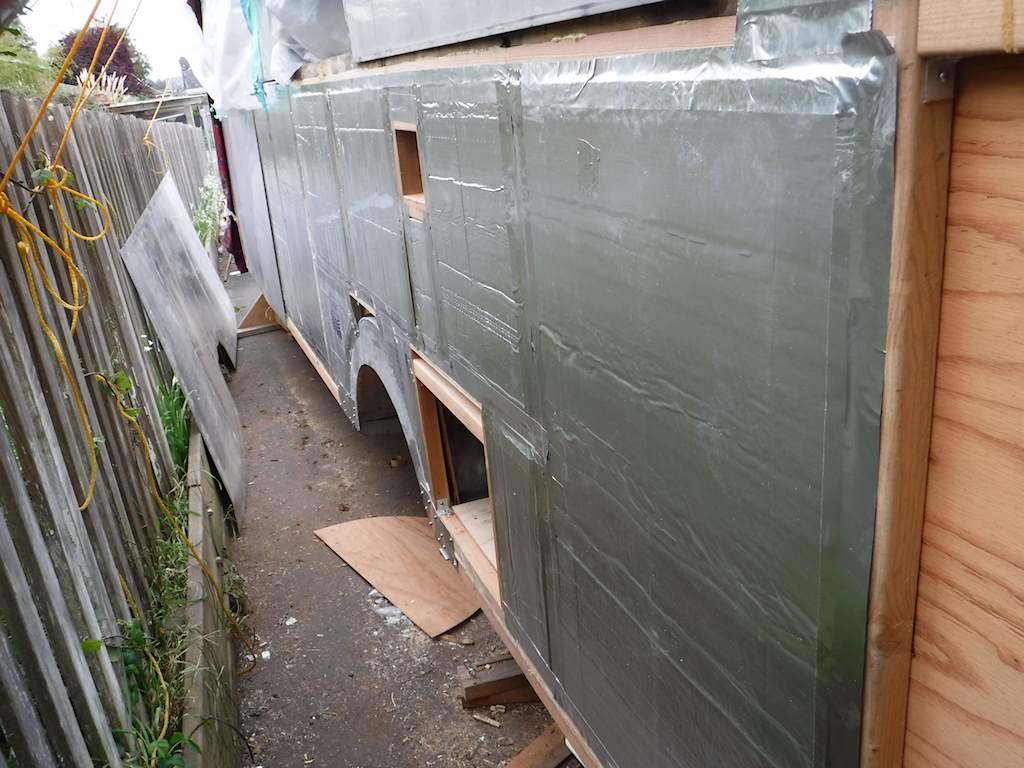
That’s all for now. The next step will be to clean and polish the exterior aluminum panel (this is the largest one on the trailer by far) and put it on. From now on, when I attach an exterior panel it should be for the last time. Well, last time for this rebuild.