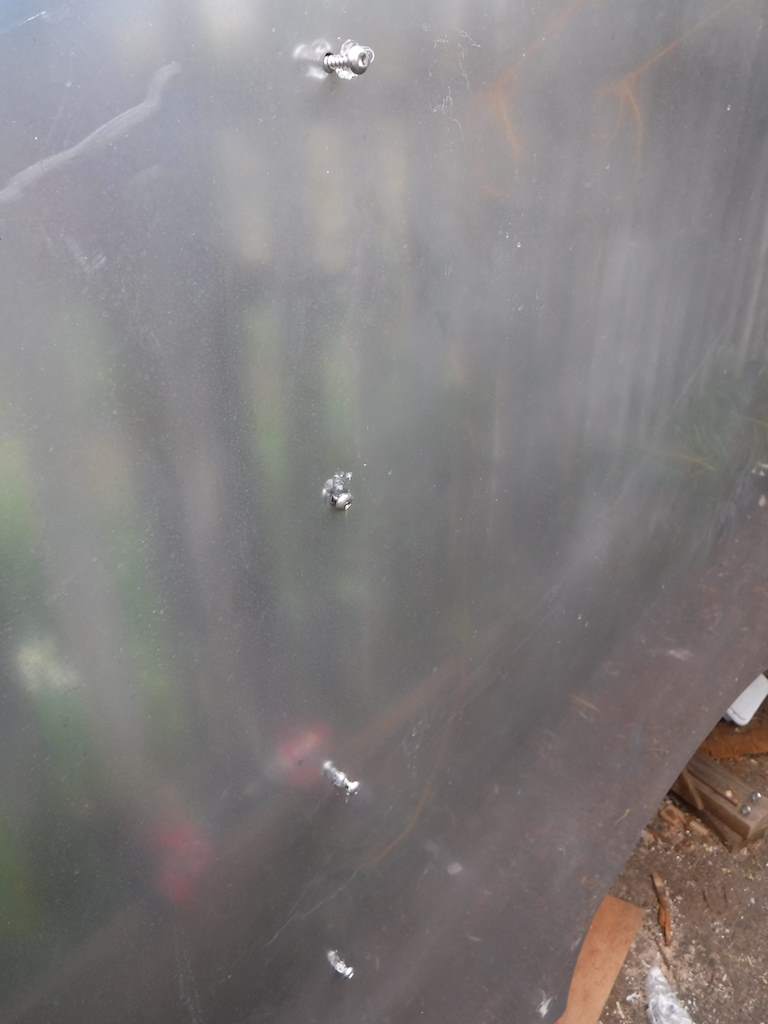
This is going to be a long post. I appear to have lost a post from several days ago. By “lost” I’m pretty sure it was actually “failed to save and publish”. Basically I’ve been completing the side panels. First the lower center left. The last post shows that ready for the panel. 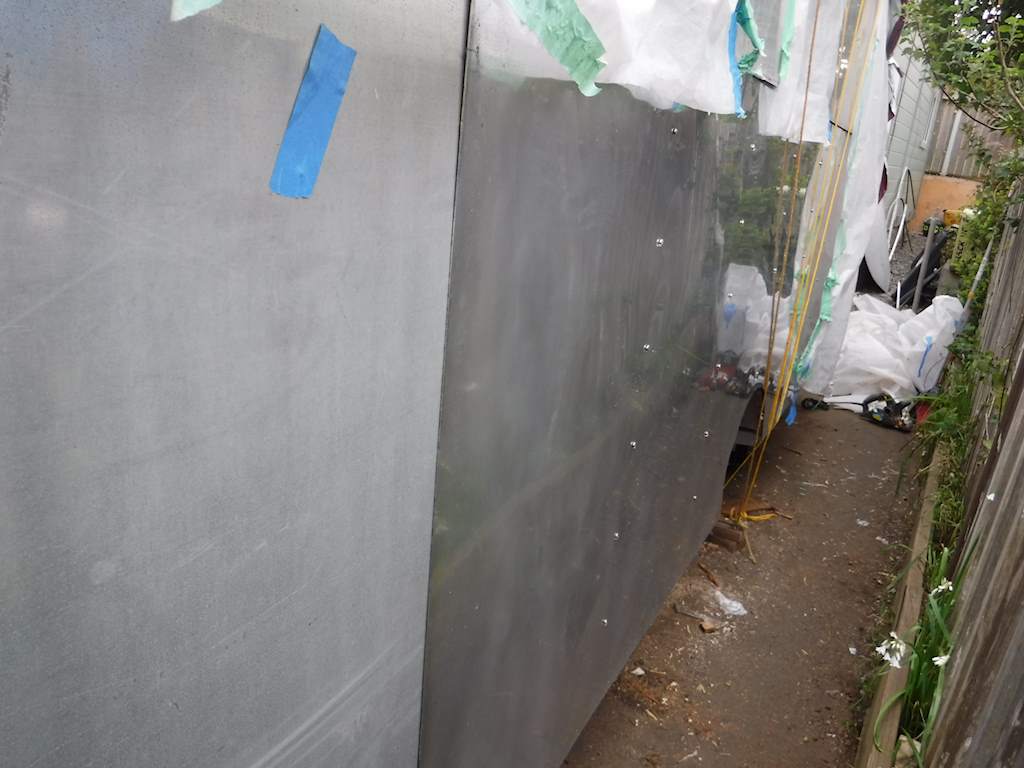 Note that on the side panel screws where there isn’t any butyl tape I’ve been putting some silicon on the screw before I torque it. Like this:
Then I did the left rear, upper and lower. Then the right front, upper and lower. Then the left front, upper and lower.
Every panel of course has the polyiso insulation. For the side I haven’t been using a lot of aluminum tape. I don’t think the roof needed as much as I used, but the sides really shouldn’t. But I have been using it as an aid to retaining the wires. Most of the panels have at least a few wires running through them. Here, for example, is the right front. That wire is for the right front marker light.
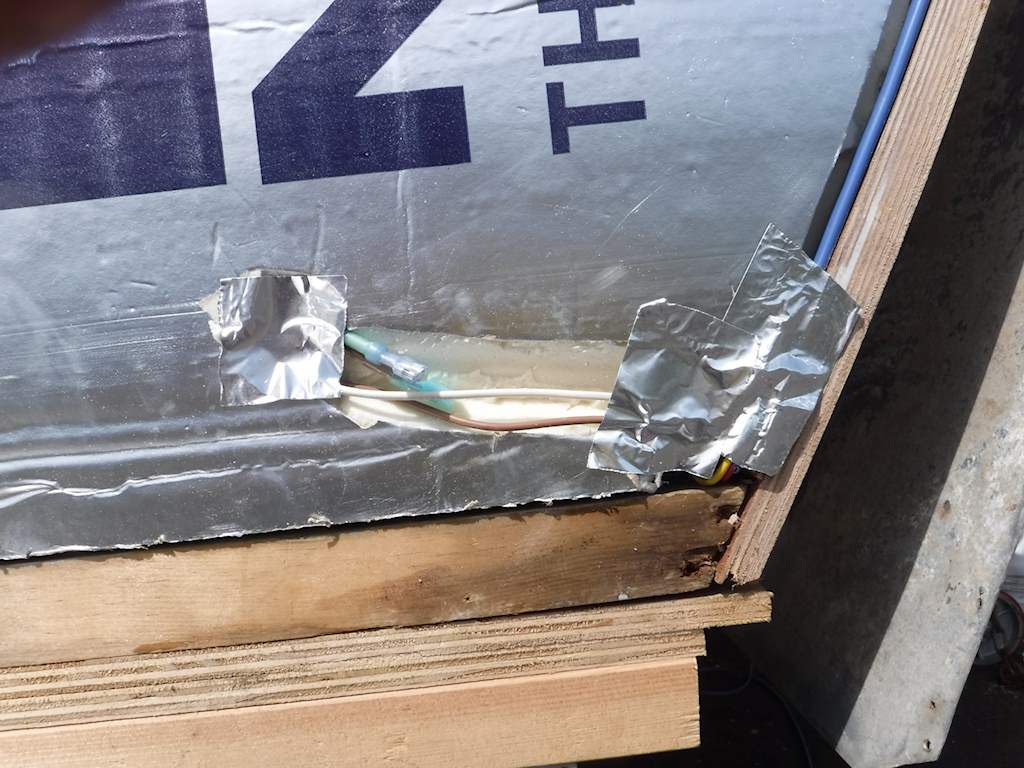
Note the connectors. Each corner panel (eight total) and the rear lower panel has at least one light. To be able to remove the panel if necessary there have to be connectors. Underneath the tape on the lower right are a couple of three-way crimp connectors. So that blue wire comes from the front of the trailer and continues up the right. Here’s the upper right front.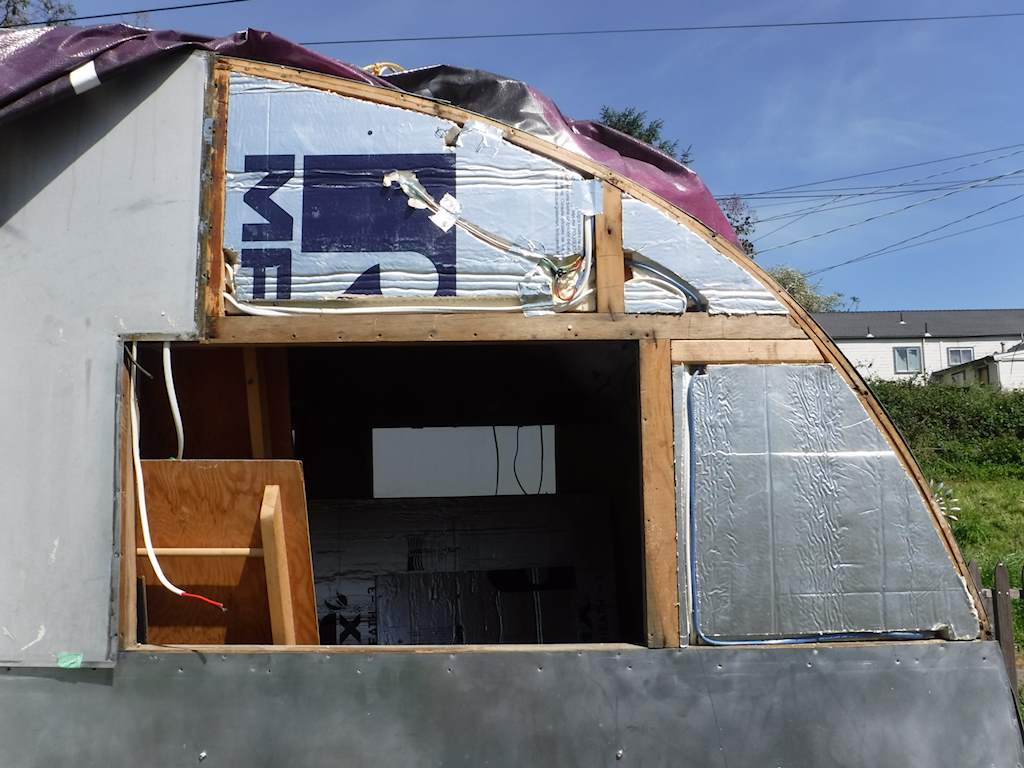
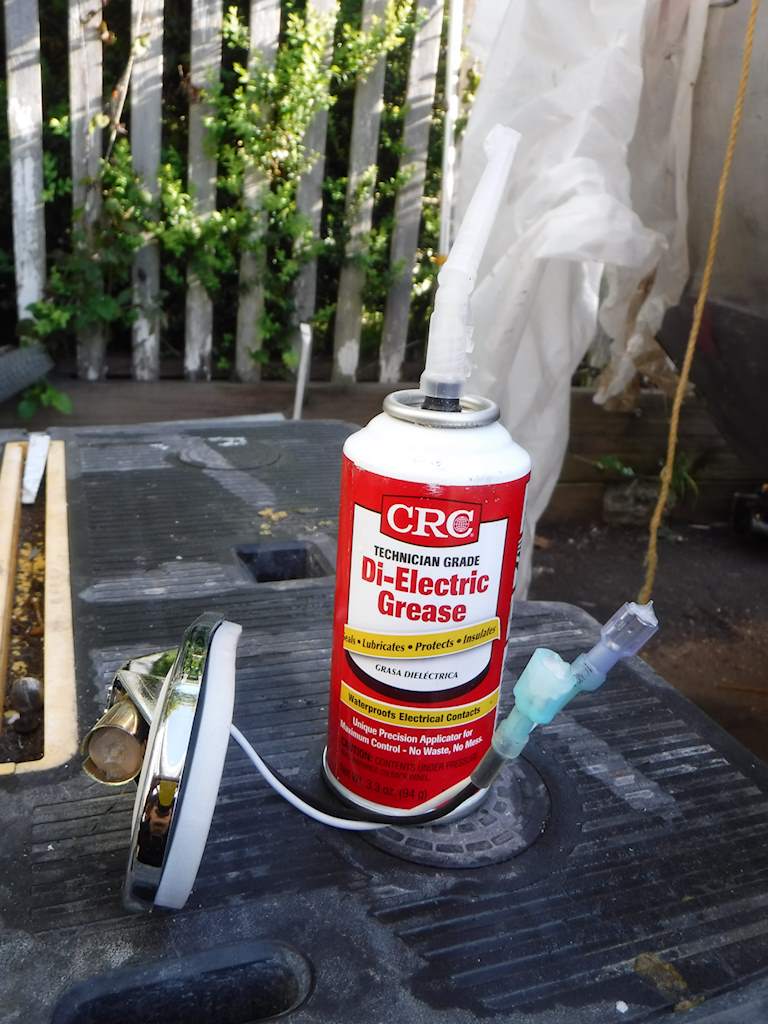
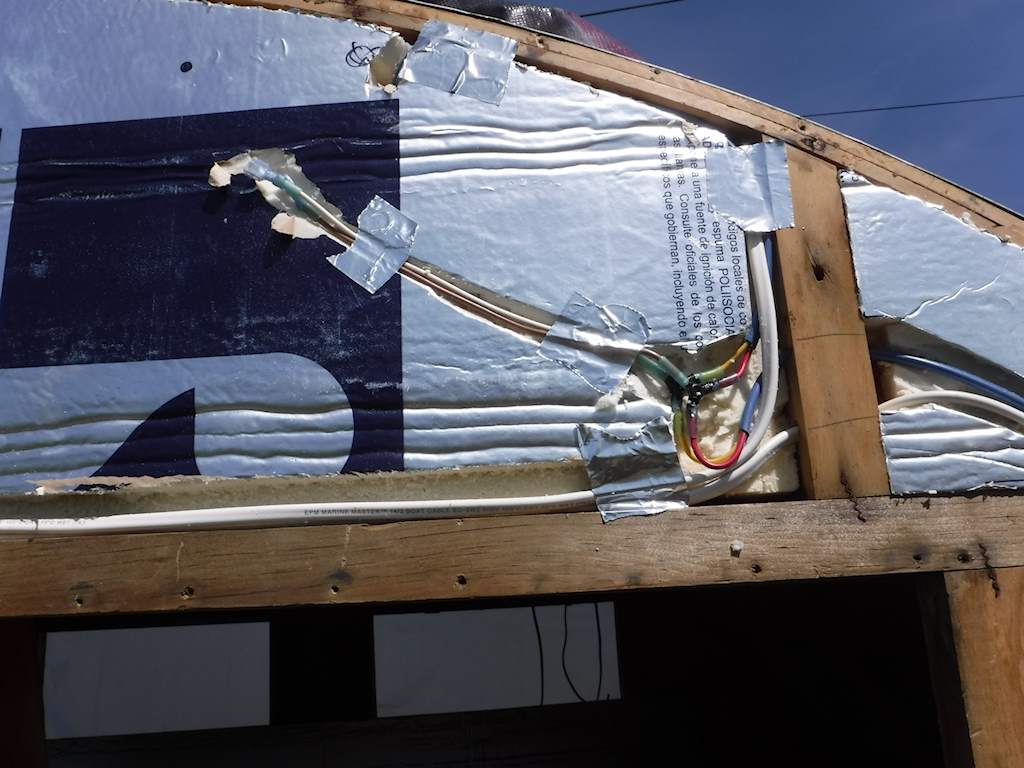 Here we have the three-way crimp connectors with a wire going over the roof to the left side lights, the connectors so the panel can be removed, and a white wire. That will bring power from the wall sconce light just inside the front door, which will be connected to the main panel (which isn’t there yet but will be off to the left in this picture), and runs to the other front lights. Also I like the idea of dielectric grease wherever there’s an open electrical connection. I found this stuff in my local hardware store. It pushes the grease down into the socket, as you can just see in the terminals and the bulb socket. I’ve done that for each of the connections and each of the bulbs.
Here’s the left front with insulation on.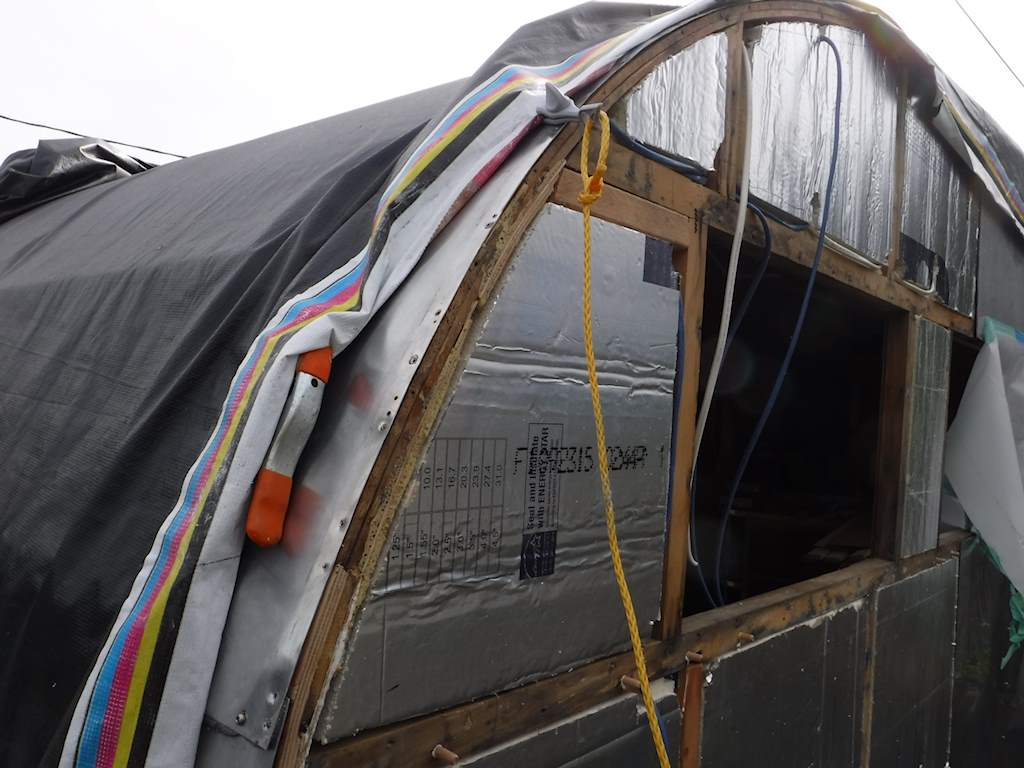
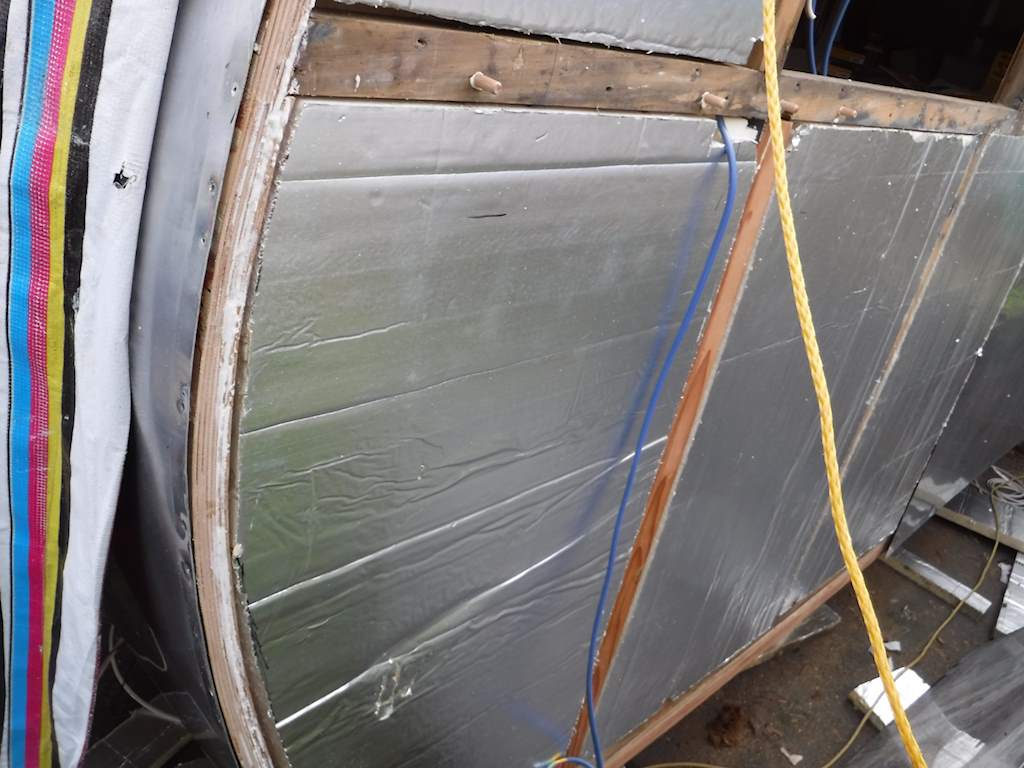
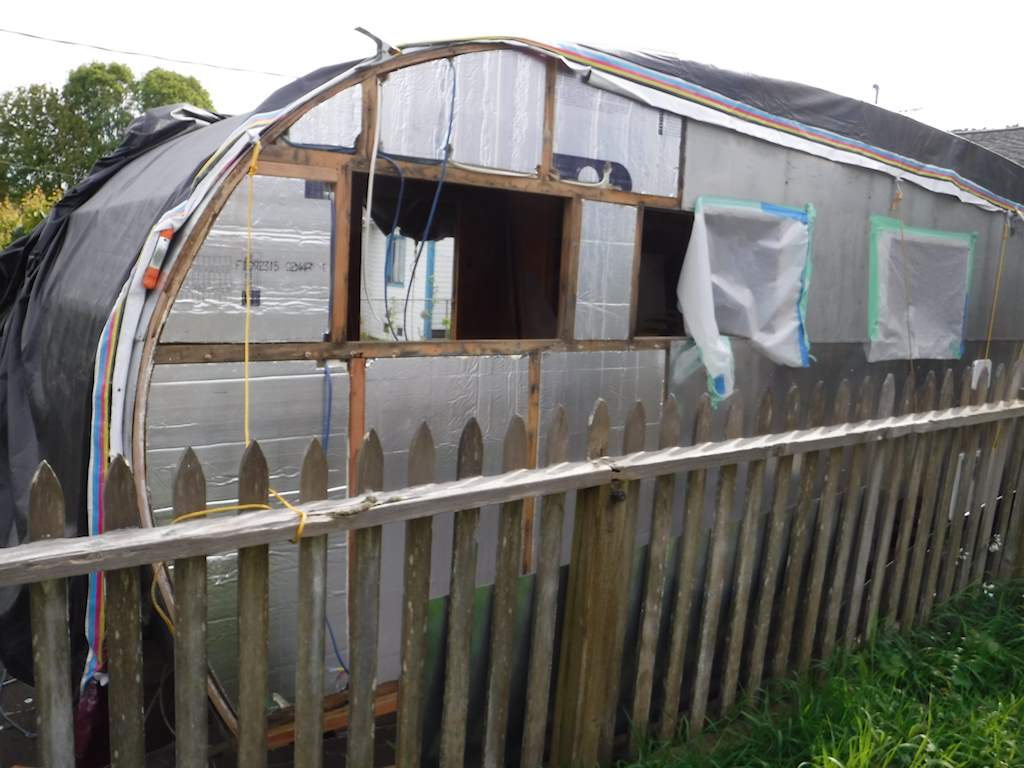 I didn’t get photos of the center upper with insulation and without the panel, but that has be far the most electrical connections. Something like eight or nine lights, the thermostat, water pump wire, and two USB/cigarette lighter socket charging stations. Here we are with all the left side panels in place.
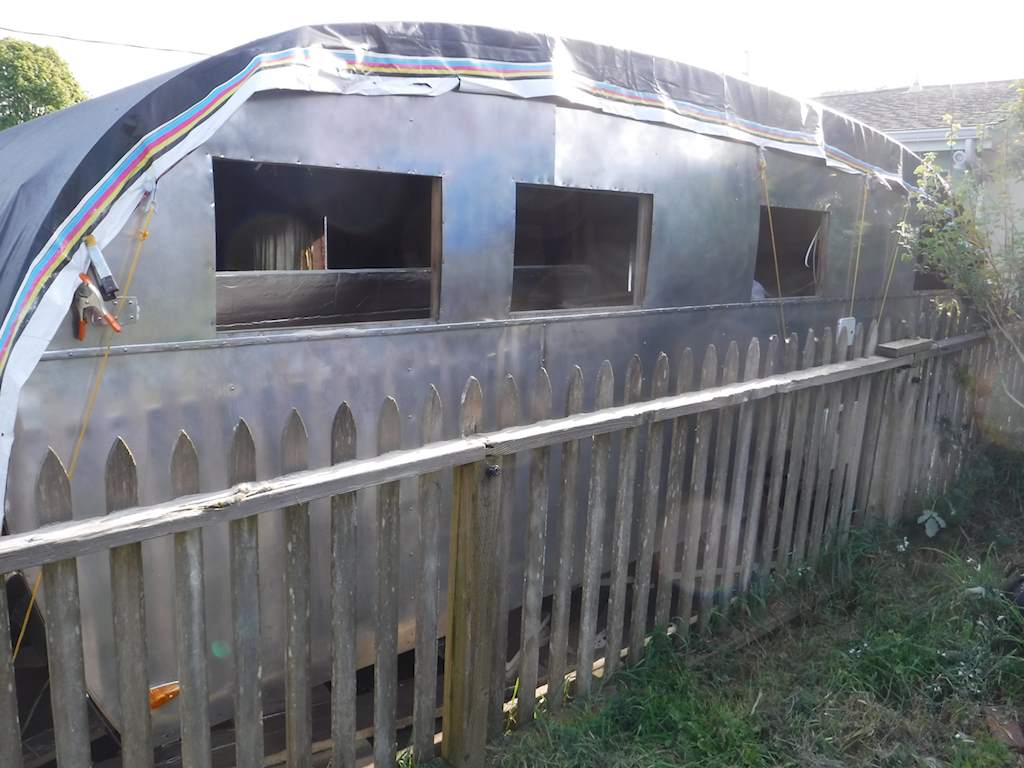
This side still needs windows, and some work at the bottom. For some reason which I can’t understand, a previous owner put dozens of nails in at random locations near the bottom. In some cases I can easily hide them. This is the bottom right front.
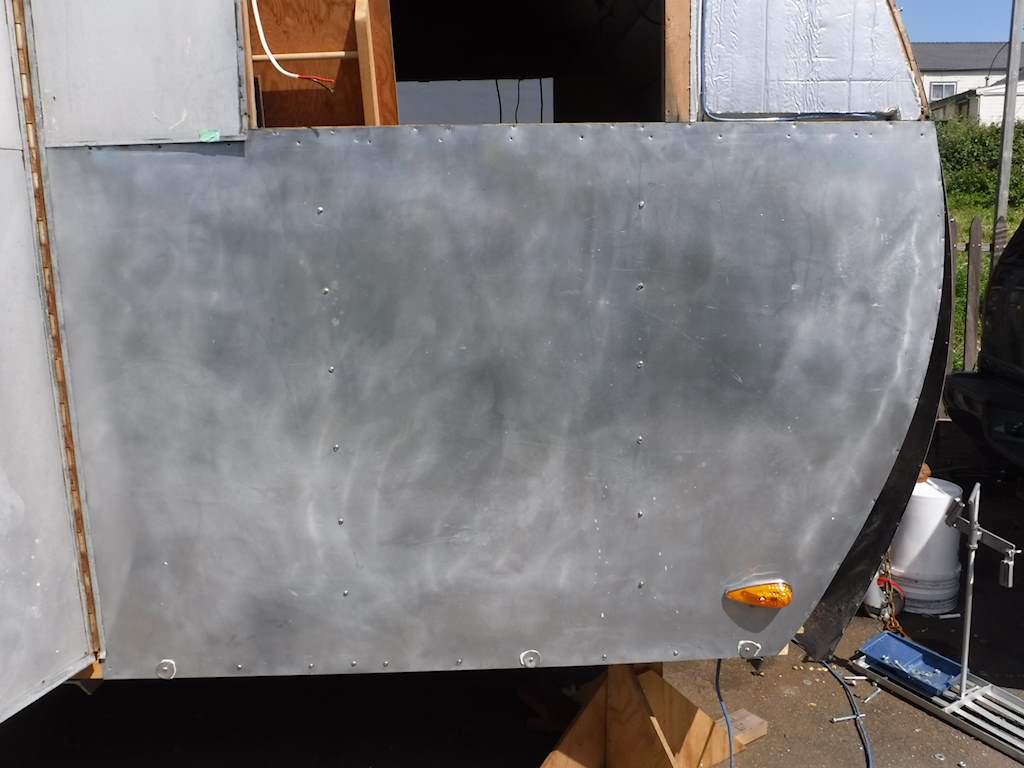
 In three places there was a nail hole within about a quarter-inch of a standard structural screw. I bought some aluminum circles off the web, and with some butyl tape they don’t really attract attention. In one place there’s an “extra” hole, but it’s almost in line with the others. Put in a screw and it looks normal.
In some places there are over a dozen extra holes in random locations. For those I’ll get a four inch wide panel and double over the existing holes. Done right it should look fine.