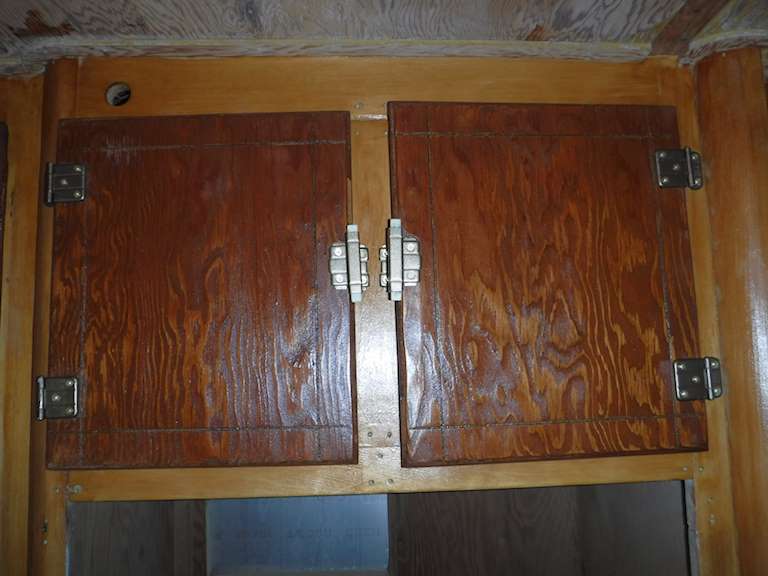
I’ve spent the last couple days working on the interior cabinets. My wife Barbara has been collecting stuff for the trailer. Linens, kitchen gear, etc. It’s starting to take up space, so I decided to get the cabinets usable. After sanding, restaining, and two coats of satin polyurethane the cabinets look like this:
Here are the kitchen upper cabinets. Note the light colored areas on the right side. That’s where I didn’t sand enough. This picture makes it look worse than it is, but what happened is that the original varnish, which is in horrible shape, had penetrated into the wood. When I sanded it I thought I had removed it all, but if there’s even a little left then the wood doesn’t take the stain. Repairing that would be tricky, because sanding will affect the properly-stained area around it. I haven’t decided what I will do about that, if anything. Mostly just sand a little deeper everywhere else.
 The warm color for the frame and dark stain for the doors and drawer fronts was the original, although none of the original can be used without stripping and re-staining.
Here is the left side. I can’t get a single good picture- the cabinets are too long and the space is small.


I’ve been trying to learn to work with veneer. I have big plans for future work, but this is my first real attempt.
This is the medicine cabinet, which for some reason is just outside the bathroom. Here’s what it looked like with the door removed and sanded. Not bad.

But I like this better:
 This is birch veneer- ironed on, stained, and two coats of polyurethane.